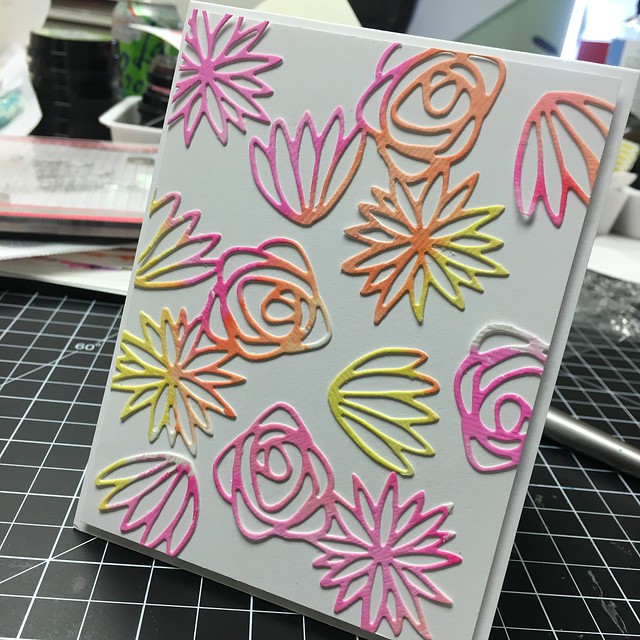
Showing posts with label Press n Seal. Show all posts

5/15/20

Press n Seal Videos for Cardmakers...

Today, I posted a throw back video of a Press n Seal technique I shared years ago.  I had lots of comments saying that the Press n Seal idea was new to them and then I had some messages asking for links.  So I thought I would share again, all these old videos using Press n Seal!  


This first video was one where I was a guest designer on Jennifer McGuires blog.  I share here how to use Press n Seal for flower arrangements....


This video originally aired on the Papertrey Ink Channel back in 2014.  This was the first time I shared the Press n Seal idea for used with cover plates....


Another quick video sharing how to place sentiments....


One for die cut placement....


This is a super fast video that my friend Lori Craig shot....just sharing a quick press n seal tip....


Cover Plate ideas with press n seal...


And my first fast forward video for intricate sentiment placement....


Hope these ideas help!  It was fun to go back and look at all the videos over the past 6 years.  I still use Press n Seal daily!  Such a wonderful invention from Jennifer's husband.  :)

Have a great day!


_____________________________________


FIND ME OVER ON:


Instagram: Laurie Willison (@laurie_willison)


Facebook: Soapbox Creations

All products in today's post are linked below and throughout the post.  These are my personal affiliate links which you can shop from at no cost to you!  :)  Thank you for supporting Soapbox Creations!  


10/24/16

MFT Creative Construction...

It's time for another round of Creative Constructions with Blueprints over at MFT.  If you don't know what Blueprints are,  they are the most amazing die sets that include lots of fun details to create cards or tags.  Several of the sets include sentiments, as well.  Here is our challenge for today...

A simple die-cut word can serve as a stand-alone sentiment or accent, or be integrated into a full on greeting when paired with the perfect stamps. Many of our Blueprints include simple word elements that speak volumes and this month, we’re sharing ideas for integrating them into your own crafting.

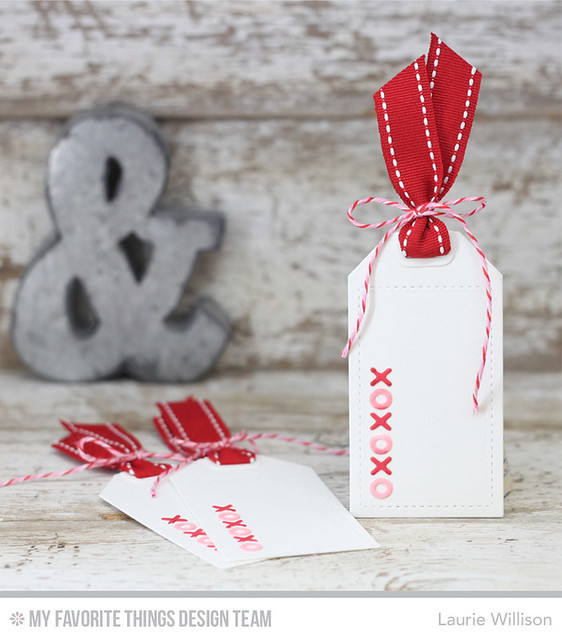
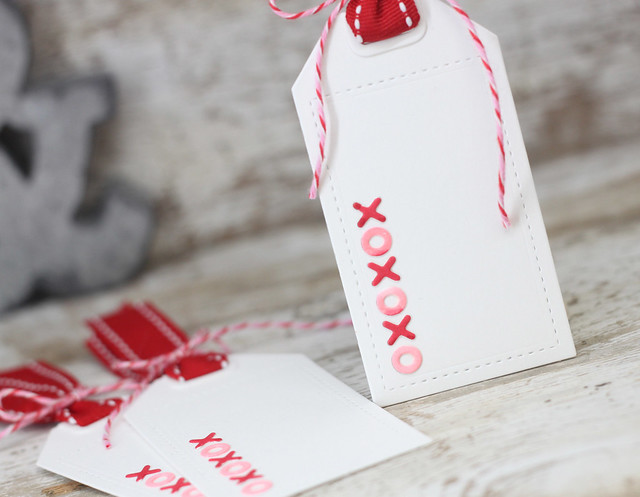
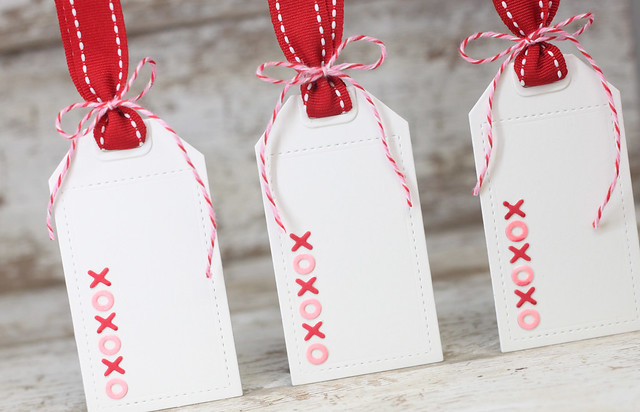
I have a set of super simple tags today using Tag Builder: Blueprints 6.

Print

These tags are very easy to make with just a few supplies....

white cardstock
red ribbon
twine

IMG_3762

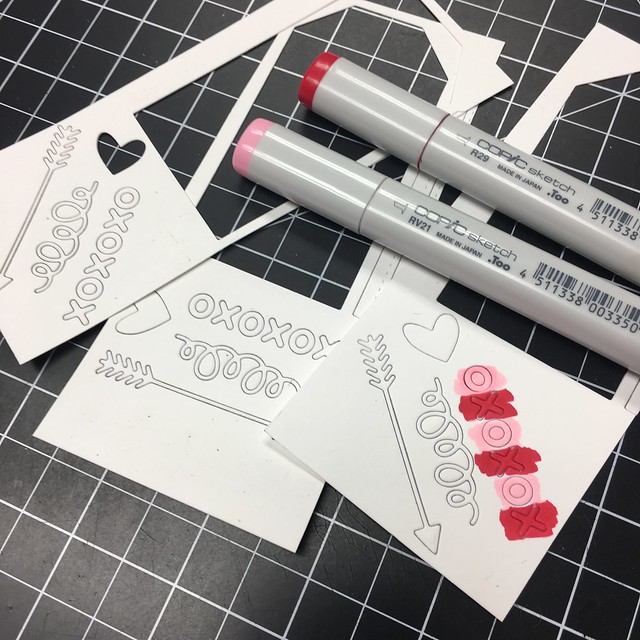
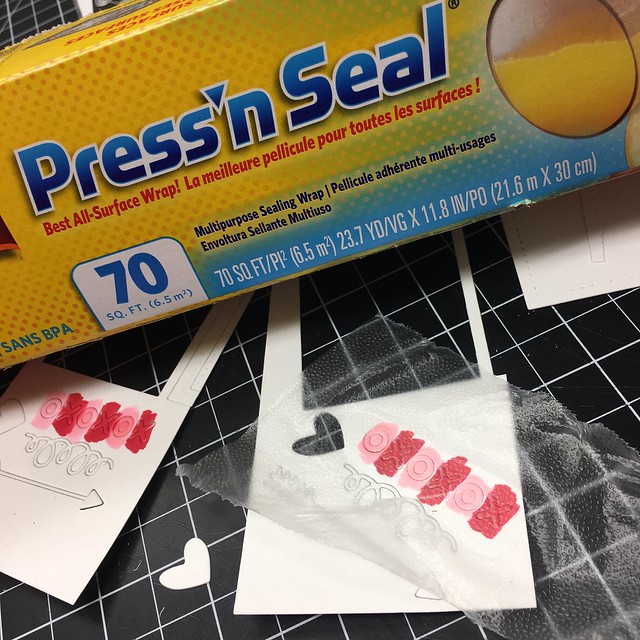
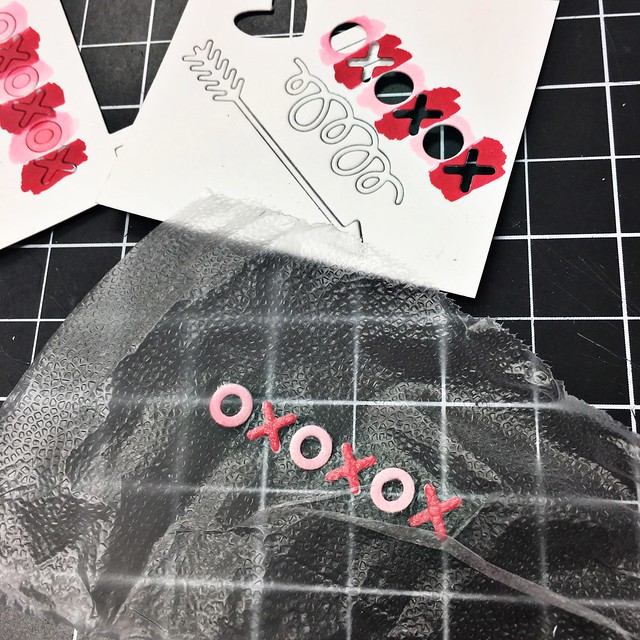
To make them even easier, I cut out the "xoxoxo" out with white cardstock and then colored them in with Copics....

Untitled

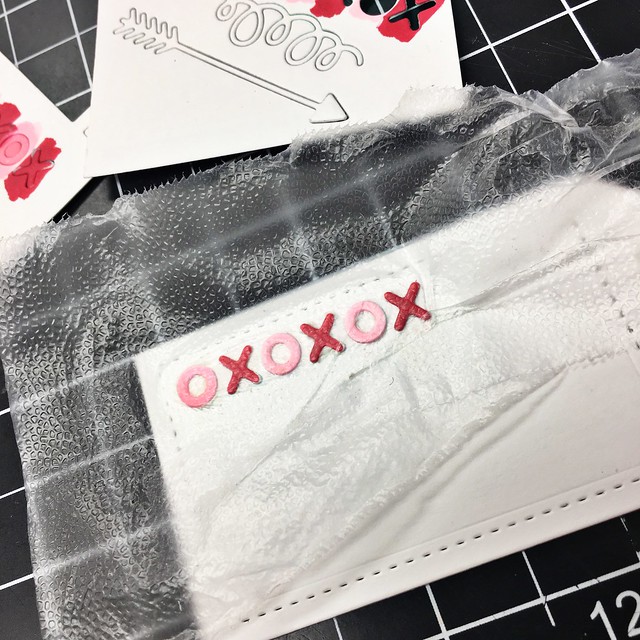
To keep them uniformly spaced, I used Press n Seal...of course!

Untitled

Untitled

Then I added in a little liquid glue and attached them all at once to the tag....

Untitled

All ready for some Valentines Day treats!
IMG_3765

Head on over to the MFT Blog to see what the other girls have constructed for today!  :)  Thanks for stopping in!
Laurie

8/29/16

Moments Inked Newsletter...

Moments Inked Banner
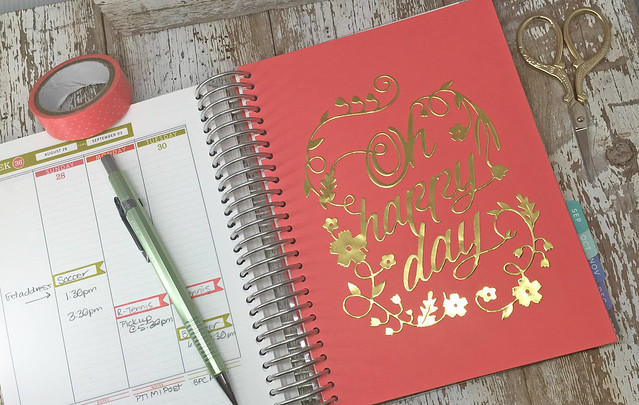
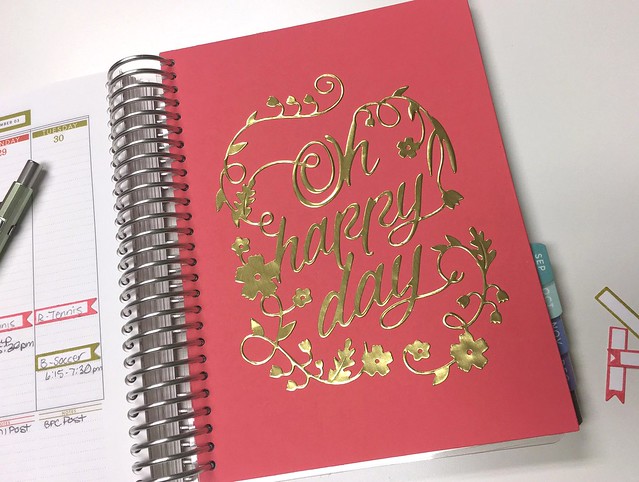
Hey there planner friends!  I am here today with the Moments Inked Newsletter for Papertrey Ink.  I have something fun to share today.  I have been seeing lots of foiled planner inserts on Pinterest and I realized how easy it would be to make with some supplies we already have on hand.  First off, here is my faux foiled planner insert....

IMG_8975_edited-1

I used the  large Basic Page Die, Paper Clippings: Oh Happy Day die with the Gold Foil Adhesive sheets to create this fun look.  (All supplies linked below)

IMG_8969_edited-1

Here is a way to make it lay flat, easily and quickly.  

IMG_8961_edited-1

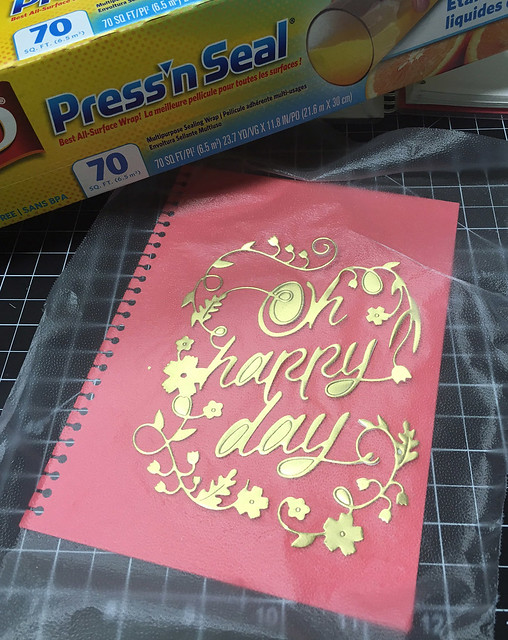
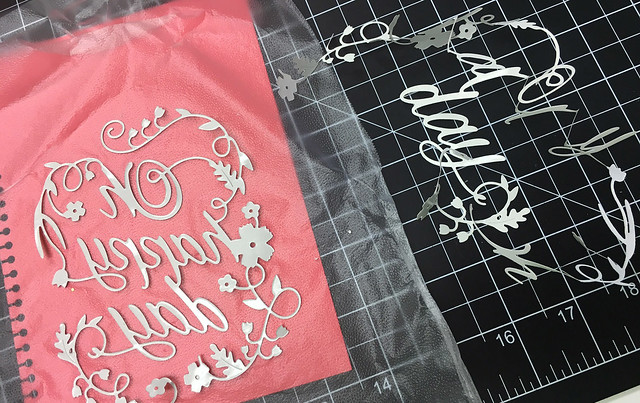
I die cut the intricate die and then grabbed the Press n Seal to pick up the die.  

IMG_8964_edited-1

I flipped it over and peeled off the adhesive backing, while the main part of the die stayed stuck to the press n seal.  

IMG_8962_edited-1

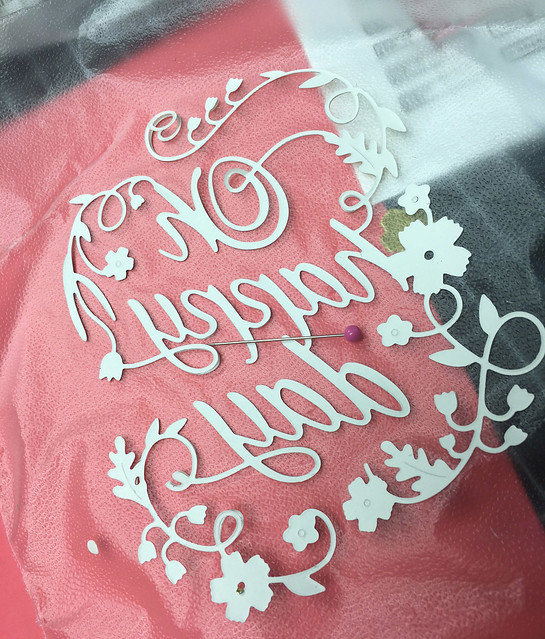
I used a push pin to weed out all the centers of the die, before laying it down to the large basic page.  And that is it!  Super simple and such a fun, and trendy look!

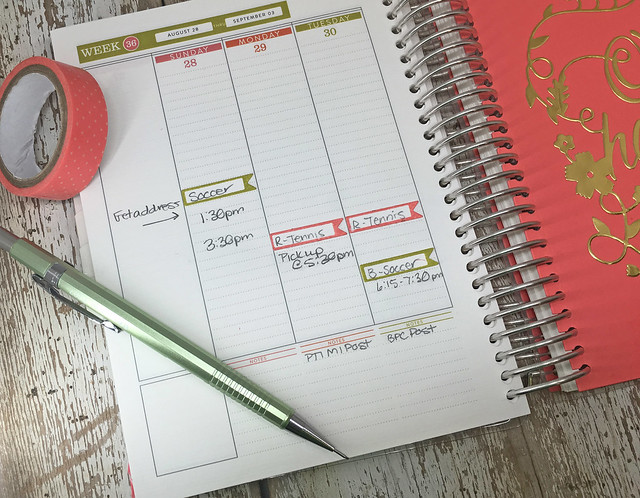
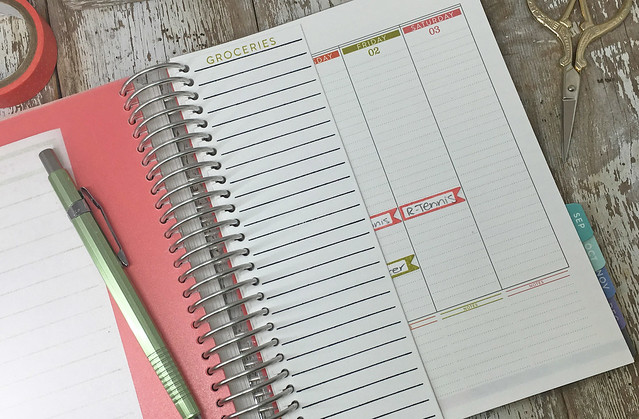
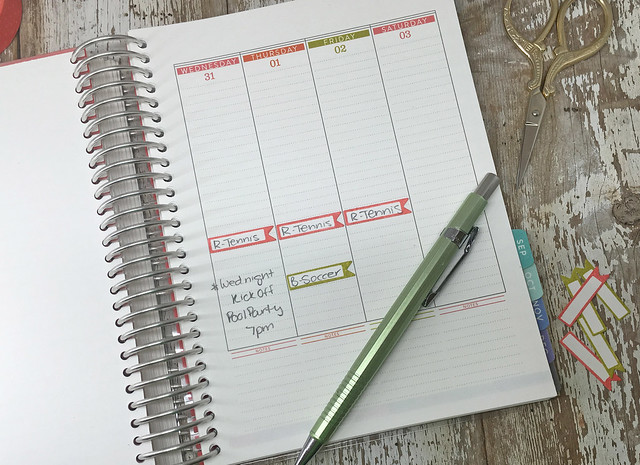
I thought I would share my set up for next week, while I was at it.  I just love the Planner Banner Stamps and die.  Such an easy way to keep track of activities.  

IMG_8976

I used the layout colors for the month of August.  There is a page on the front inside cover of your planner that shows all the PTI colors used for each month.  For my daughter, I used Berry Sorbet and for my son, I used Simply Chartreuse.  A color coordinated system helps keep everything organized for the week.  

IMG_8977_edited-1

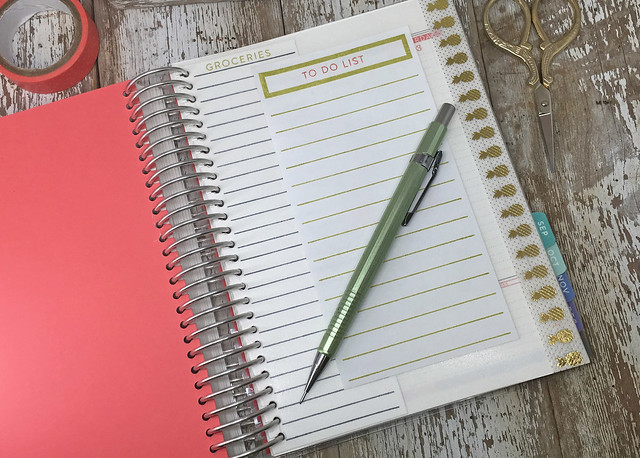
On a clear dashboard, I have my to do list stamped out on the 3x6 white post it notes, available at PTI.  

IMG_8978_edited-1

Next, I have my grocery list ready for the week, as well.  And one more shot of the end of the week....

IMG_8979_edited-1

After years of planning, and decorating pages, and using stickers, I have found that I like to keep it simple.  I still use this green pencil so my entries are easy to erase if needed.  The banners are also removable so I can change things around.

I hope you have enjoyed today's post!  I am so glad you stopped in.  Hope you have a great week!

Laurie-W-Moments-Inked-Intro

Supply List: 


7/03/16

MFT Release Day 2...

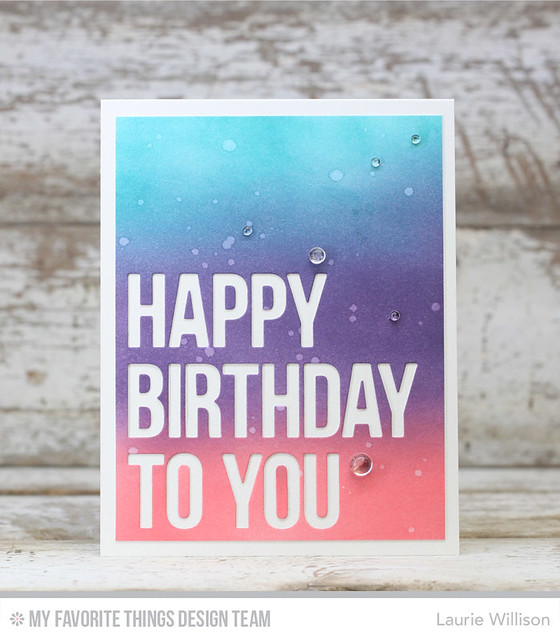
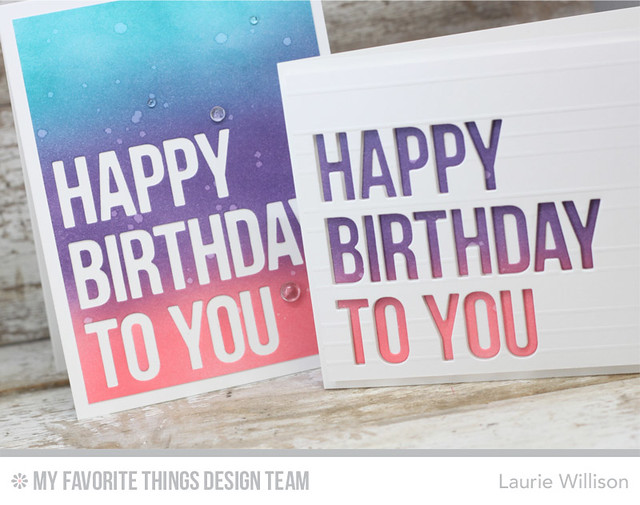
It's Day 2 of the MFT July Release.  So many fun things released this month right?  I have a fun 2 card combo to share with you today, using the new Happy Birthday To You Die-namics.  

MFT July 2016
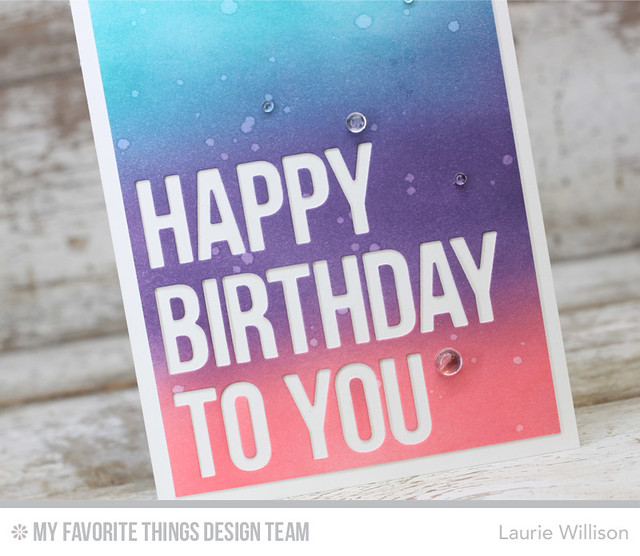
For this first card, I did a little color blending with some distress inks and then added in some flicks of water.  I love that reaction with the inks.  Next, I die cut the sentiment so the white card base would show through.  Last, I added in some rain drops for a little extra detail.  

MFT July 2016

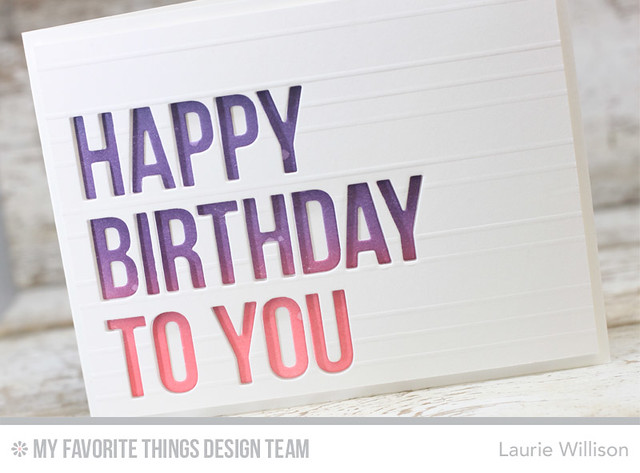
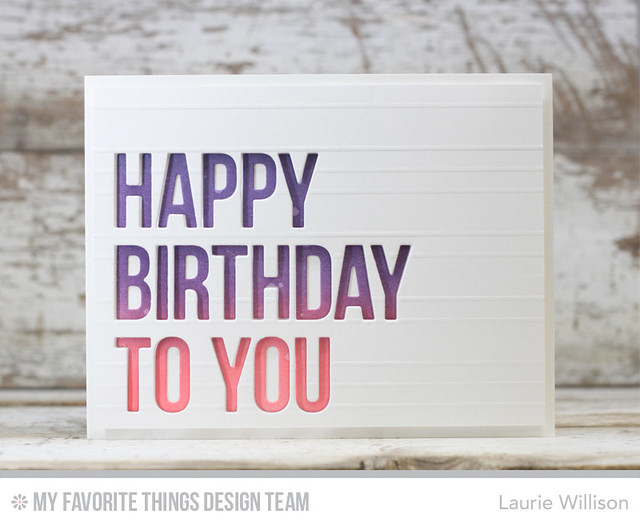
For this next card, I used the sentiment cut outs from the first card....

MFT July 2016

I scored the card front and then die cut the sentiment.  I lined up the ink blended sentiment on the card base using Press n Seal, of course, and then added the top, scored card front to the card base.  

MFT July 2016

Here is a quick shot of the 2 card together...

MFT July 2016

The MFT Blog will have lots more to see so head over there!  Thanks so much for stopping in!

6/20/16

MFT June Card Kit Day 2...

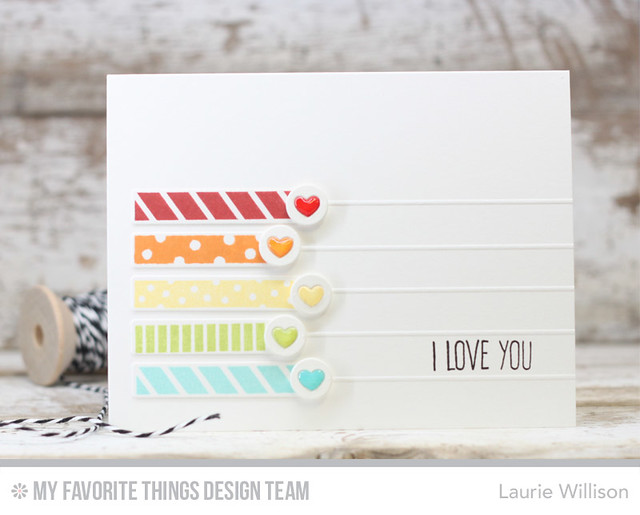
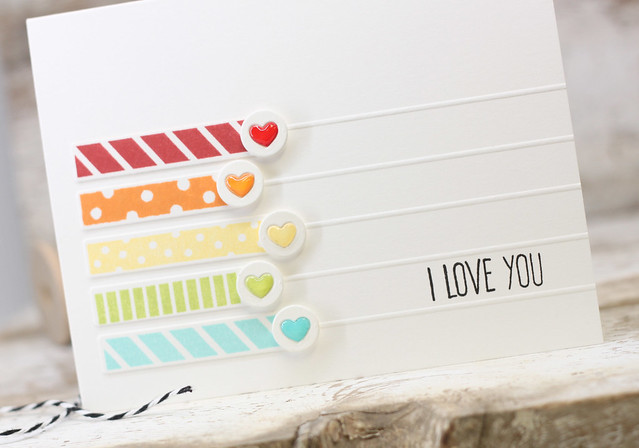
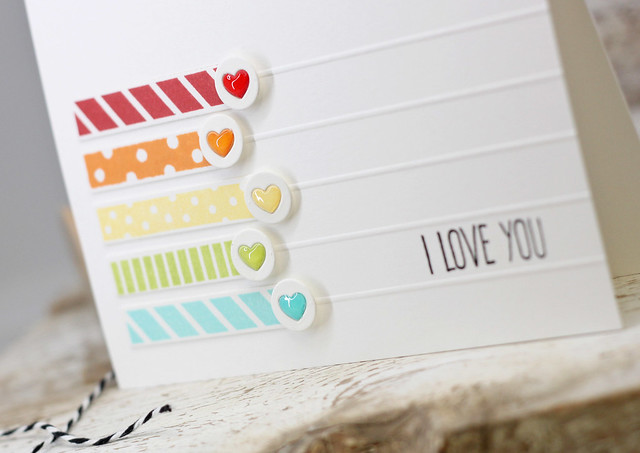
Today we are back to showcase more of the June MFT Card Kit.  Today is the day we call "out of the box" where we can add in a few extra details that do not come in the kit.  I added in a sentiment and a little die cut to create this card.  I also wanted to use the candles for a different design element, instead of just a candle.  So here is my card...

MFT June 2016 Card Kit

I couldn't help it.  I had to do another set of rainbow candles.  I really tried to use other colors....but I failed.  So rainbow it is!  I took them right out of the negative with some Press n Seal and then before I attached them to the card front, I added score lines.  

MFT June 2016 Card Kit

Next, I stamped the sentiment from Whimsical Greetings.  I used the little circle/heart die from Blueprints 29.  I inked up a larger stamp and the stamped it on the little heart, so I could get full matching coverage.  I added foam tape to the back of each heart for some dimension.  

MFT June 2016 Card Kit

And last, I added Glossy Accents to each heart.

So this is it for today's June MFT Card Kit "Out of the Box".  I hope you enjoyed today's card, even thought I brought back some more rainbow for day 2.  :)  Stop over at the MFT Blog for more card kits ideas! Thanks for stopping in!

3/31/16

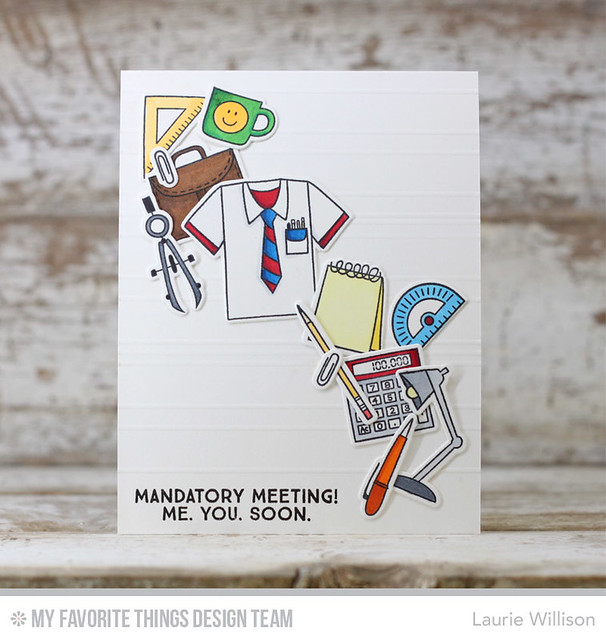
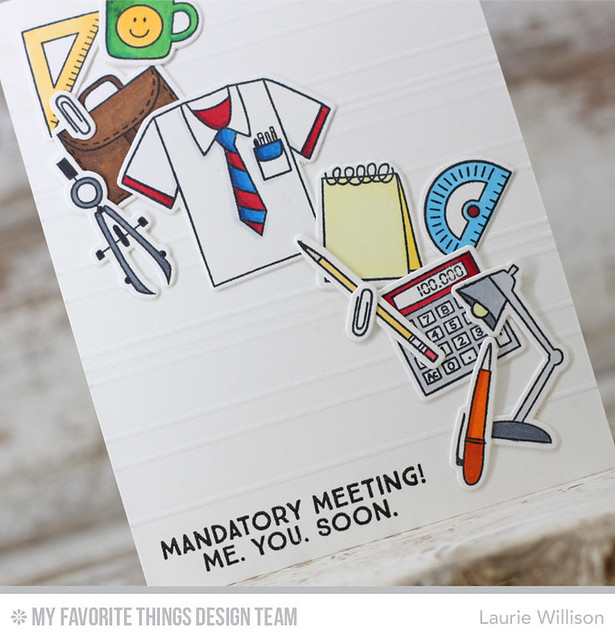
Mandatory Meeting!!

This latest MFT Release has the most adorable set called Get Down to Business.  I love all the images...coming from on office supply nerd....so when I stamped them all out and got them colored....I had to use every single one of them.

Print

I did a quick scored background and then added a sentiment and then using press n seal, glued all those pieces down at once.  I was so fortunate to spend the day with my craft friend, Lori Craig, yesterday and she did a little video of this technique.....but don't laugh at us whispering and laughing and also listening to John Michael Montgomery.  lol!


Print

I actually pulled out the Copics for this.  It was kinda fun!  I'm thinking about pulling them out again soon!  :)

Hope you are having a great day!  Thanks for coming by!

3/19/16

Concord & 9th hello...


logo_home

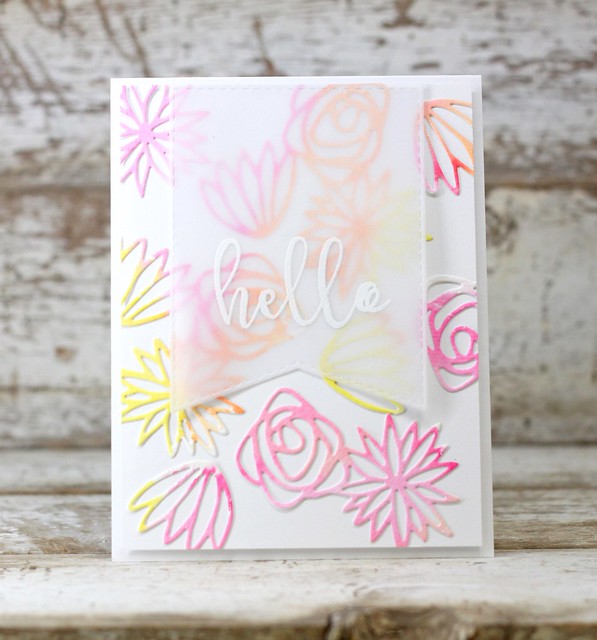
Hey there!  I am back today with another Concord & 9th creation.  This time I am using the new Bouquet Die and, of course, that gorgeous Sophisticated Script stamp set.

IMG_2893

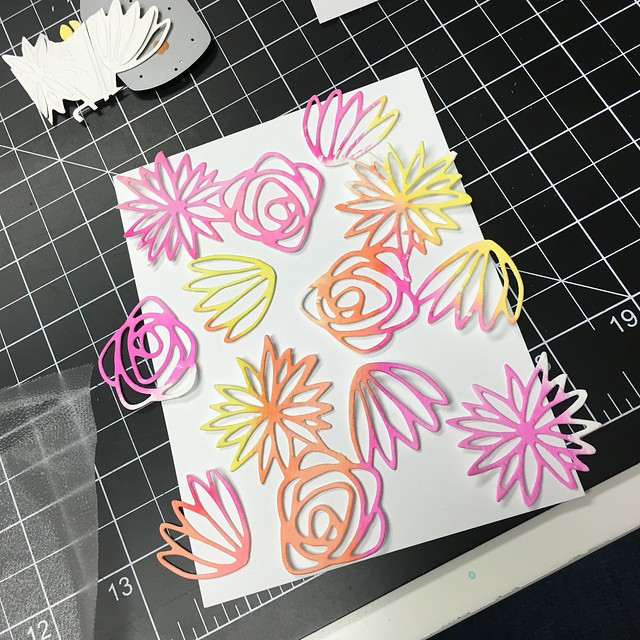
I did a little bit of watercoloring first with my Zig markers and then used that cut out the top of the Bouquet Die flowers with that same paper.

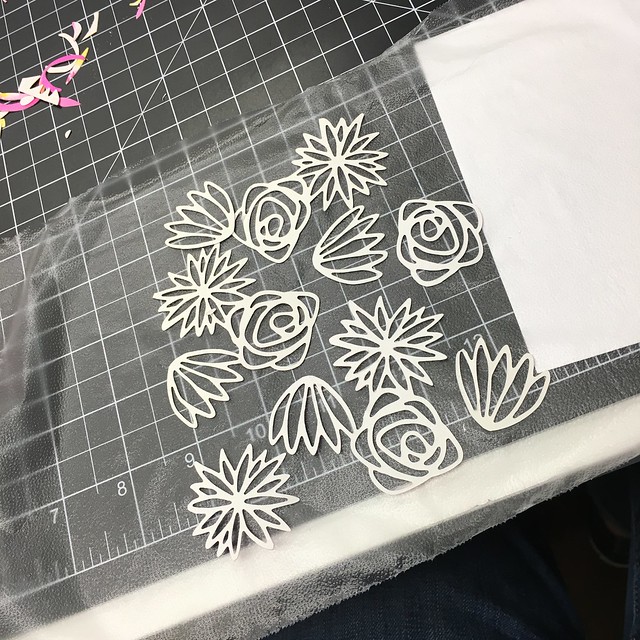
I put the flowers out on the card base....

Untitled

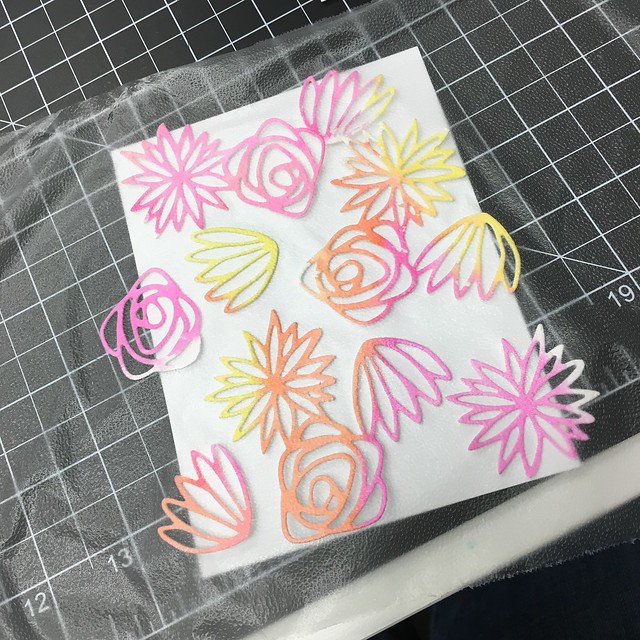
Then I took a big piece of Press n Seal and picked them all up at once....

Untitled

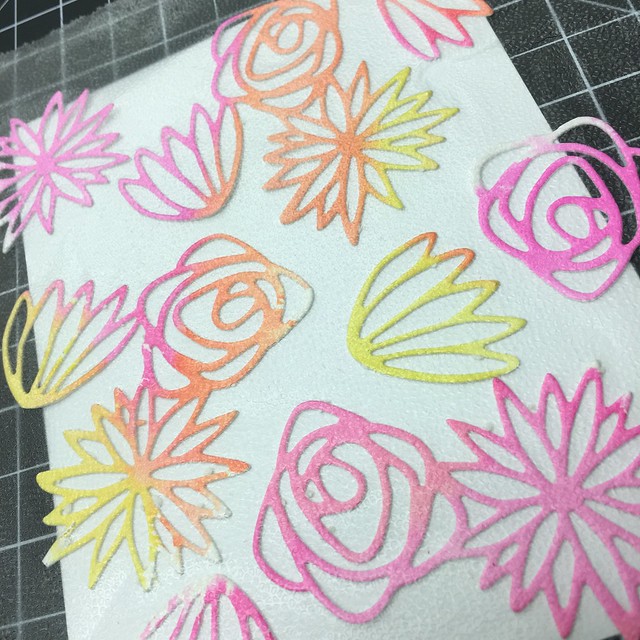
Flipping it over, I added Tombow Mono Liquid Glue dots to the back of all the flowers....

Untitled

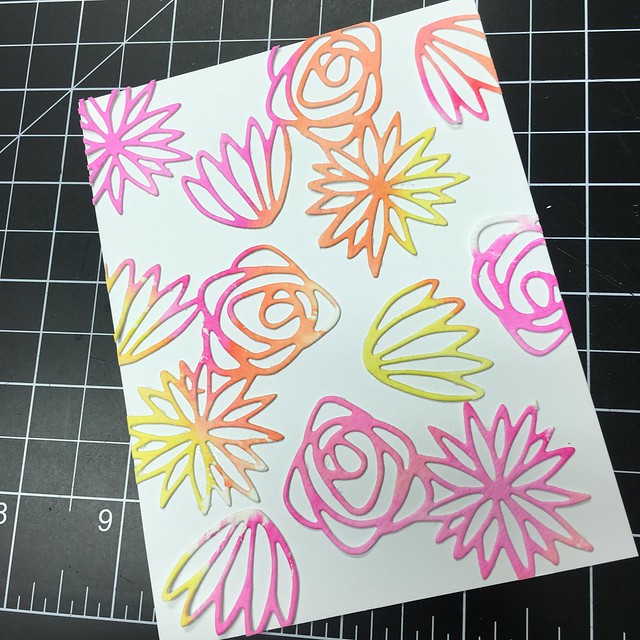
And then flipped it over right on to the card base.  SO much easier to do this all at one time!

Untitled

Then I trimmed up the edges to make the card front...

Untitled

I added it to the card base with some fun foam...

Untitled

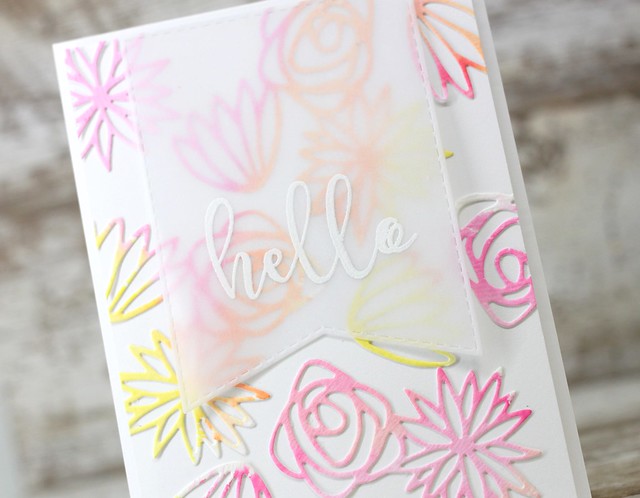
Last, I heat embossed the "hello" on a vellum banner and attached it to the card front.

IMG_2894

This Bouquet die is so pretty as one piece but so much fun to see those flowers separately.

It's Spring Break here at my house so we have lots of fun activities going on.  The kids made a Spring Break list of stuff to do, so it looks like we will be going to the park (a lot) and playing lots of games this next week!

Hope you all have a great weekend! Thanks for coming by!


Supply List: 


BLOG TEMPLATE BY DESIGNER BLOGS