9/29/14

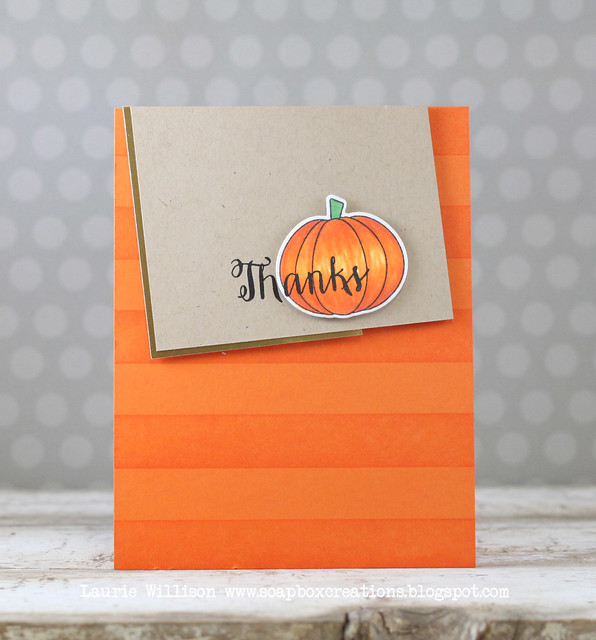
Thanks pumpkin!

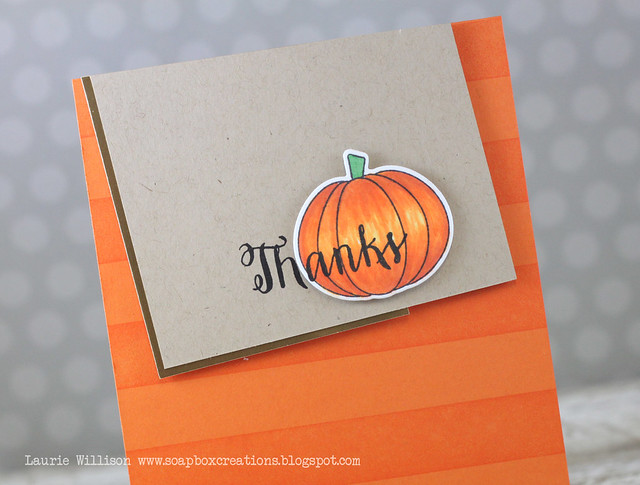
Hey there!  Are you taking the Copic class?  I have started and have learned a couple things just from the first video.  I thought I would put them to the test on something easy. I have a long way to go.  Blending is hard for me.  I pulled out a pumpkin from the new set Thanksgiving Table from Simon Says Stamp.

IMG_0446\

I colored the pumpkin and the cut it out with the matching dies.  The dies cut using just the outline of the image.  GENIUS.  I am a tad bit of a perfectionist.  If I die cut the shape and then stamp the image and its not straight....not a fan.  These dies make the lining up part perfect!  Love that!

I layered the image on craft with a little gold foil peaking out and then onto an orange card base.  I used Versamark and Wide Striped Background stamp from SSS to create the card base.  I put it all together with some foam tape and called it good!

IMG_0447

I am ready for some more fall cards!  Love this weather and the fall season.  Hope you are having a great start to your monday!  Thanks for stopping in!


9/28/14

Happy Everything...

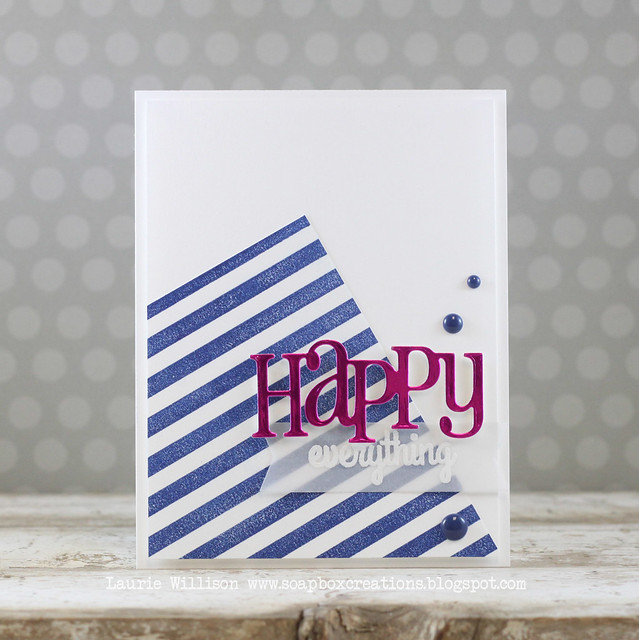
So, I went to Michael's recently with some friends, which is always a treat because I don't have an LSS or a Michael's close to me.  I was very excited to find a bunch of 6x6 glitter paper packs and foil paper...paper packs and so you know I had to buy them all.  They were on clearance even!  Up until this point, I had only used gold foil paper so I was really excited to find all these colors.  I came home and made this up right away...

IMG_0427

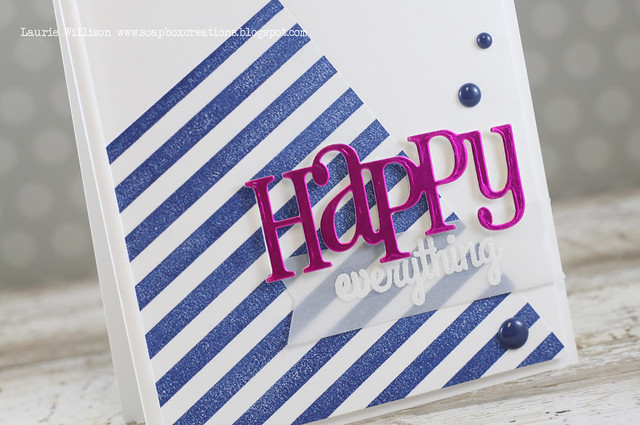
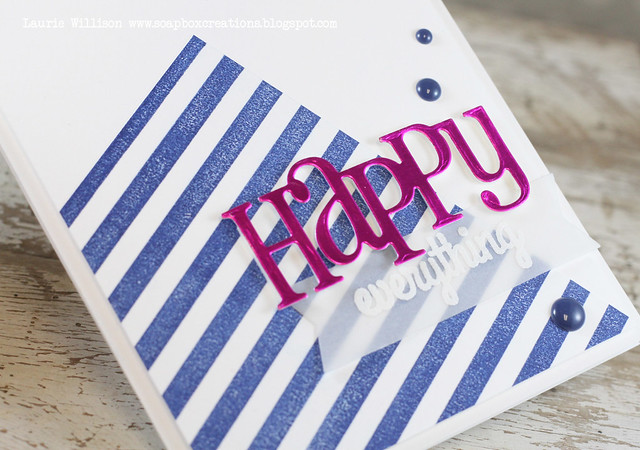
I adore this "happy" die from Whimsy Stamps!  I love the font and the placement of the letters.  I used a sentiment from Happy Everything and heat embossed it on a vellum banner.  (This looks like the last "happy" card I made using this die...the stripes are just pointed a different direction...) I used an Impression Obsession Striped background stamp to make the tilted panel in the background and then added in some navy enamel dots.  

IMG_0435

I just love the shine of that foil.  I think all the packs were from DCWV.  

IMG_0440

I better get going.  We are headed to church this morning and I teach Sunday School for the littles.  I better go get ready!  Hope you have a wonderful Sunday! Thanks for coming by!  

9/25/14

Ho Ho Ho...

I'm sure you haven't noticed, but I sure did!  Today is my first post in over a week!  Wow!  That isn't like me.  I have been so busy this last week stamping with friends here in Kansas and I have completely neglected my blog!  So I am back today with a guest post for the lovely Nina and Waffleflower!  

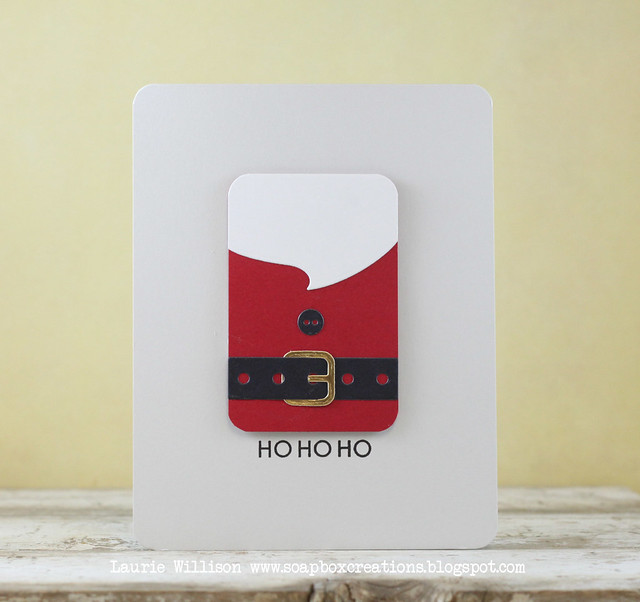
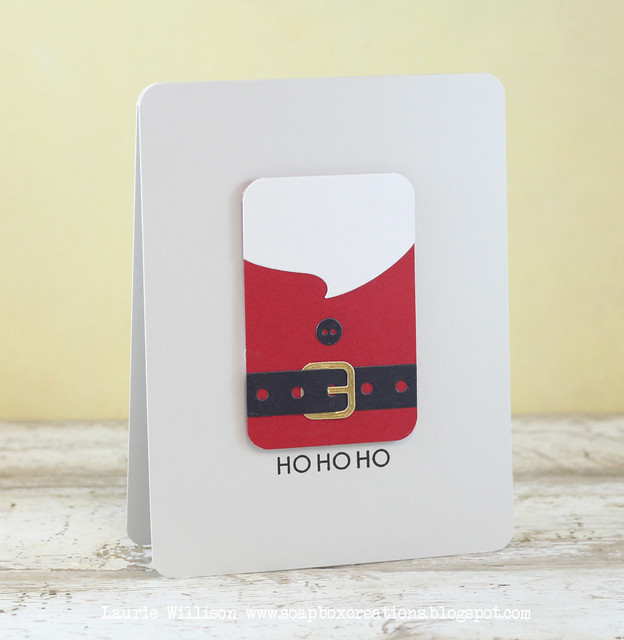
This first card features her new die called Santa Tag Die.  My dad has played Santa every year for the past 30 or so years, so I love all things Santa.  When I saw this tag, it totally made me smile!  

IMG_0417

I cut the pieces all to fit the belt and beard and then layered them together.  I used my corner round to finish off the edges.

IMG_0418

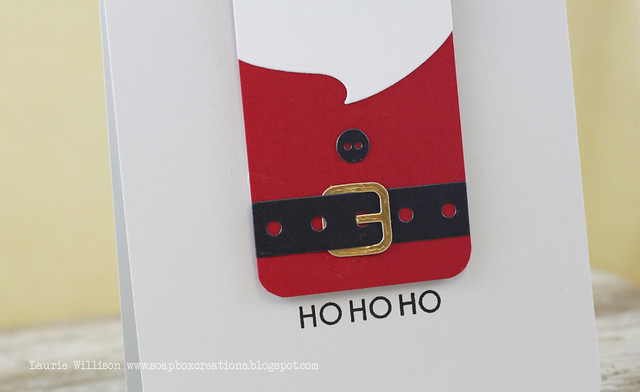
I cut the buckle out of gold card stock for some shine and then added in the Ho Ho Ho from the set called A Homemade Christmas Set.

IMG_0420

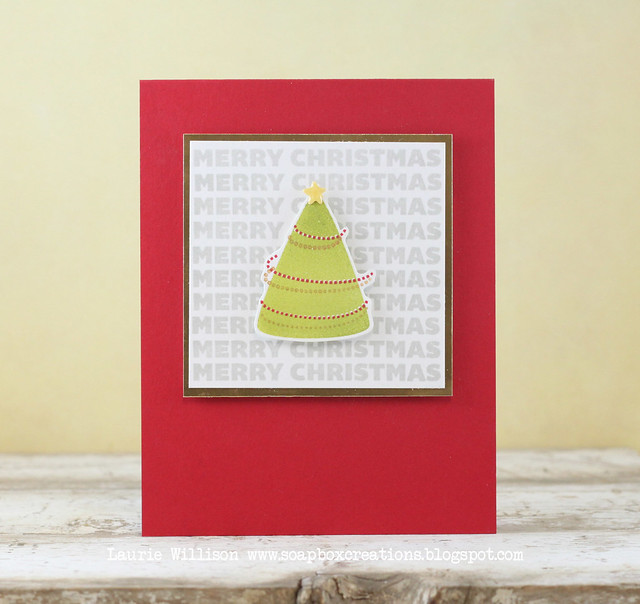
I made another CAS card using A Homemade Christmas set.

IMG_0413

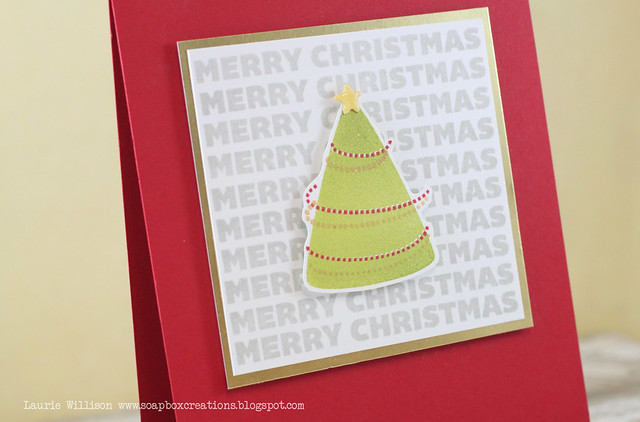
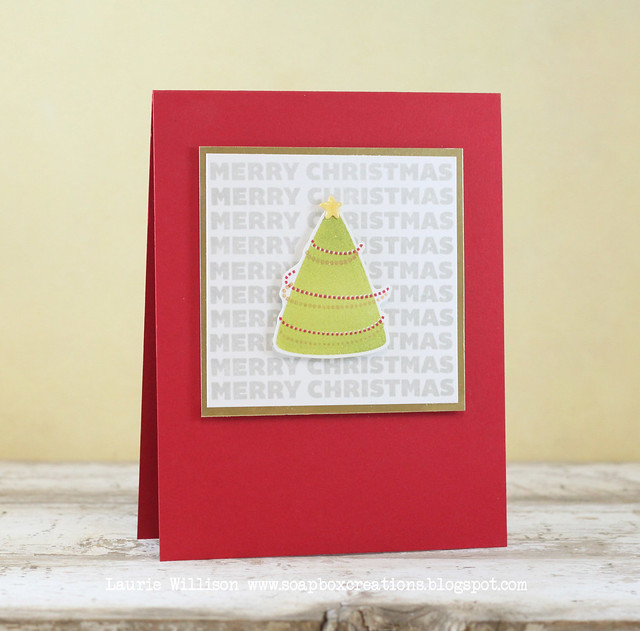
I stamped the Merry Christmas in Fresh Ink Provincial Gray and then matted it with some gold card stock.

IMG_0415

I stamped this adorable little tree and then used red and gold ink to decorate the tree with the garland stamp.  I added in a tiny yellow heart to the top of the tree using the Tiny Star Die. I added in some Glossy Accents to finish it off!

IMG_0414

So that is all I have for you today.  I hope you like my cards and are getting in the mode to make your own Christmas cards!  We have less than 95 days to go!  lol!  (I need all the days I can get!)

Hope you are having a great week!  Thanks for coming by today!

9/17/14

Stamp Winner

I am so sorry to be a day late with the Planner Stamp Giveaway winners, but we have had a lot going on here in the last couple of day and I am just now getting a chance to sit down!  

So the winners of the Planner Stamps from StudioL2E are:

Gina and Tracey McNeeley!

Please email me at llwillison@hotmail.com with your info and I will pass it on to Kanani over at StudioL2E.

Thanks so much for all your comments and I am so glad to know there are lots more planner nerds out there too!  :)  

Hope you are having a great week!

9/16/14

CAS White Christmas Card...

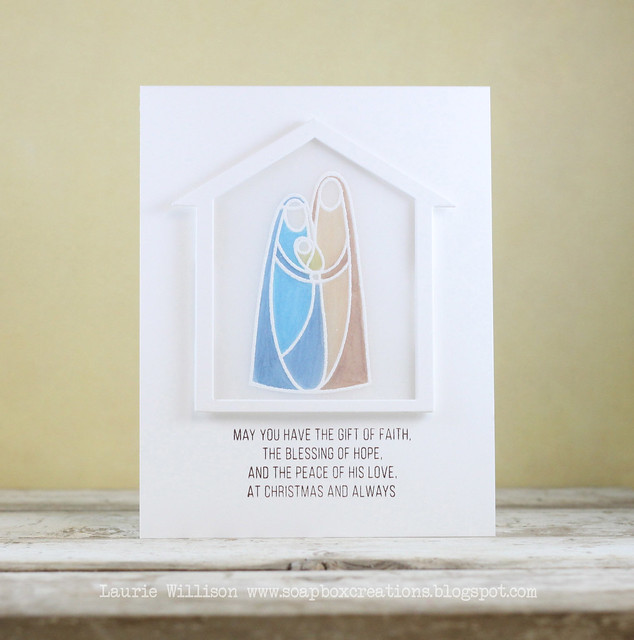
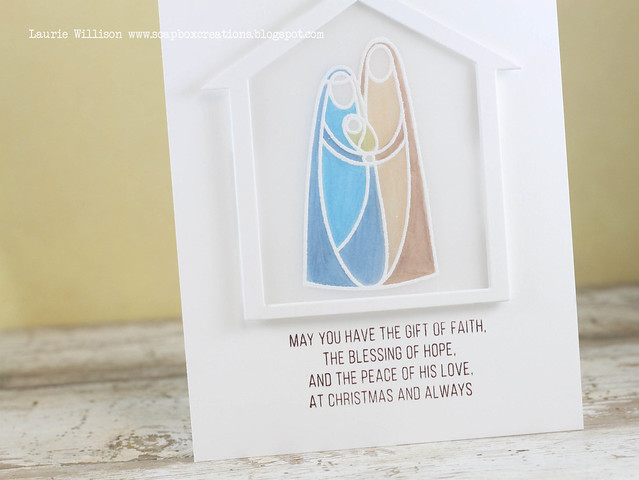
This new Nativity set from Simon Says is amazing!  I love how versatile is because you can color it or in this case,  keep it pretty simple.

IMG_0411_edited-1

I cut about 5 of the little stable die cuts and layered them on top of each other.  I heat embossed the Mary and Joseph image with white embossing powder onto vellum and then layered that behind.  I used Copics to color the vellum and give it a stained glass look.  I stamped the sentiment at the bottom to finish it off.


IMG_0410

Are you ready for Christmas cards?  I read today that we have 100 days till Christmas!  Can you believe it?  I am going to try my best to make and send more cards this year!  Keep word....*try*.  :)

Thanks so much for stopping in!  Hope you are having a great day!


Supply List...


9/15/14

Wishing Well Curtain Call

IMG_0403

It's time for a new Curtain Call Inspiration Challenge!


We have a wonderful new sponsor, Clearly Whimsy Stamps, for the Curtain Call Inspiration: Wishing Well!  A randomly selected participant in the Wishing Well challenge will receive $25 store credit to Whimsy Stamps and the LEAD will be invited as Guest Designer of a our next challenge!

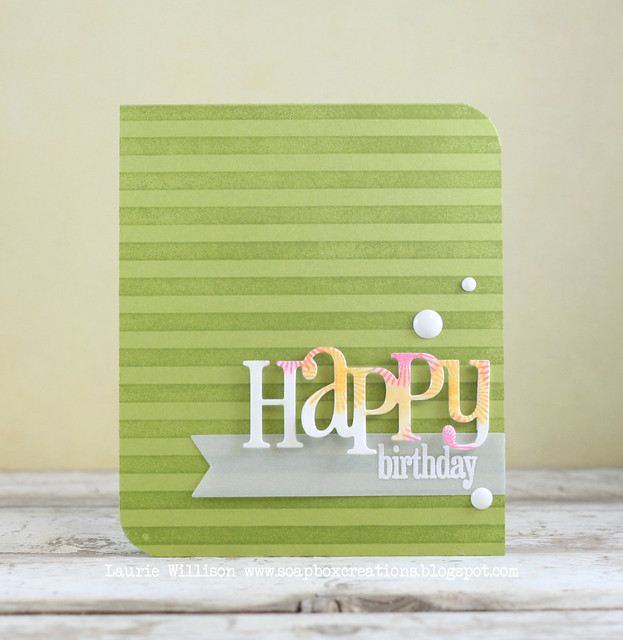
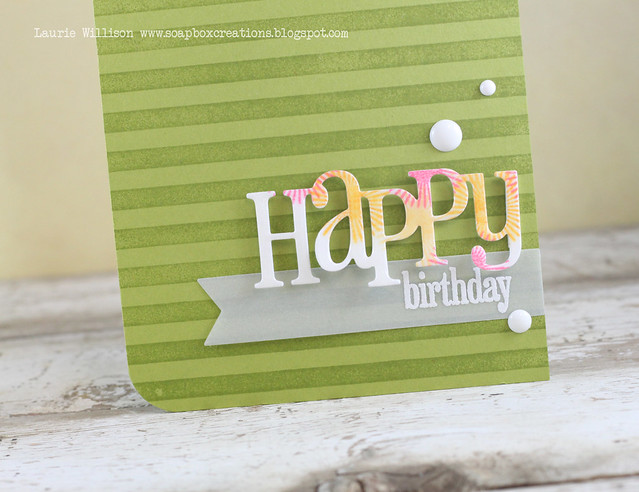
For this card, I used the Whimsy set called Happy Everything.  I stamped the little start bursts in Harvest Gold, Summer Sunrise and Hibiscus Burst.  Then I used the Happy die to cut out that adorable sentiment.  The background is made with Versamark stripes.   I added in the "birthday" on a vellum banner and then finished it off with some white enamel dots.  


IMG_0404

Make sure you visit each of the designers' blogs for more inspiration!

Wishing Well Designers

PTI Release in Review...

Have you loved this latest PTI Release?  So many fun new things right?  I have had a ball creating with each new die and all the new stamp sets.  Today I have a line up of my final projects.

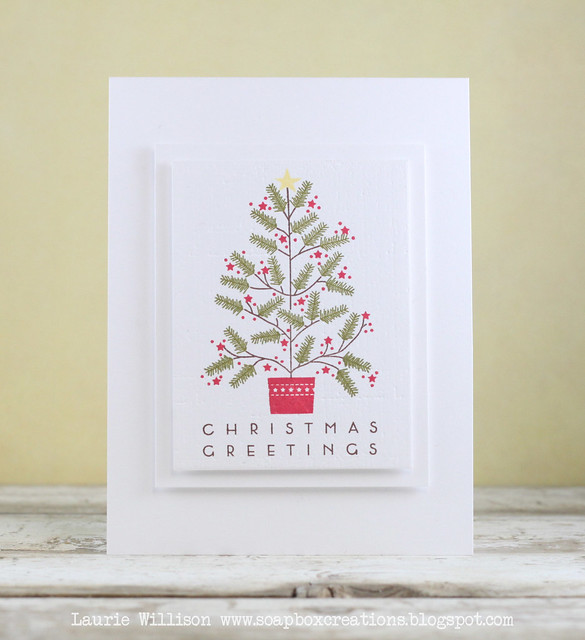
This first card showcases the new set called O'Tannenbaum.
IMG_0395

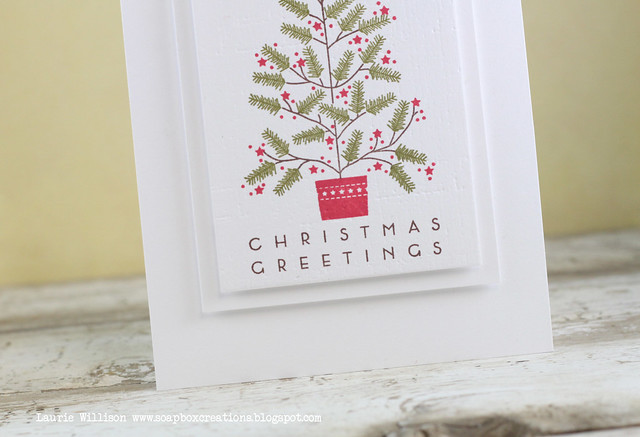
 I stamped the tree onto the smaller panel and the sentiment from Wet Paint Holiday.  I impressed that front panel with the Linen Impression plate.  Then I layered it with another piece of white card stock, before attaching it to a plain white card base.  
IMG_0396

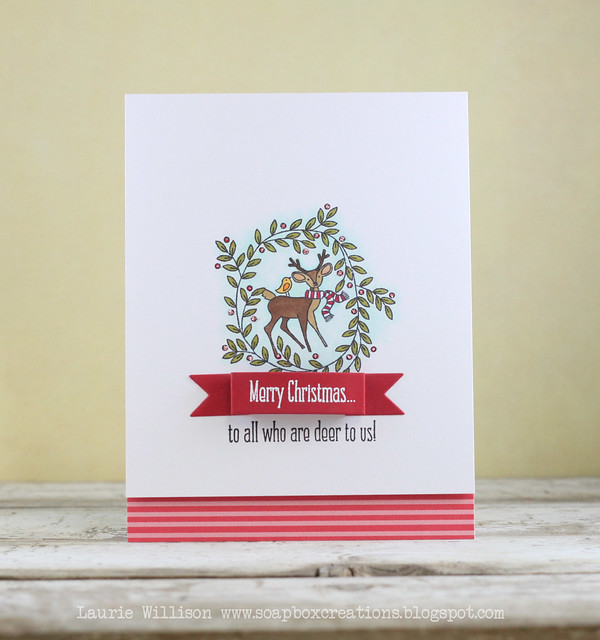
On this next card, I used Santa's Sleigh.  
IMG_0399

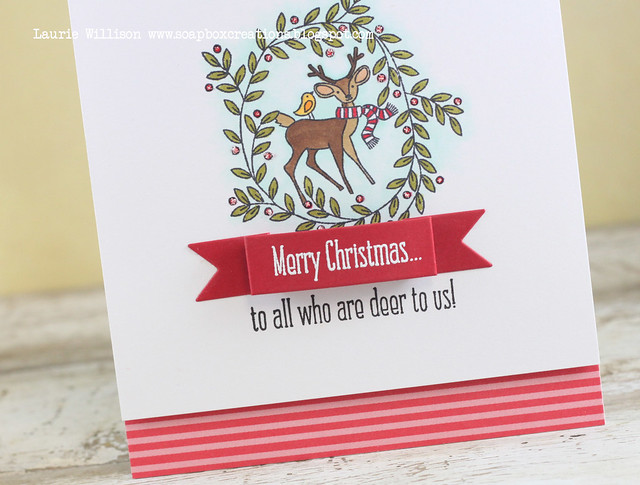
If you know me, you know I am not a big fan of coloring...only because I am not good at it.  So this adorable little image was right up my alley.  Because it was easy!  I added some BG10 Copic around the wreath and blended it out....which I was slightly proud of because I don't blend well usually.  Then I just colored the rest of the image in with various other Copics.  There is a little dot of Stickles on each of the berries in the wreath for some sparkle!  I stamped the sentiment on one of the banner dies and heat embossed it and then folded it up.  I added in some Pure Poppy Striped paper at the bottom to tie all the reds together. 
IMG_0402

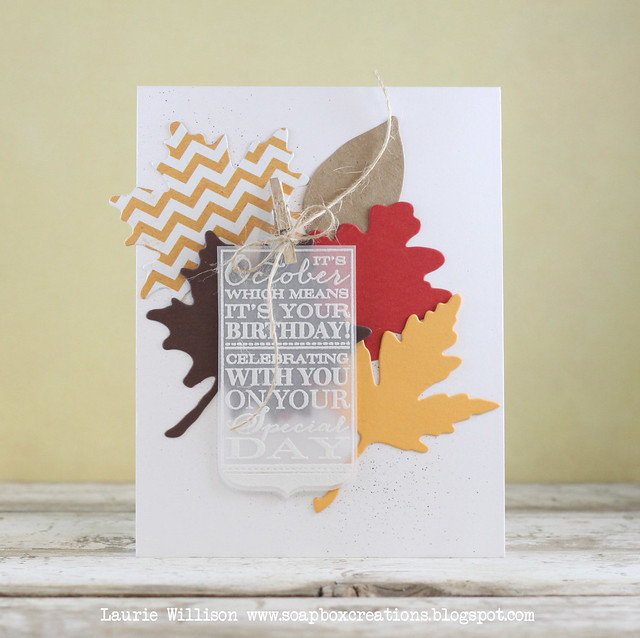
Birthday Classics: October was used for this next card...
IMG_0397

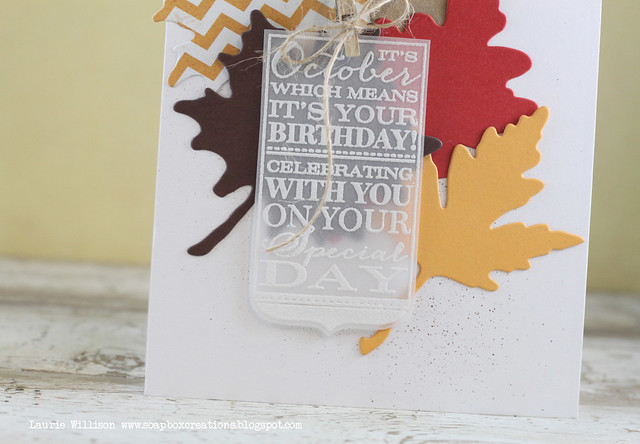
I die cut several leaves using the Leaf Print dies.  I heat embossed the sentiment onto Vellum with some White Filigree Embossing powder.  Then I attached it to the card with a little strip of hidden foam tape at the bottom and a mini clothespin.  I tied a twine bow on too, for more of a fall real.  Oh! I also added in some brown Copic mist with a Tim Holtz mister!  :)
IMG_0398

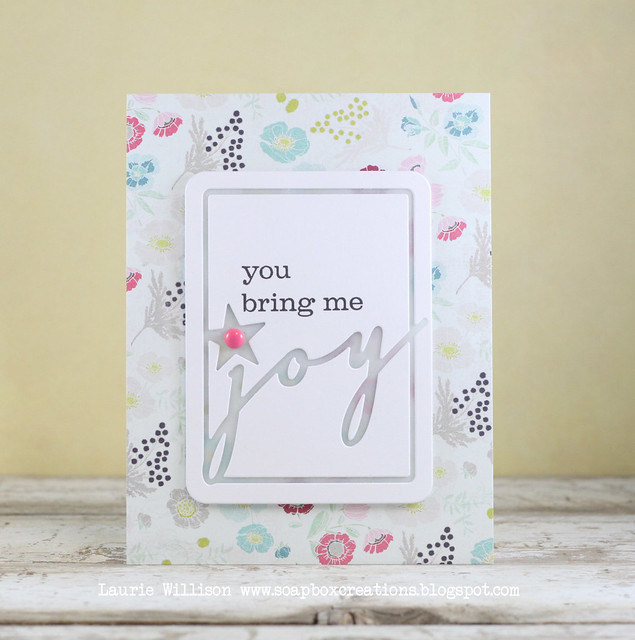
Do you love the Phrase Play dies?  I do!!  Check out the newest in the line up...
IMG_0408

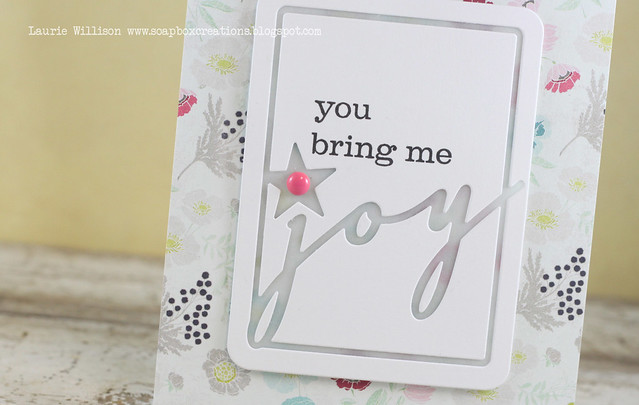
I cut out the die and layered all the outside pieces onto a piece of vellum.  I attached everything with liquid glue and the cut the vellum from around the edges.  I popped it up on foam tape, on top of this fun piece of patterned paper.  I added in a  little enamel dot for a pop of color.  
IMG_0407

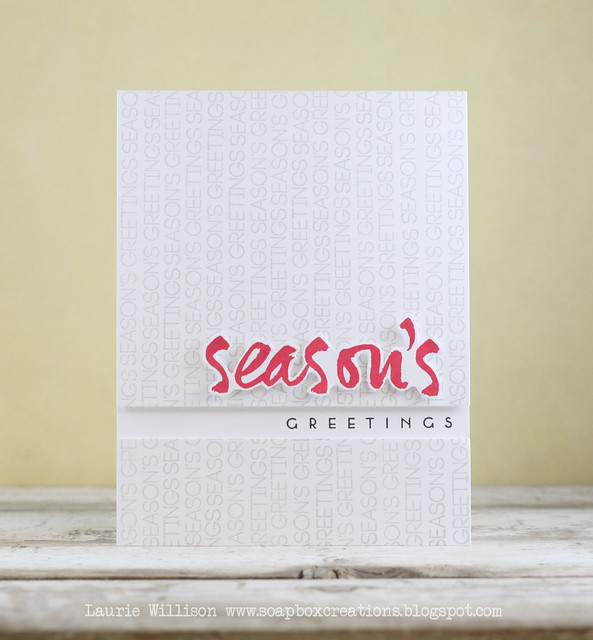
This last card features Keep it Simple: Seasons Greetings and Wet Paint Holiday.
IMG_0393

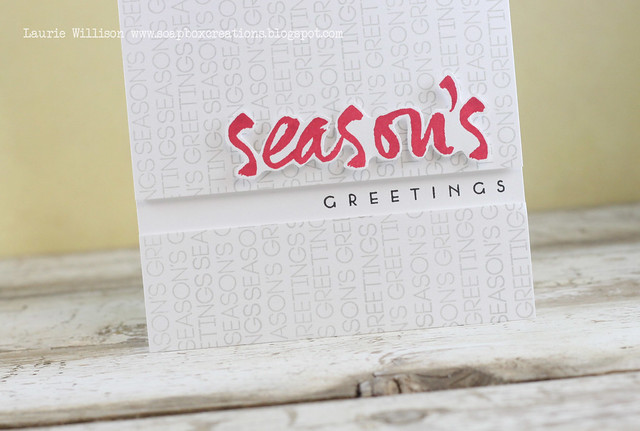
I stamped "seasons greetings" vertically to cover the card front.  Then I cut an opening near the bottom and added in a "greetings" behind the front panel.  I stamped "season's in Pure Poppy and then hand cut the sentiment before I popped it up on foam tape.  This is definitely a non-tradtional looking Christmas card but I thought it was kinda fun!  :)
IMG_0394

So that is it for me today!  I can't believe the week has come to an end.  Do you have your lists ready?  Tell me what your favorite new stamp set is?  Or die?

Check out the rest of the DT!  I am sure they have amazing stuff to see!

Nichole Heady
Betsy Veldman
Heather Nichols
Dawn McVey
Melissa Phillips
Erin Lincoln
Laura Bassen
Danielle Flanders
Ashley Cannon Newell


Thanks so much for stopping by!  Have a great Monday!


Supply List: (All supplies are from PTI unless noted)

O'Tannenbaum

Stamps: O'Tannenbaum
Paper: Stampers Select White
Ink: Dark Chocolate, Pure Poppy, Ripe Avocado, Harvest Gold
Misc: Linen Impression Plate

Merry Christmas

Stamps: Santa's Sleigh
Paper: Stampers Select White, Pure Poppy Striped and Pure Poppy
Ink: Memento Tuxedo Black
Misc: Double Ended Banner Dies, Filigree White Embossing Powder, Copics

On Your Special Day

Stamps: Birthday Classics: October
Paper: Stampers Select White, Dark Chocolate, Canyon Clay, Harvest Gold, Kraft, Vellum
Ink: Versamark
Misc: Leaf Print Dies, Mini Clothespin, Twine, Copic

You bring me Joy

Stamps: Phrase Play #8
Paper: Stampers Select White, Misc Patterned Paper, Vellum
Ink: Versafine Black Onyx
Misc: Phrase Play #8 Die, Enamel Dot

Season's Greetings

Stamps: Keep it Simple: Seasons Greetings, Wet Paint Holiday
Paper: Stampers Select White
Ink: Pure Poppy, Versafine Black Onyx, Fresh Ink Provincial Gray


BLOG TEMPLATE BY DESIGNER BLOGS