9/26/16

MFT Creative Construction...

Our Creative Construction with Blueprints Challenge for My Favorite Things this month was to think outside the box....

Squares and rectangles are pleasing to the eye and lend an orderly feel to your cards but unexpected shapes add energy and excitement! From angled panels and wonky shapes to curves, waves, and special forms – Blueprints provides the perfect solution to any design dilemma. Check out how our designers featured these unique elements in this month’s Creative Construction with Blueprints challenge.

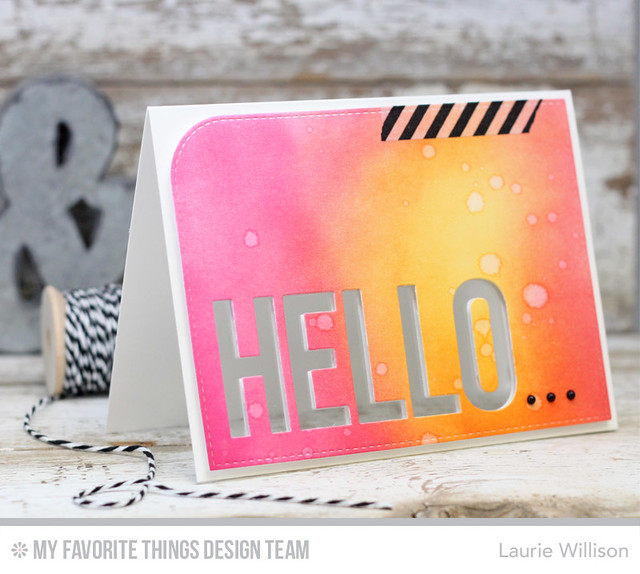
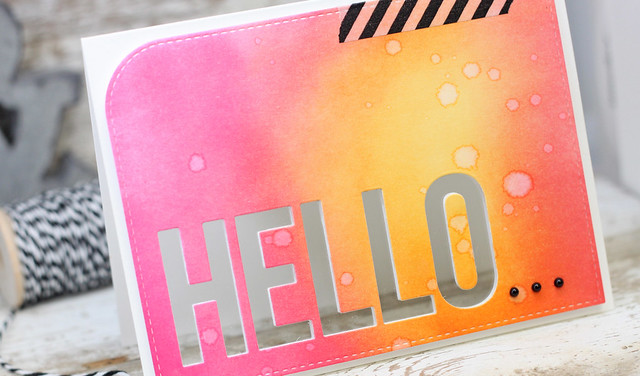
I used Blueprints 22 to make a fun panel, along with the new Hello sentiment die.  I saw a recent video HERE, and was inspired to create a window sentiment card....
Print

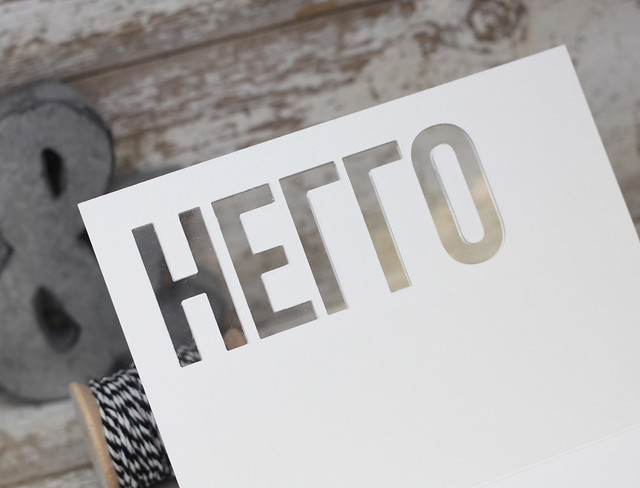
First, I did some ink blending on white cardstock and hit it with some water droplets.  Next, I cut out the large stitched panel in Blueprints 22.  I also used the new Hello die on the front of the card.  I lined up the top of the card with the card base and cut out the second hello.  To anchor the center of the "o", I added some clear acetate to the card base.  
IMG_3716

I finished the card with some washi and 3 black dots...

Here is a shot of the inside of the card.  

IMG_3718

Head on over to the MFT blog to see what the rest of the team has created for today.  Thanks so much for stopping in!

Laurie

~~~~~~~~~~~~~~~~~~~~~~~~~~~~~~~

Supply List:


More of the PTI September Release....

With all the busyness that September has delivered our way, I had 3 sets left to create with for the Papertrey release. After coming home from a couple of trips, I finally had time to sit down and make some a couple projects.

First up, the new Ombre Sentiments: Holiday.
IMG_3723

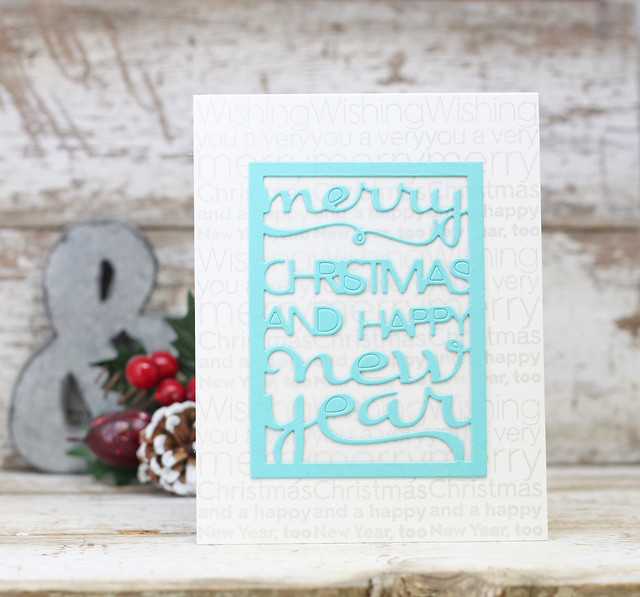
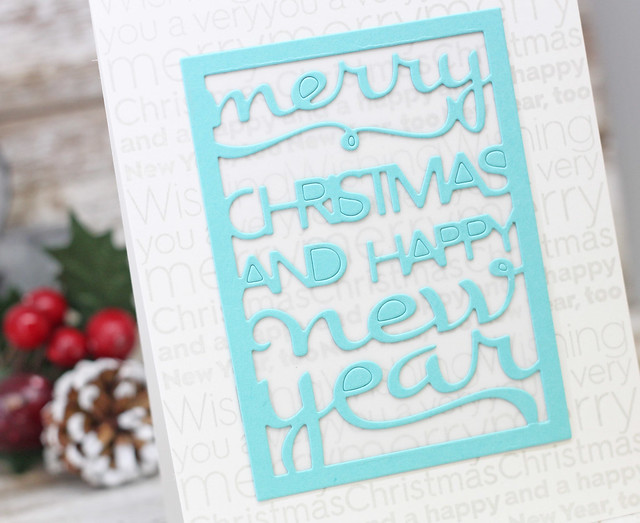
I used one sentient stamp to create a background.  9 of the images fit perfectly in one A2 size card.  I used the Text Block: Christmas die in Hawaiian Shores card stock.....going for totally non-trad colors here....and then added a layer of velum behind it to mute the background just a little.

IMG_3724

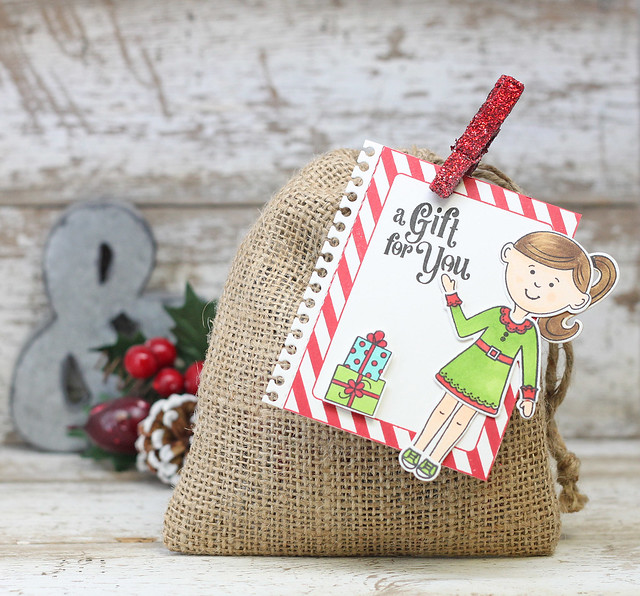
My last project is a fun little tag.  I used Dress Up Dolls: Elves, Elf Sentiments, Fancy Pants: Holiday and Monthly Moments: Spiral Notebook die.

IMG_3725

The frame in Elf Sentient fits perfeclty onto the notebook die.  Then I added in the Fancy Pants sentiment.  I die cut and colored the elf and the packages.  It was so each to clothespin the tag onto a burlap bag filled with candy for a quick and easy gift!

IMG_3725

You can find all the new goodies for this month by clicking HERE.

Hope you have enjoyed my holiday projects and the whole PTI September Release.  Thanks so much for stopping in!  :)

9/22/16

SOA Candy Cane Lane Collection....

Have you seen the latest Collection from Stamp of Approval?  It is the Candy Cane Lane Collection and it is adorable!  And today you can head on over to the SOA blog and sign up on the wait list so this amazing box can be YOURS!  :)

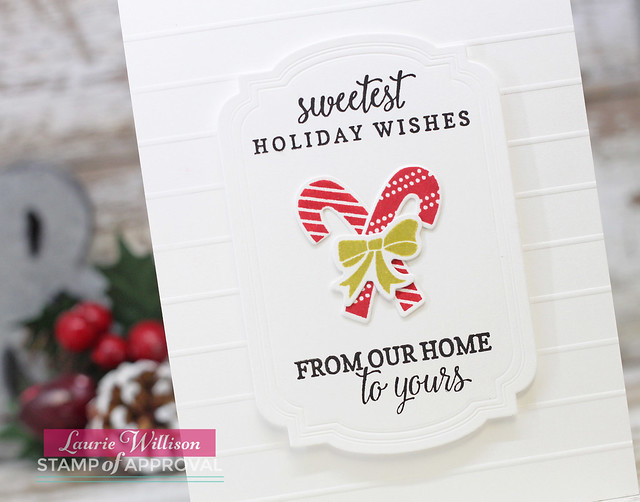
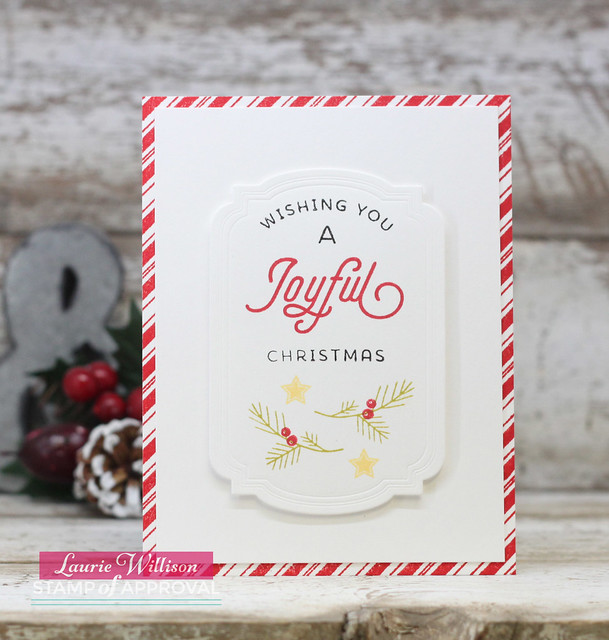
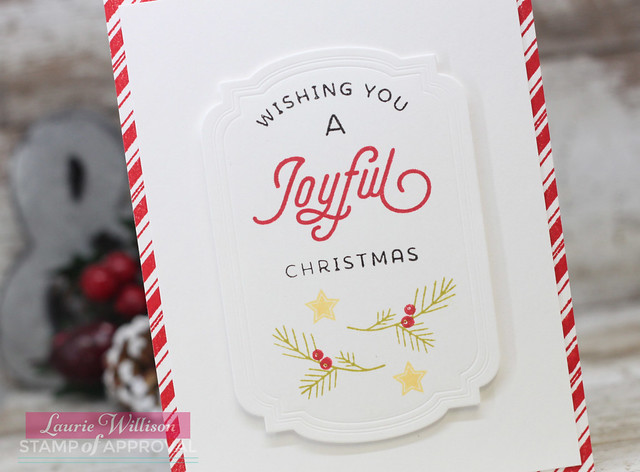
Here is one more quick, CAS card I made using the goodies in the box.....

IMG_3711

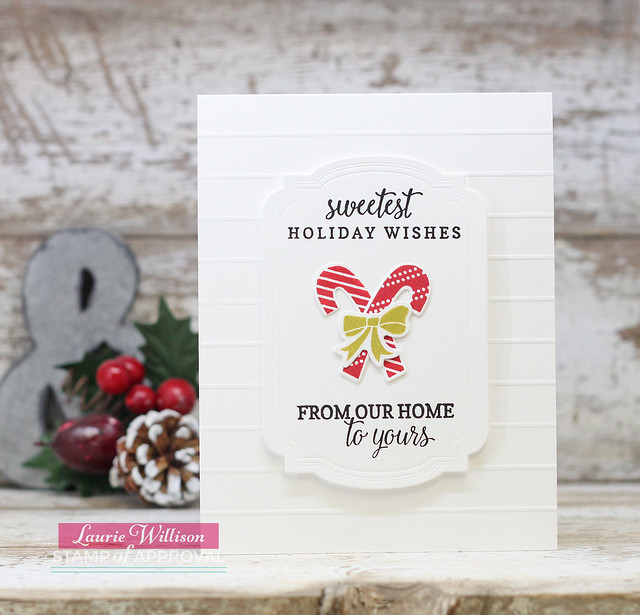
I stamped the sentiment on the table and then added in the candy canes.  I attached the label to a scored card base and done!  Super easy to mass produce for Christmas!

IMG_3712

Head on over to the Stamp of Approval to learn all about this latest collection and how to get a one for your own!  Thanks so much for coming by!

Laurie

9/19/16

Stamp of Approval Blog Hop...

CCL_BlogHop

Hello there!  I am so excited to be hopping along with the ladies over at Stamp of Approval.  IF you don't know what Stamp of Approval is....


Stamp of Approval is a hand picked, exclusive collection of products that were designed just for the box (the boxes are adorable by the way) that releases quarterly. The products from this collection won’t be available for individual sale until much later this year! The first box released last year and sold out within hours, so be sure to subscribe to the Wait List so you will be emailed when the collection goes on sale to the WL on September 21st! Not only do you get a box FULL of amazing stamps and dies, but you’ll get a downloadable PDF Project Guide (for free!) with tons of project tutorials using them!

The newest Collection is called Candy Cane Lane and it is beautiful!  Here are 2 samples I have made, using products from the box.  

IMG_3655

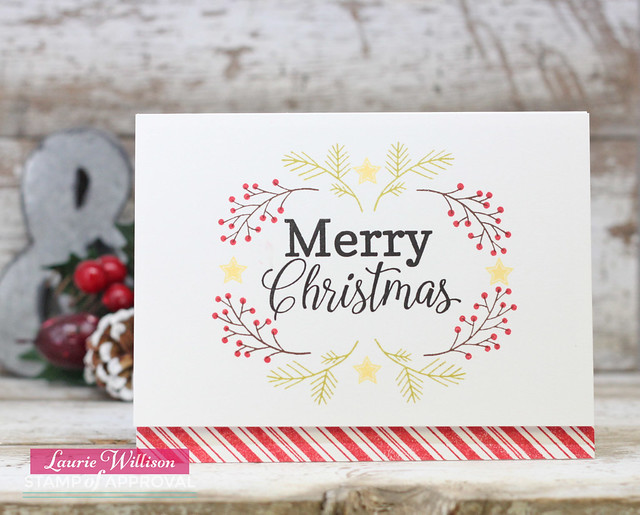
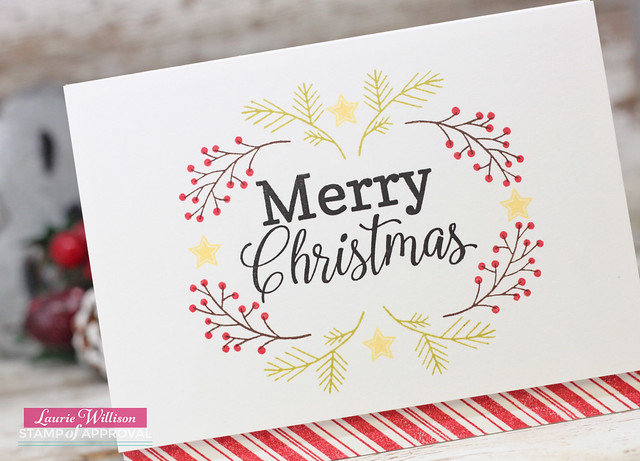
For this first card, I stamped the Peppermint Stick Background for the card base.  I took the sentiment  from Hip Holiday and stamped it in black ink and then took the images from Merry and Bright Boughs and created a fun design.  I popped this card front up on fun foam, leaving a little of the peppermint stick background showing. 

IMG_3656

This next card would be super simple to mass produce for the holidays....

IMG_3659

I used the Peppermint Stick Background on the card base again.  I matted it with a white sheet of card stock to leave about 1/4" of the background showing.  Next, I used that gorgeous embossing die and the sentiment and images from Merry and Bright Boughs, and created a fun panel for the card front.  

IMG_3660

To order this Candy Cane Lane Stamp of Approval Collection be sure to follow this link and get your name on the email notification list. These sell out pretty fast so  head on over to Cathreine's blog to learn more and get your own box!  You will get all signed up and Catherine will email you the instant this collection goes on sale on September 21st. As per the perks of being a StampNation member, you will get the notification one hour before the public notifications go out. Head on over and sign up!

Don't forget to leave a comment on each blog along the hop for your chance to win a box!

CCL_CommentToWin

So glad you came by today!  Here is the full blog hop list!  Don't forget to stop by and comment on each blog.  Have a great day!

Laurie Willison - you are here! 
Lisa Harrolle  
Jennifer Ingle  

~~~~~~~~~~~~~~~~~~~~~~~~~~~~~~~~~~~~~~~~~~~~~~~~~~~~~

Supply Lists:

Card #1


Stamps: Peppermint Stick Background (Catherine Pooler Designs), Hip Holiday (Catherine Pooler Designs), Merry and Bright Boughs (Catherine Pooler Designs)
Paper: Neenah Solar White Card stock
Ink: Versafine Black Onyx, Simply Chartreuse (PTI), Dark Chocolate (PTI), Pure Poppy (PTI), Harvest Gold (PTI)
Misc: Fun Foam 


Card #2


Stamps: Merry and Bright Boughs (Catherine Pooler Designs), Peppermint Stick Background
Paper: Neenah Solar White Card Stock
Ink: Versafine Black Onyx, Pure Poppy (PTI), Simply Chartreuse (PTI), Harvest Gold (PTI)
Misc: Merry Labels Dies (Catherine Pooler Designs)


9/15/16

PTI Release in Review...

Its release day over at Papertrey Ink!  I have just a few projects left to share using the new stamps!

First up, Splits: Merry & Bright....

IMG_3705

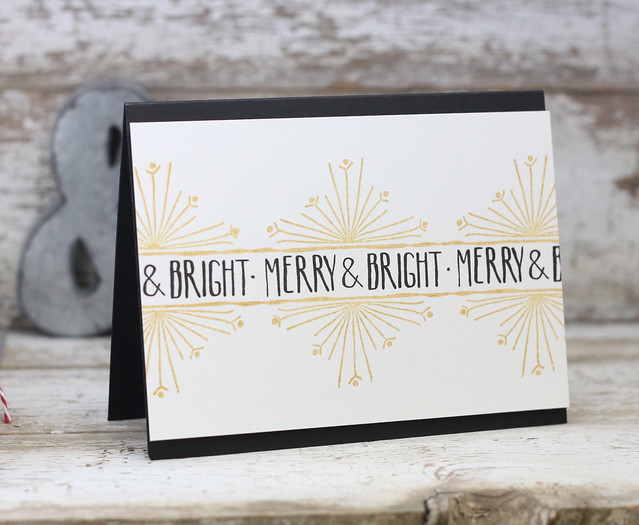
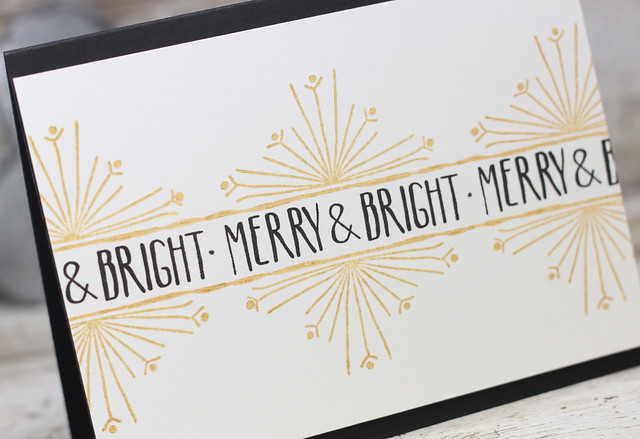
I took a ruler and added a light pencil line down the center of the card and then stamped the image in gold down the middle 3 times.  Next, I stamped the "merry & bright" in black and added in a pen dot in between each sentiment.  I added this card front to a black card base to finish it off. 

IMG_3706

This next tag uses Holiday Swoosh and Holiday Greens Borders...

IMG_3703

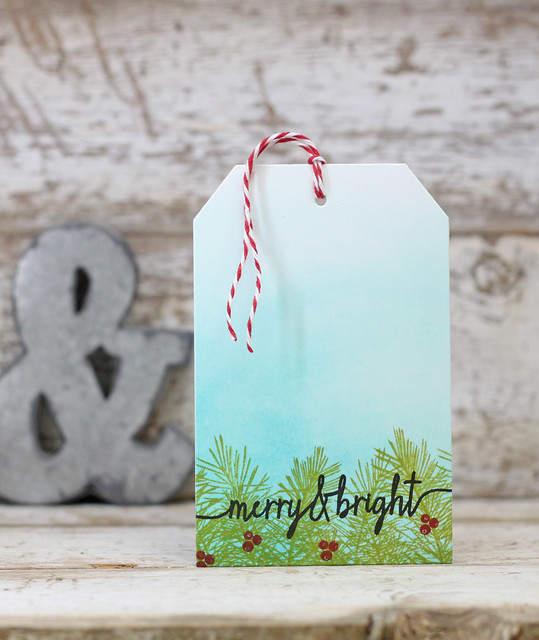
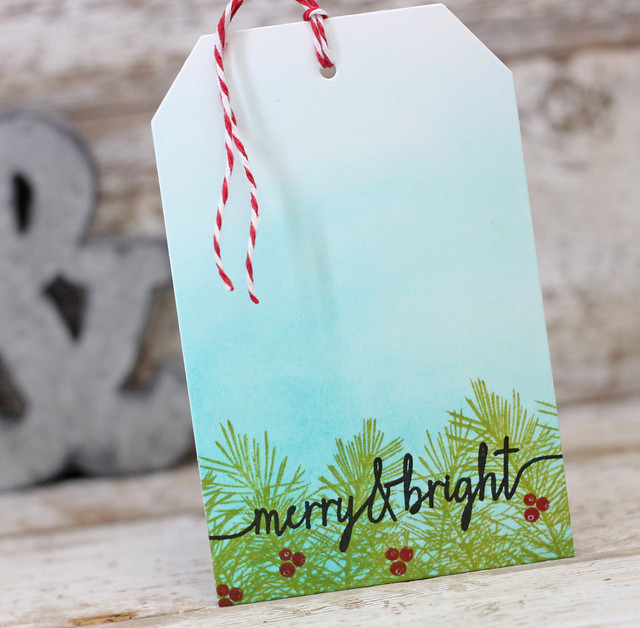
I did a blended ink background for the sky and then added in the border in Simply Chartreuse.  I added in some berries and the swoosh sentiment.  

IMG_3704

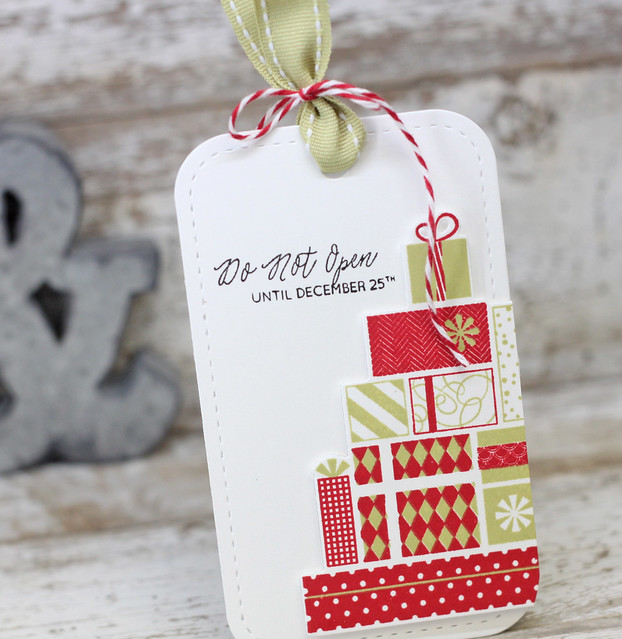
I created another tag using the new set, Gifts of the Season.  

IMG_3701

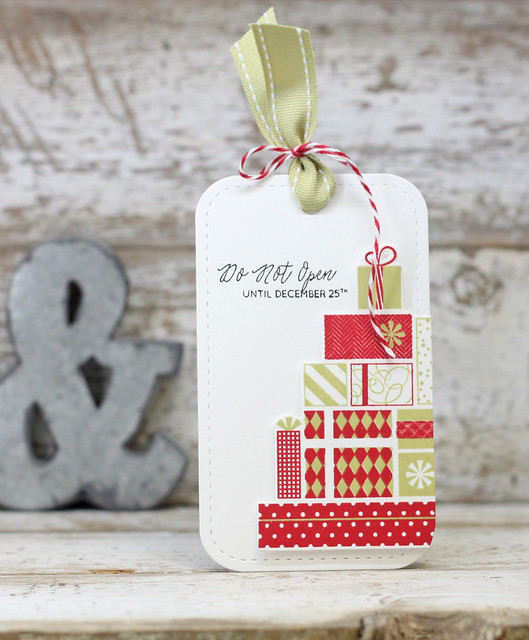
I love this stamp because it is so easy to line up and add the second bit of color to the packages.  I cut them out with the open dies and then popped it up on the tag with foam tape,. I added in a sentiment and finished it off with the ribbon and twine. 

IMG_3702

This is it for me today.  Stop over to Nichole's blog to see more of today's release!  Thanks so much for coming by!  

9/14/16

Trimming the Tree....

Christmas is my favorite holiday!  Pulling out the tree and all the ornaments, always takes me back to being a kid.  I remember all of the traditions that we had back then and it has been so much fun to create new ones with my kids.  Today's group post, for the September Papertrey Ink Release, is all about trimming the tree.  There are some beautiful new sets all about the ornaments.

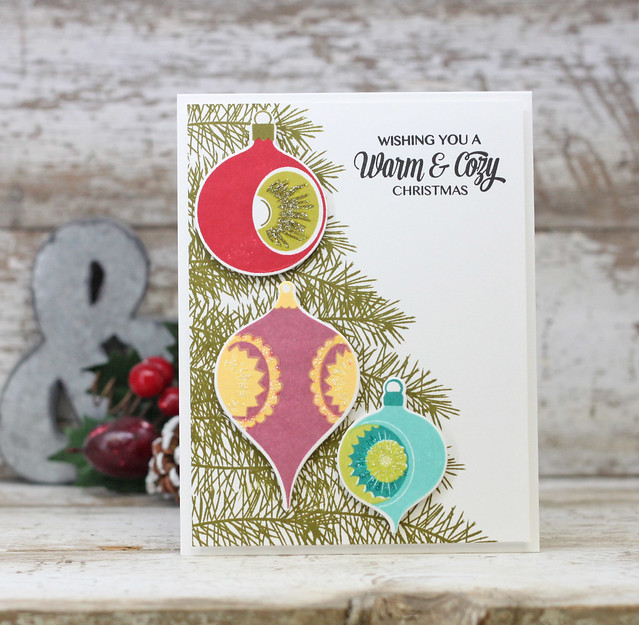
First up, a card using the new set called Vintage Ornaments II.

IMG_3686

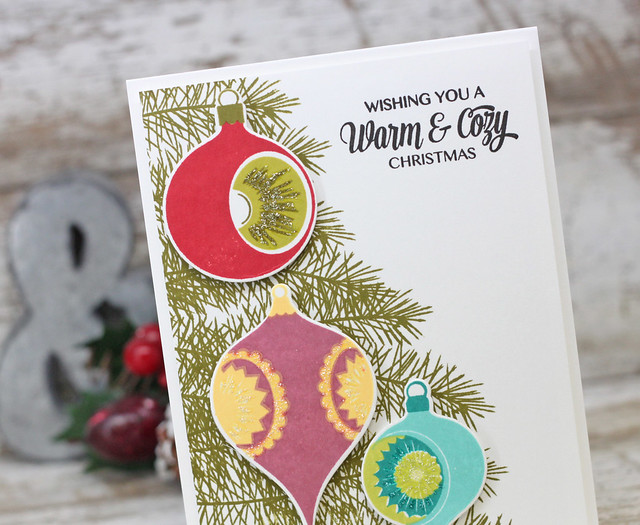
I created a tree in the background using Holiday Greens.  Then I grabbed some Pinterest inspired, Vintage Ornament color combos and stamped out these beautiful ornaments.  Last, I stamped the sentiment in black ink.  I also added some Stickles to the centers of the ornaments for a little bling.

IMG_3687

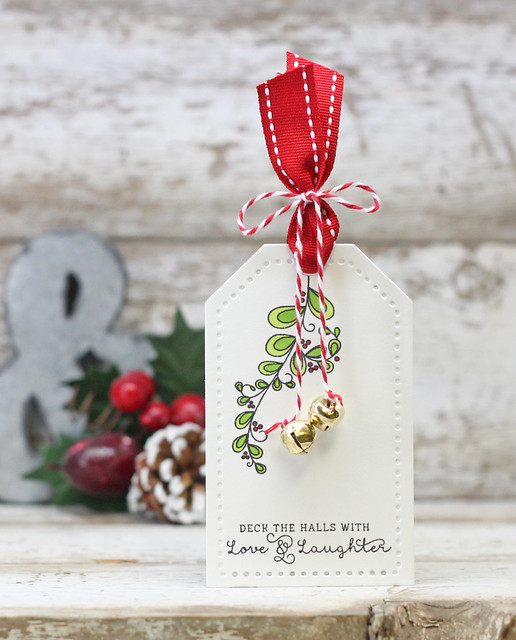
There is a new set in the What the Doodle line, called What the Doodle: Ornament.  

IMG_3689

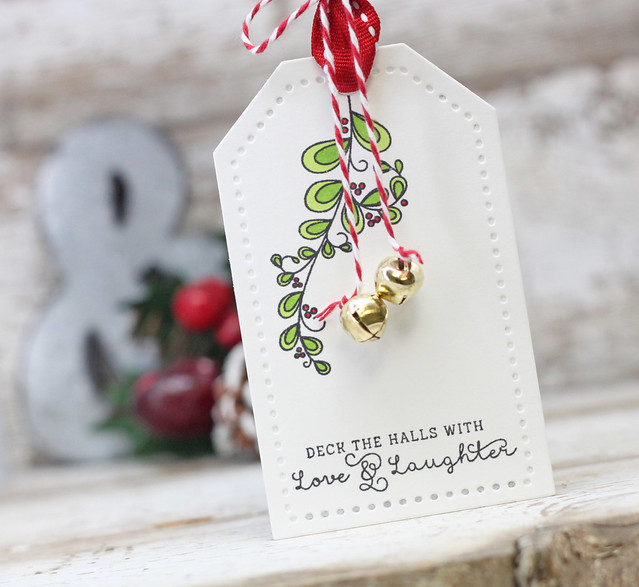
I took the holly image from the set and created this tag.  I colored in the leaves with Copics and then stamped the sentiment along the bottom in black.  I added in some Pure Poppy Saddle stitch ribbon with some twine and bells. 

IMG_3693

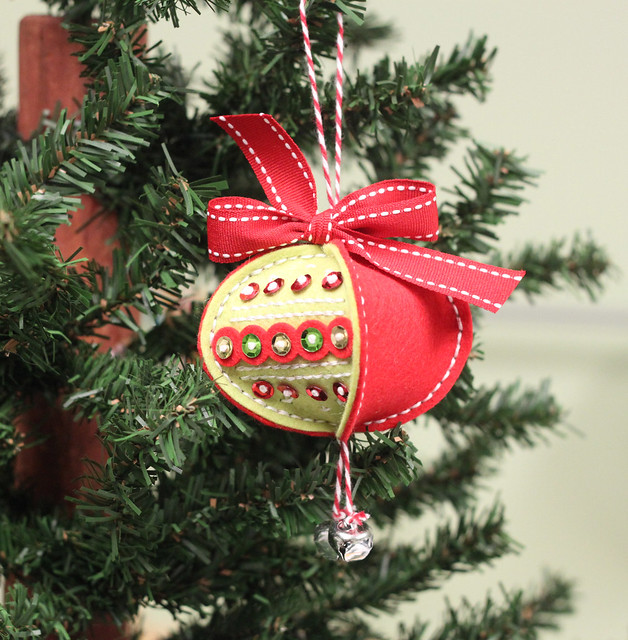
Last is a new die in the Stitched Die collection.  These amazing new dies create several different felted ornaments.

IMG_3700

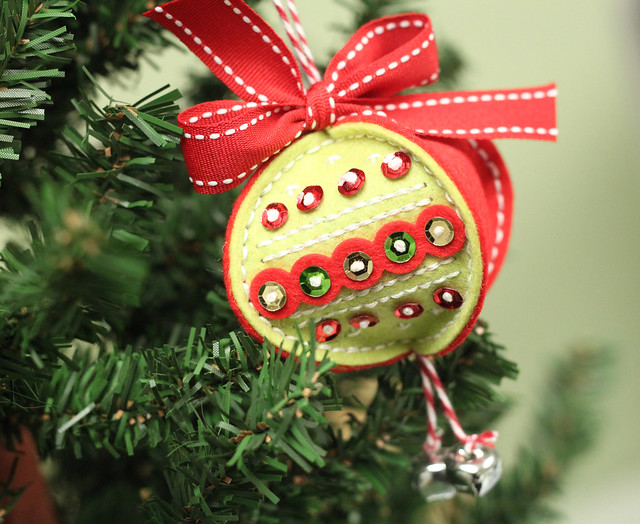
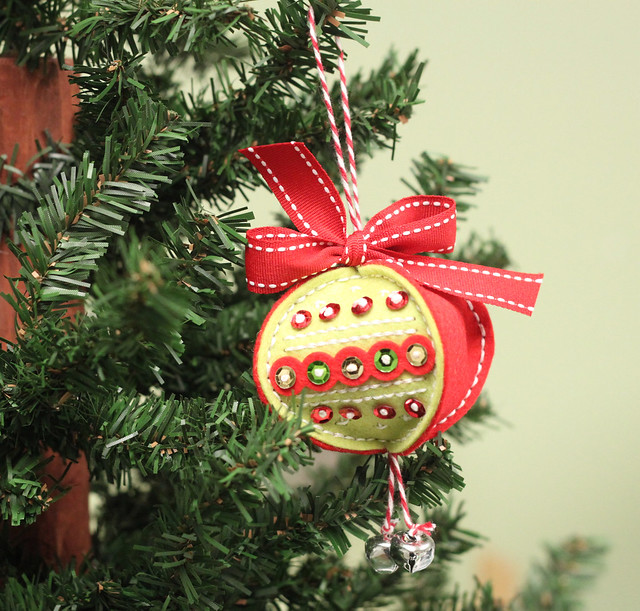
This ornament is the Sequin ornament.  It was so easy to put together.  I added in some regular stitching in white floss and then attached the sequin with french knots.  

IMG_3699

I ran a piece of twine through the center of the ornament to create a loop at the top and then used the tails to add in some bells.  I finished the ornament off with a red bow!  

IMG_3698

Head over to Nichole's blog to check out the rest of the Design Team and their ornaments. Thanks so much for stopping in today!  Have a great day!
SaveSaveSaveSave

9/13/16

Classic Holiday Inspirations...

It's Day 2 of the PTI Countdown and today is all about classic holiday inspiration.  I loved seeing all the Christmas cards come in the mail when I was little.  So many bright colors and lots of glitter and shimmer.  I did some Pinterest surfing and took inspiration from many different "vintage" cards and prints and decor.

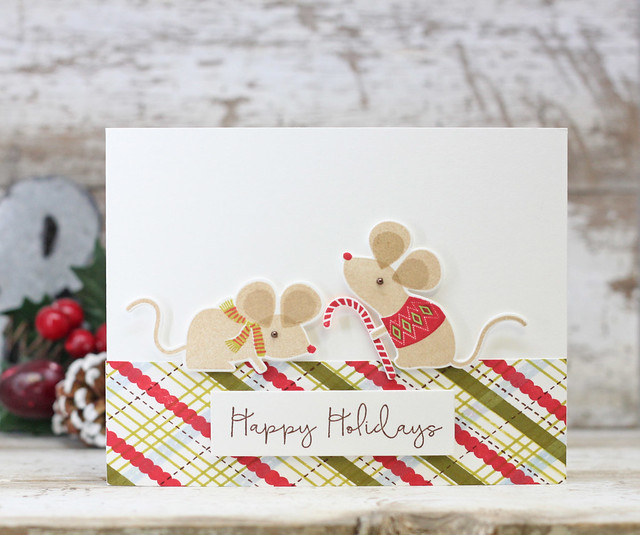
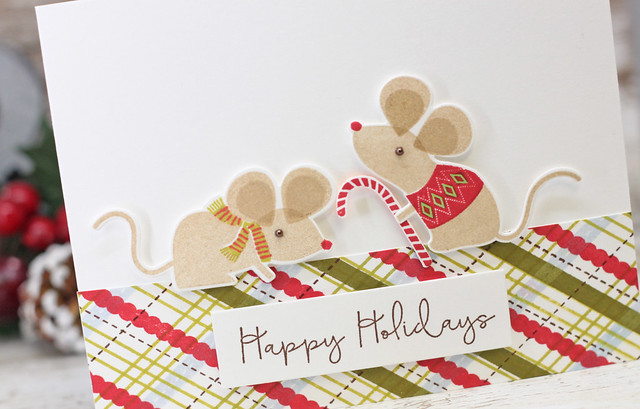
For this first card, I decided to create my own plaid and add these 2 adorable little critters from the new set Christmas Critters.

IMG_3679

These little guys are so easy to stamp and OH so cute!  I added a popped up sentiment and some brown pearls for eyes, to finish this card. 

IMG_3680

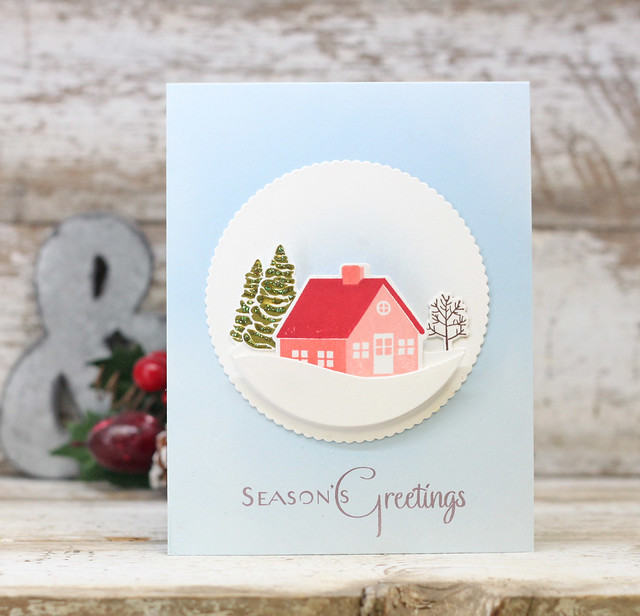
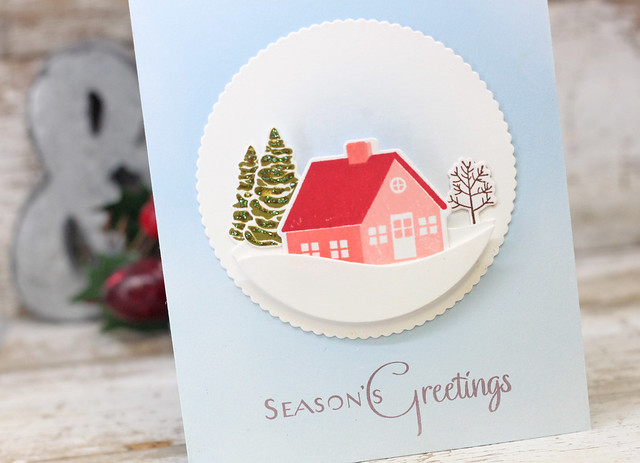
If you look under Vintage Christmas Cards on Pinterest, you will see how I found inspiration for this next card....

IMG_3682

I created a simple scene using the new images from Winter Village.  I added in some blending in the background and glitter on the evergreens.  I did a soft Fresh Snow ink border around the Spring Rain card base to give it that vintage feel.

IMG_3684

Here is a list of stops to check out to see more Classic Holiday Inspiration!


See you back tomorrow for another day of the PTI Countdown!

Laurie


9/12/16

Christmas Faith...

Good morning!  Welcome to the first day of Group Posts for the September PTI Release.  We have some beautiful new products to share with you today.  It's all about Christmas Faith.

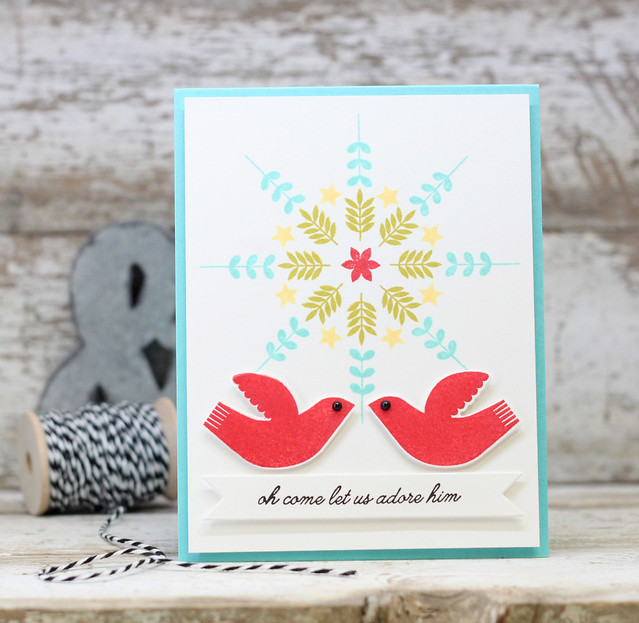
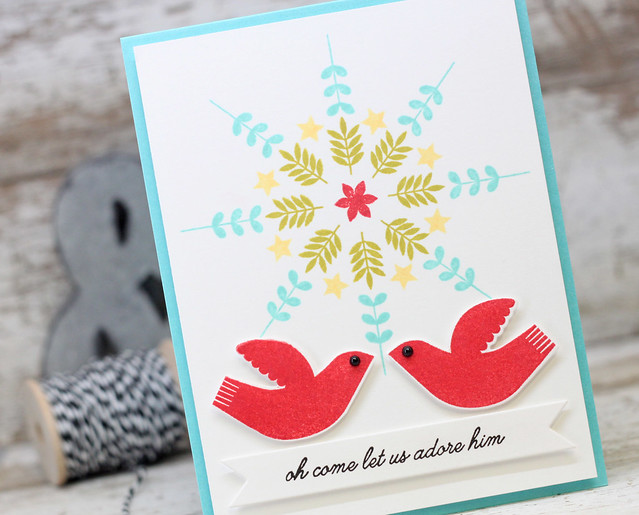
This first card showcases the set called the same....Christmas Faith.

IMG_3673


I did a little pencil graph in the background of this card and then stamped the images accordingly.  I added in the birds and a sentiment on a banner die.  

IMG_3674

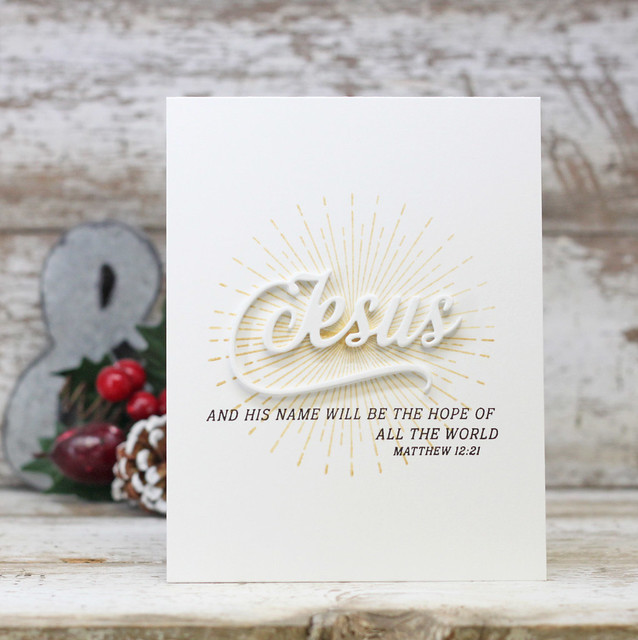
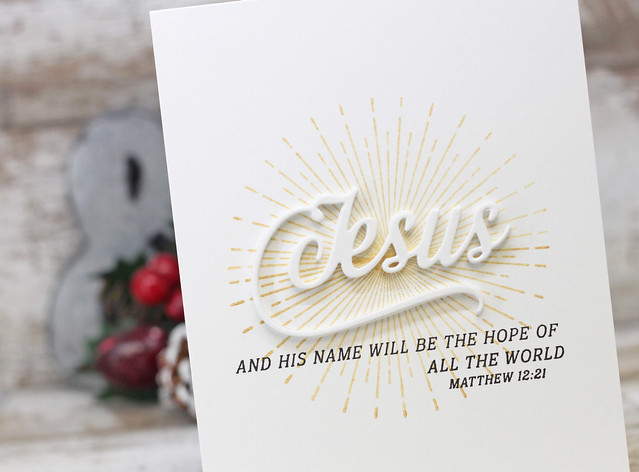
For this next card, I stamped the new Shine stamps in gold ink in the background....

IMG_3675

And then added in the "Jesus" die cut with fun foam.  I added the verse in black ink.  Definitely an easy card to mass produce for Christmas. 

IMG_3676

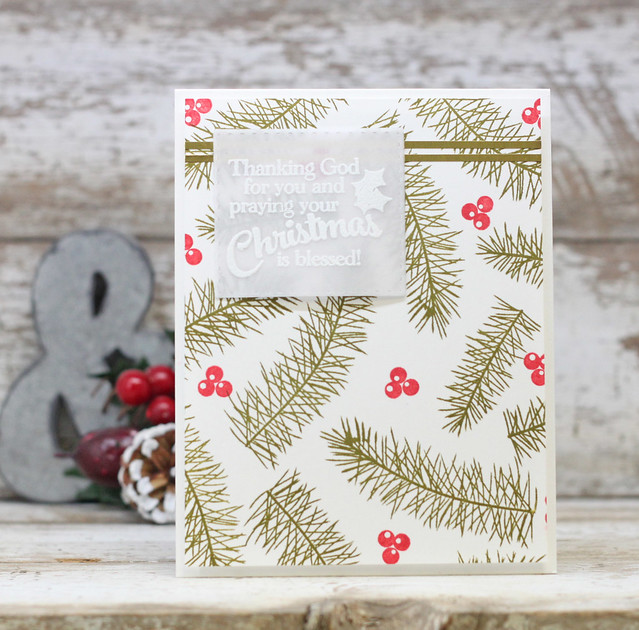
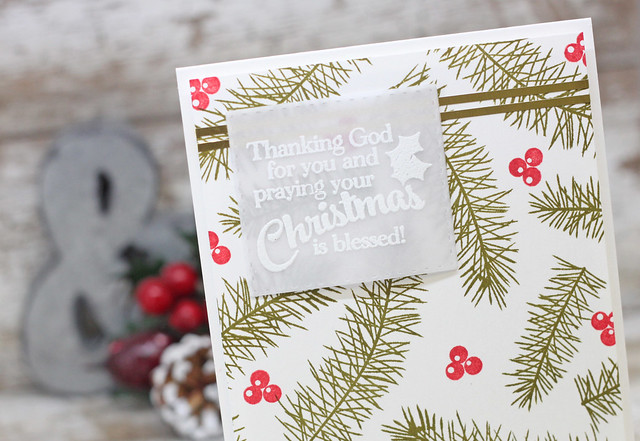
This next card uses the new set called Holiday Greens in the background and the sentiment from A Thrill of Hope.  

IMG_3671

I stamped the boughs in Ripe Avocado in the background along with some berries.  I added the sentiment in on a vellum tag in front of a couple strips of gold adhesive paper.  

IMG_3672

Here are some more stops to make....


So glad you stopped in today!  I will be back tomorrow with more of the Papertrey Ink September Release.  Have a great day!

Laurie

9/08/16

Right at Home: Thank you...

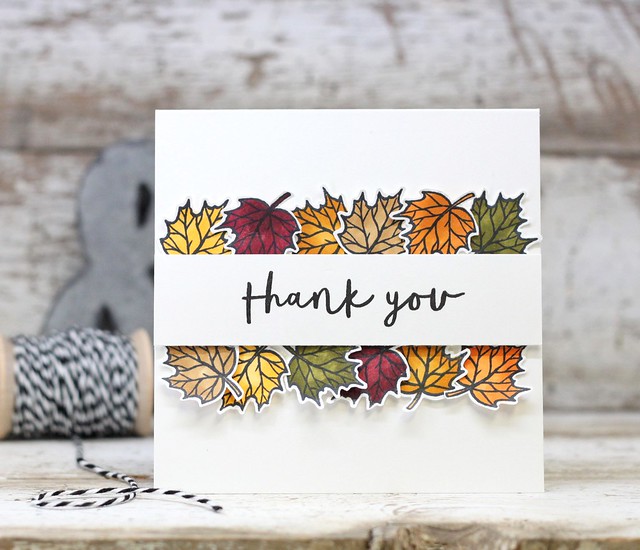
Hey there, crafty friends!  I am stopping in today with a card using the new Right at Home set called Grateful Heart.  I LOVE the sentiment included in this set and all the fun little images.

IMG_3661

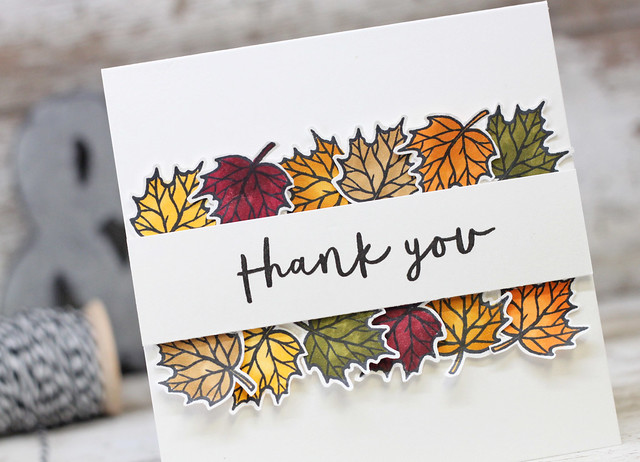
For this card, I stamped several leaves and did some Copic coloring.  Next I took a 1" strip and stamped the sentiment.  I arranged the leaves behind the sentiment and glued the leaves and sentiment strip down to the card base.  Super simple!  

IMG_3664

Right at Home has lots more stamp sets to see in their new release.  Head on over to the Right at Home Store to check them out!  Thanks so much for stopping in today!

Laurie

9/06/16

MFT September Product Launch...

It's time to shop over at My Favorite Things!  The September release is live!  What is on your wish list?  So many fun new stamps and dies this month.  I have one card left to share.  This one uses the new Lined Up Dots Background.

Print

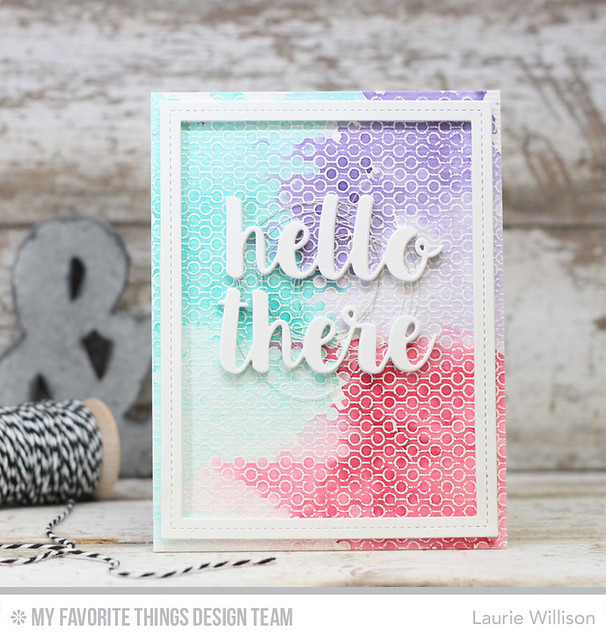
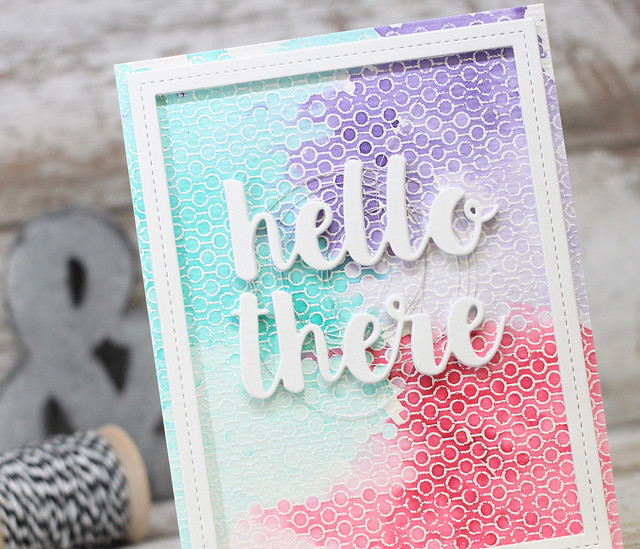
I heat embossed the Lined Up Dots background and then did a little watercolor wash.  I added in the new Single Stitch Line Rectangle Frame.  And to finish it off, I added some silver thread and the Dienamics Hello There and Dynamics Friend for the 3D sentiment. 

IMG_3651

Lots more to see over at the MFT blog.  Thanks so much for hanging out with me on the countdown days.  I have some other MFT cards to share soon!  Hope you have a great day!

9/04/16

MFT Countdown Day 2...

Stopping in today for Day 2 of the MFT September Countdown.  Today I have a card using the new stamp set and die combo, called Harvest Buddies....

Print

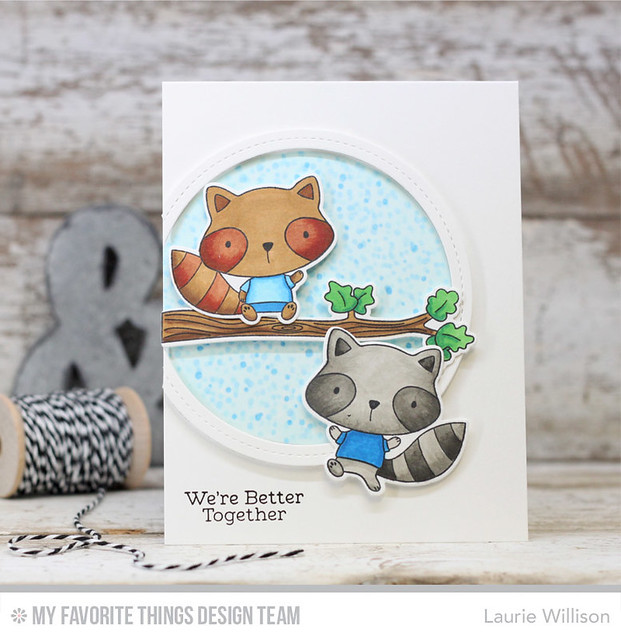
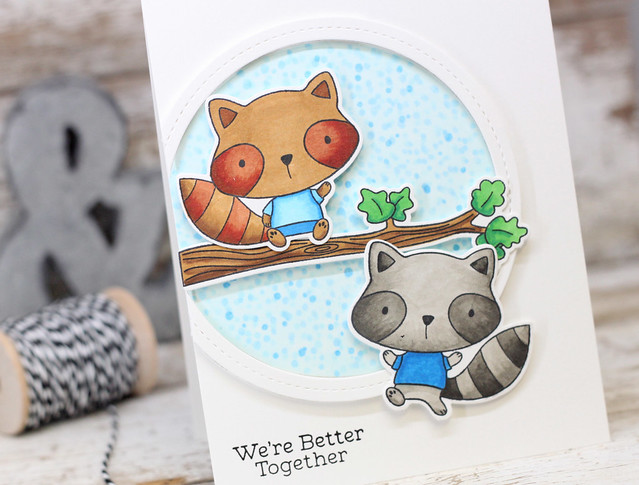
I love these little guys so much I had to pull out the Copics.  I want to be good with Copics, I really do but I still haven't mastered the art of blending...that being said...I did have fun here.  I decided to try out different colors on these 2 little guys.  I also used the new Stitched Frame Circles in the background.  With the negative of the circle, I did a stippled background with 3 different colors of blue, adding the lightest in last, so it would blend all the colors together.  I popped everything up with foam tape and then added in the adorable sentiment.  


IMG_3654

Stop over to the MFT blog to see more of today's countdown.  I will be back Tuesday for the Release!  Thanks so much for stopping in today!  )

Laurie


SaveSave

9/03/16

MFT Day 3...

Welcome to Day 3 of sneaks for My Favorite Things August release.  I have a new die to share today called the Big Hello Die.

Print

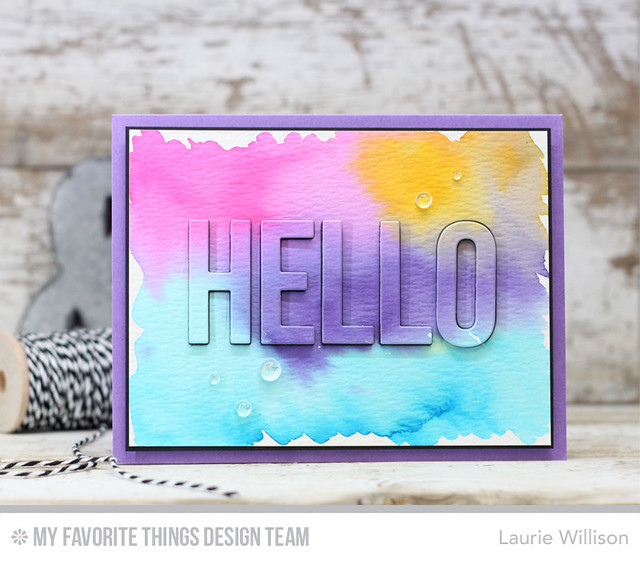
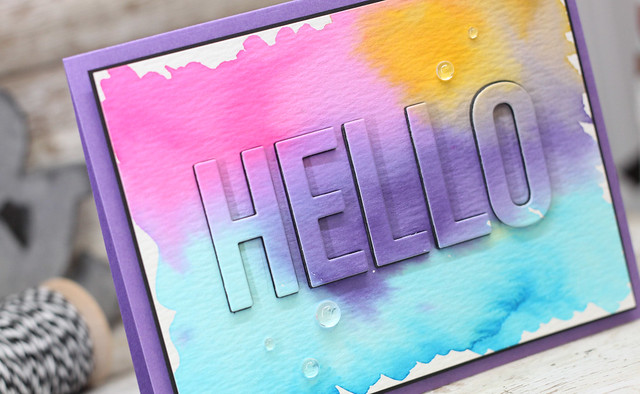
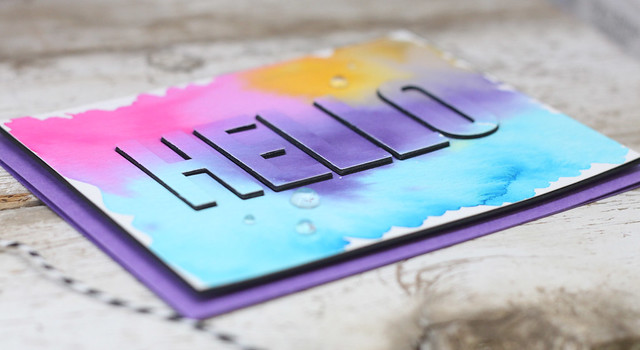
I did a watercolor wash for the background and cut the "hello" out of the center.  I matted the watercolor paper with a thin frame of black card stock.  I attached that to the the Grape Jelly card base.  

IMG_3646

Next, I cut the "hello" out of the black fun foam and put the watercolor die cut letters on top.  I added those back on to the card front in the negative space so you can see the black fun foam peaking out from behind.  

IMG_3648

Last, I added some rain stones to finish the card off.  You can see lots more of the Big Hello Die, along with all the other sneaks lined up for today's peaks.  Head on over to the MFT Blog to see more!  Thanks so much for coming by today!

Laurie
 
BLOG TEMPLATE BY DESIGNER BLOGS