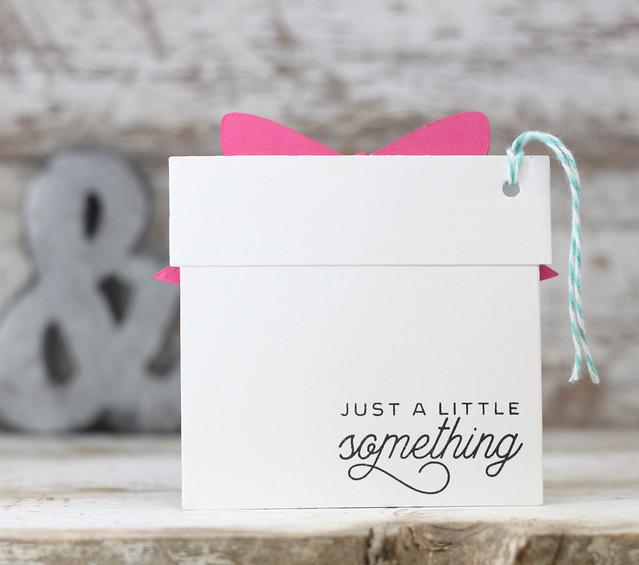
11/30/16

Sympathy cards...

These are the hardest cards to make, knowing that the recipient is hurting.  These are also the most rewarding cards to make, because you hope that it makes someone's day a little brighter.

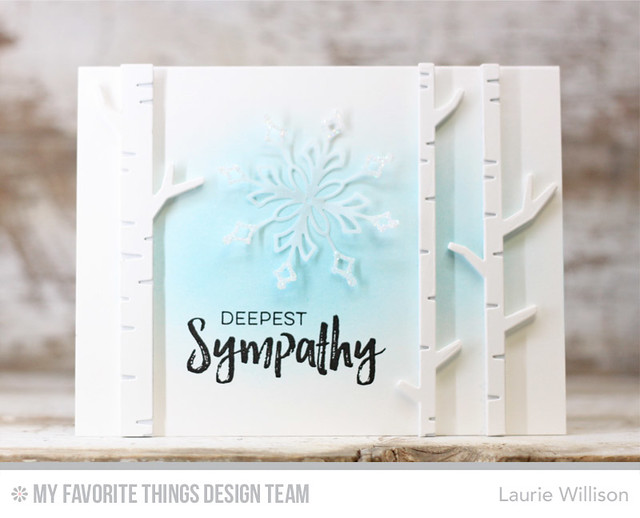
I have a super simple sympathy card, using some of MFT's November Release....
November 2016 MFT

First, I did a little ink blending with Tumbled Glass on the card base.  I added in the birch Solid Birch Trees in a light gray yardstick, then added the Birch Tree detailed dies on top.  I love that extra detail with the subtle color popping through.  I stamped the sentiment in black and then added in a vellum snowflake.
November 2016 MFT

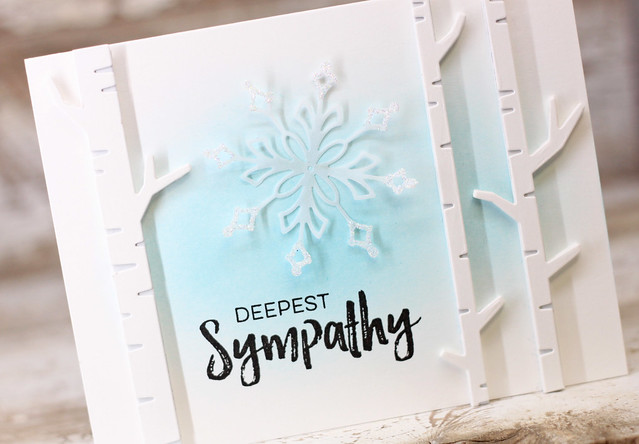
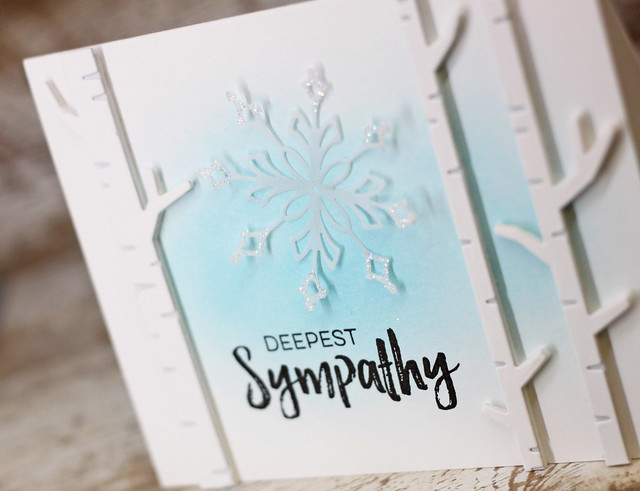
I tried to take a good photo of the snowflake because just the ends are dusted with glitter.  I did that by adding some Tombow Tape Runner adhesive to the ends, and then dipping each one in glitter.  This picture is a tad darker, but I was able to get some of the sparkle....
November 2016 MFT

This is it for today!  I hope you are all ready for December.  It's gonna hit in just a couple hours.  I can't believe Christmas is almost here!  Thanks so much for stopping by!

Laurie

~~~~~~~~~~~~~~~~~~~~~~~~~~~~~~~~~~~~~~

Supply List:


11/29/16

Moments Inked: Meal Planner Review...


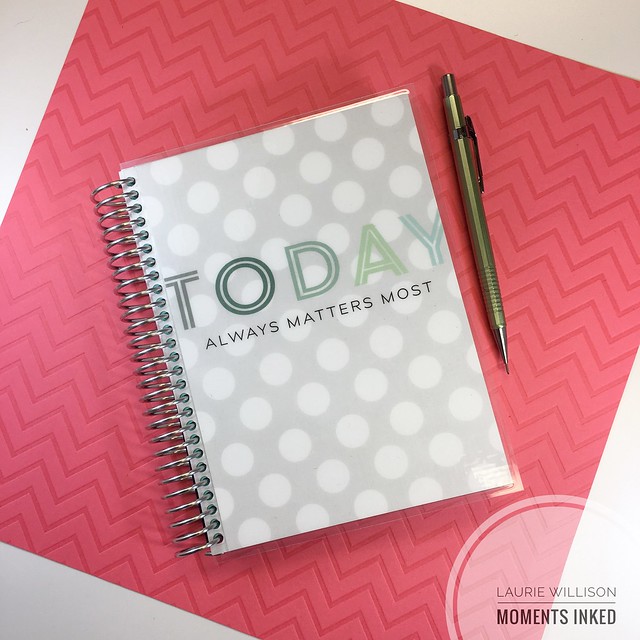
Have you seen the latest in the Moments Inked Planning System over at Papertrey Ink?  Its a meal planner!  And I love it!  It looks and feels just like the Moments Inked Planner, which is available now in the Papertrey Ink store.  

Untitled

Today I am showing you the meal planner that comes spiral bound.  It also comes in the Binder Addition, for those of you who have the gorgeous Moments Inked Binders.  I decided to grab a planner cover and use the spiral because I do love the notebook feel.  

Moments inked Meal Planner

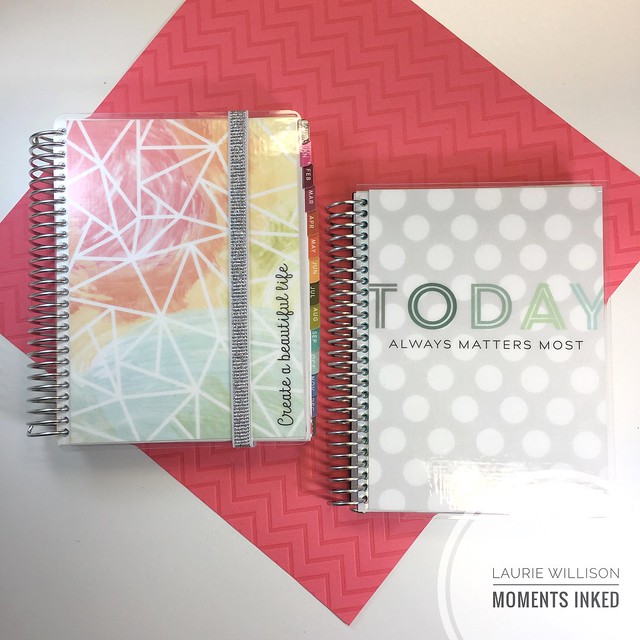
The spiral bound planner and meal planner work great together, allowing for those adorable interchangeable covers to be used on either book.  The are exactly the same size so all those Moments Inked dies and stamps will work perfectly in the Meal Planner.

Moments Inked Meal Planner

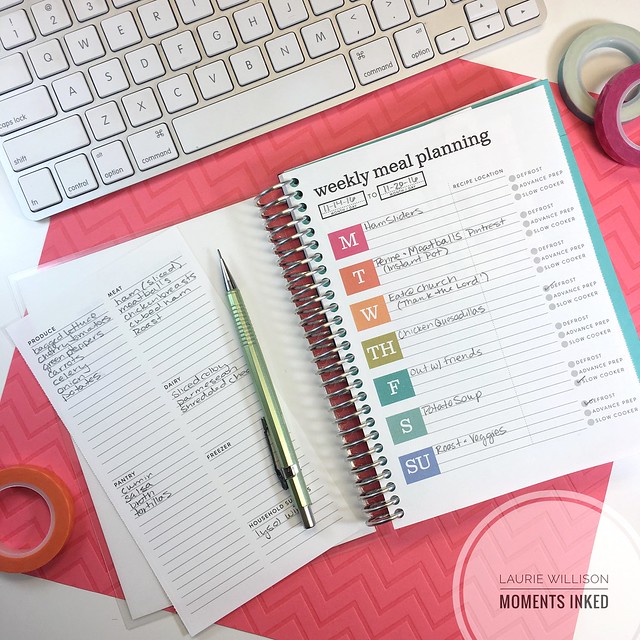
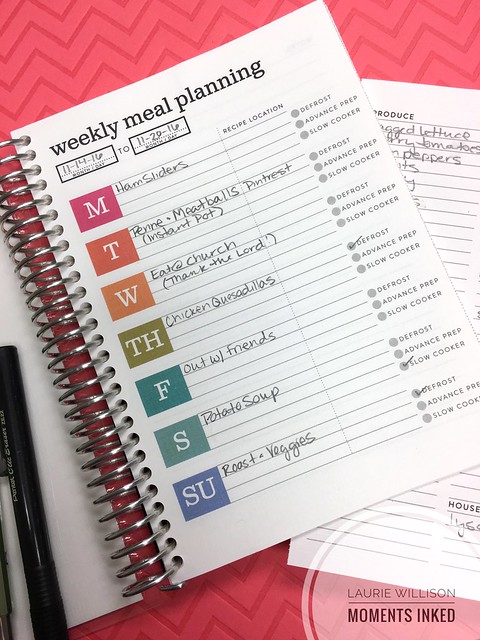
For me this planner is just as simple as it looks.  I grabbed my pencil and an eraser and simply wrote out the meals for the week.  I love that it has "recipe location".  This has always been one source of irritation in the past.  I find a recipe, buy the ingredients and then can't remember where the recipe was or even what the ingredients were for.  This lets you keep all of those details in one place and this makes this column one of my favorite parts of this planner.  One quick look and you can see where you have the recipe stored, plus the defrost, advanced prep and slow cooker, help to make that mental note of whats coming up.

Moments inked Meal Planner

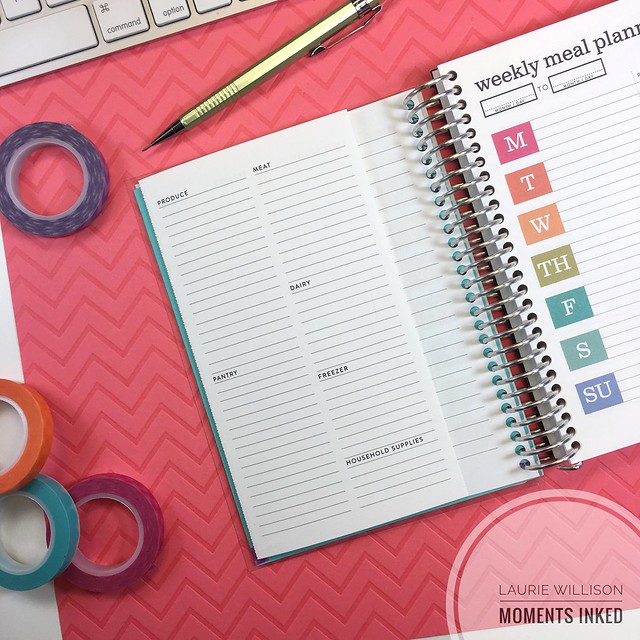
Each page has an attached, perforated, fold out list on the side of the menu.  It easily rips out so you can take it to the grocery store.  This is a genius addition to this meal planning system.  It stays in your planner until its time to get to the store.  

I love that everything is sectioned out for you.  The lists I make look just like this, as far as organizing it out by department, so this takes the work out of that.

Moments inked Meal Planner

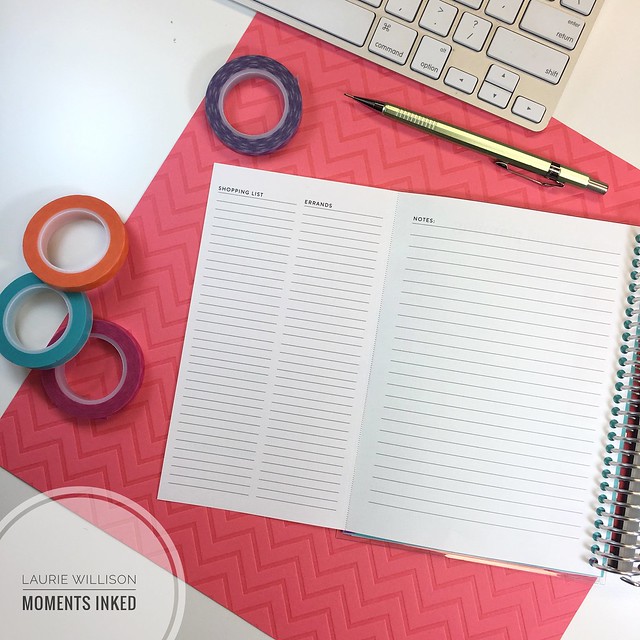
The back is your shopping list and another to do list spot....love that!  And then the back of the menu has a place for notes.  This is a list makers dream!  I love that it can be so simple and yet help me stay so organized.  

Moments inked Meal Planner

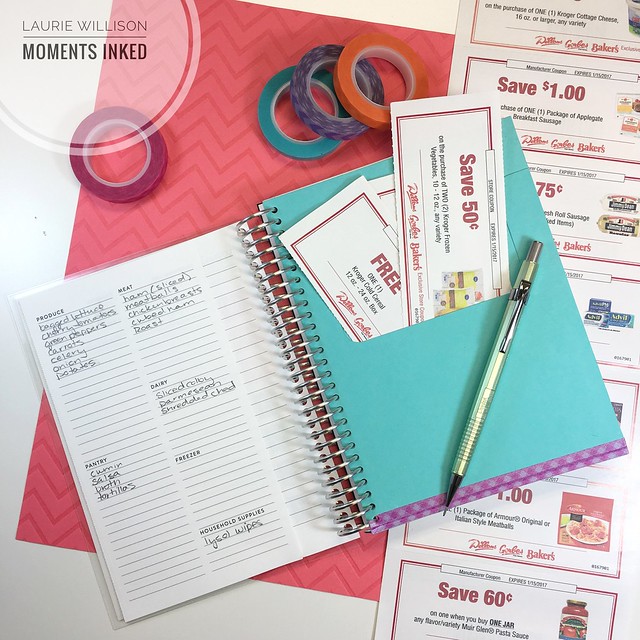
I used the Moments Inked Planner Pocket Die to create a super easy insert to hold coupons.  This is a simple addition for your meal planner that can be moved from week to week.

Moments inked Meal Planner

I have heard from many people over the years that planning takes so much work.  I hope I have showed you today that it really is an easy task to make your meal planning more easy.  

You can see all the Moments Inked supplies by clicking HERE. There are also several other reviews on Nichole's blog that you can check out for more ideas.  

So glad you stopped in today! Thanks for coming by!

Laurie-W-Moments-Inked-Intro

11/21/16

MFT Creative Construction...

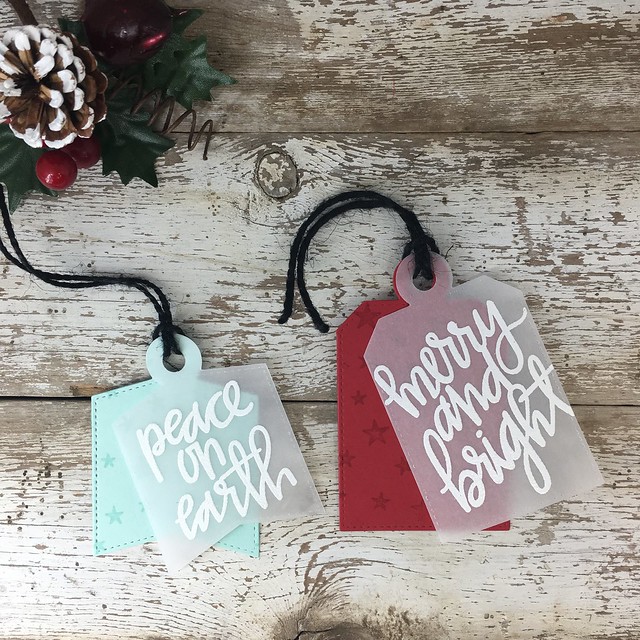
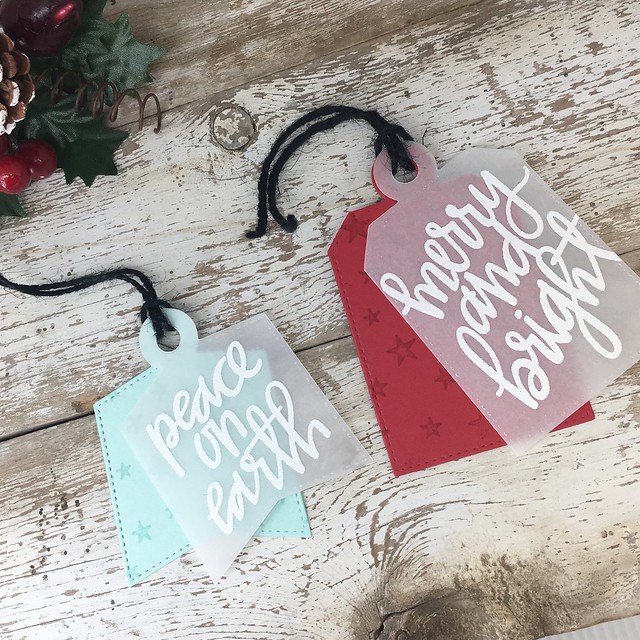
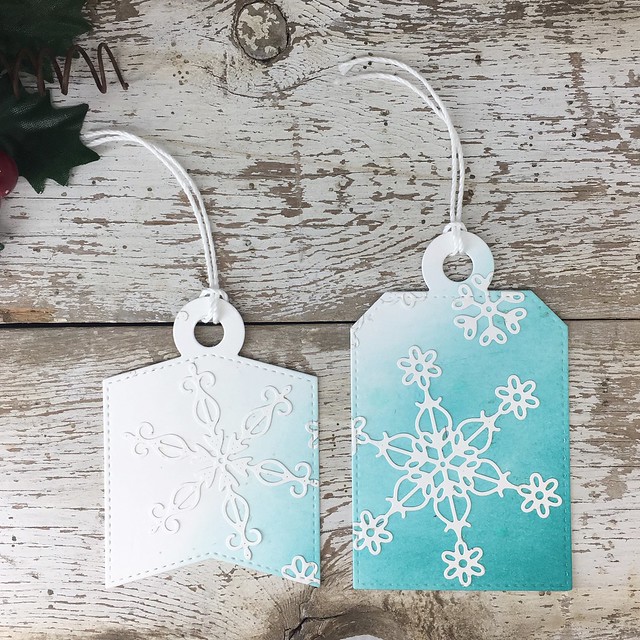
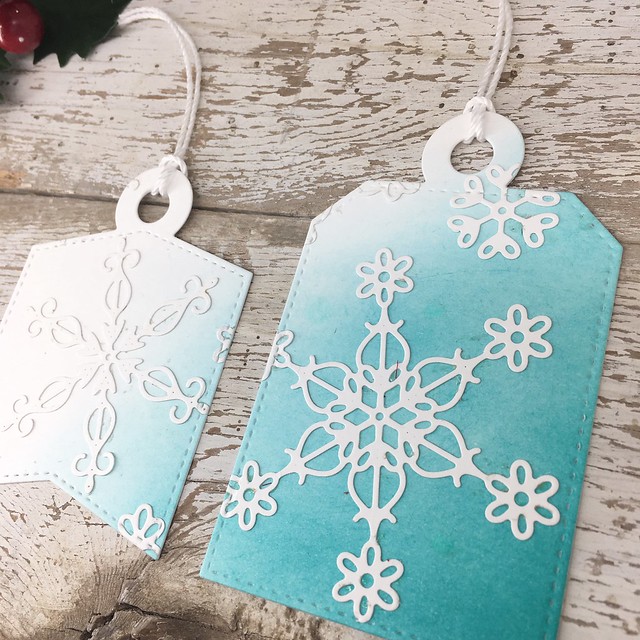
This months Creative Construction with Blueprints over at MFT is all about the tags.  Just in time for Christmas, of course.  I have 2 sets of tags to share with you today, using Tag Builder Blueprints 5.

Untitled

This first set, I cut the tags out of card stock and then added another vellum tag on top.  I heat embossed these gorgeous sentiments from Hand Lettered Christmas,  on the vellum tags. I did add the BG Star Background on the card stock with Versamark just for another fun little detail.  

Untitled

Untitled

I did a little ink blending here on these tags and then simply added in these beautiful snowflake dies.  super easy!

Untitled

Head on over to the MFT blog to see what the rest of the team has made up for today.  Thanks so much for stopping by!

Laurie

~~~~~~~~~~~~~~~~~~~~~~~~~~~~~~~~~~~~

11/15/16

MFT November Card Kit Release Day...

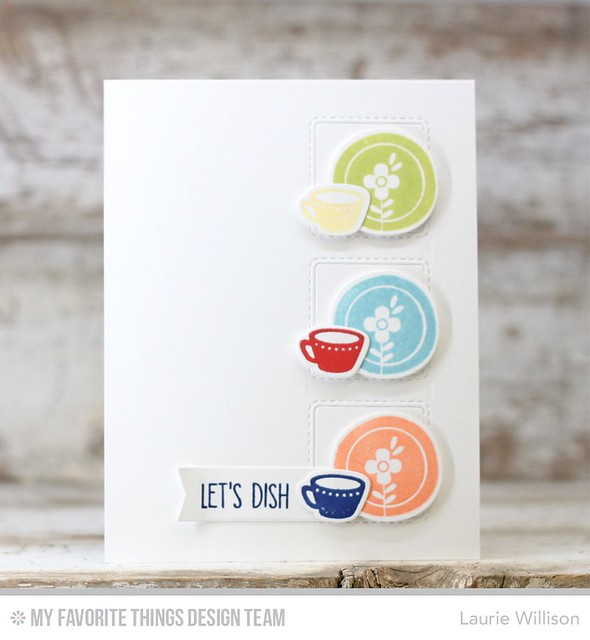
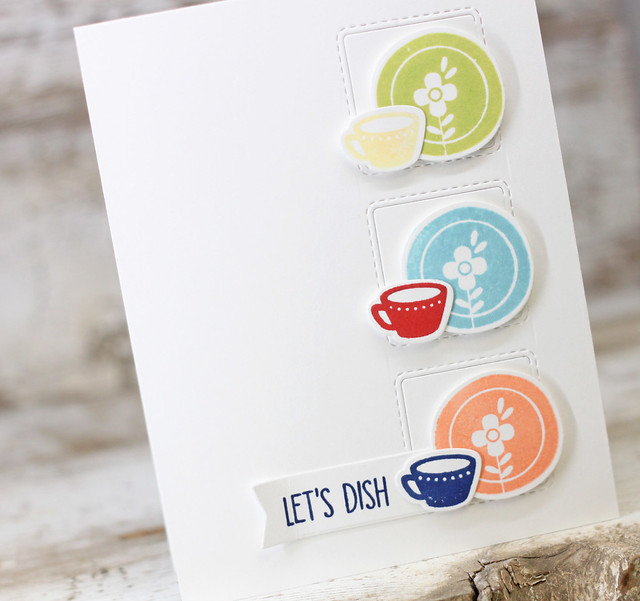
This month's Card Kit over at My Favorite Things is ADORABLE!  It's called Kitschy Kitchen and its available today!

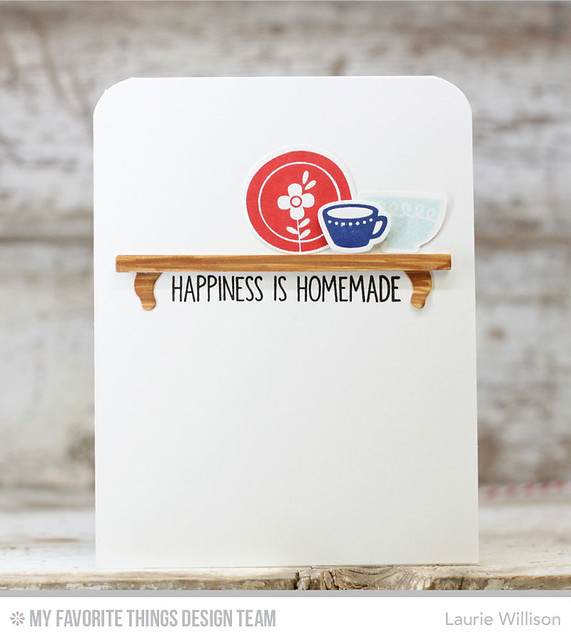
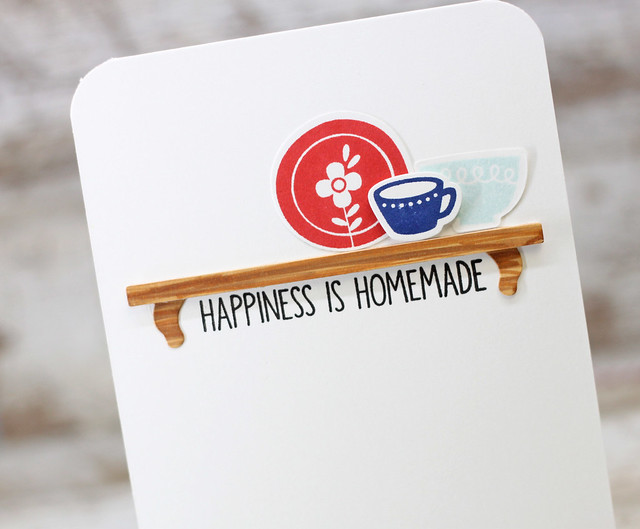
I have one last super CAS card to share today, using a plate, a bowl, a mug and a shelf.

November 2016 MFT

I took the shelf die cut and did some Copic wood grain coloring....again bc I had to much fun with it the other day.  I stamped the dishes in solid colors and sat them on the shelf and then finished it off with a sentiment.  

November 2016 MFT

Head on over to the store to grab your own kit and stop by the MFT blog to see more card kit samples!  Hope you have a great day!

Laurie

PTI Release in Review...

Good morning!  It's release day at Papertrey Ink.  Everything you have seen here for the last 4 days will all be available tonight at 9pm CST.

This month was all about birthdays and I have 2 more birthday cards and a snowman card to throw in the mix....

IMG_3843

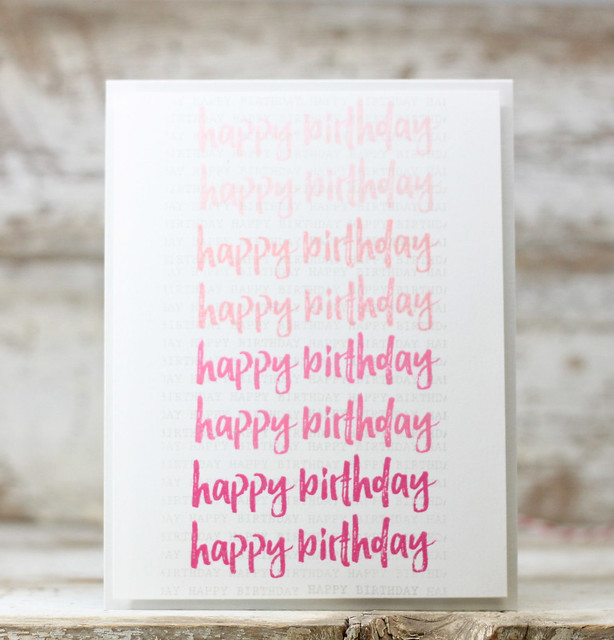
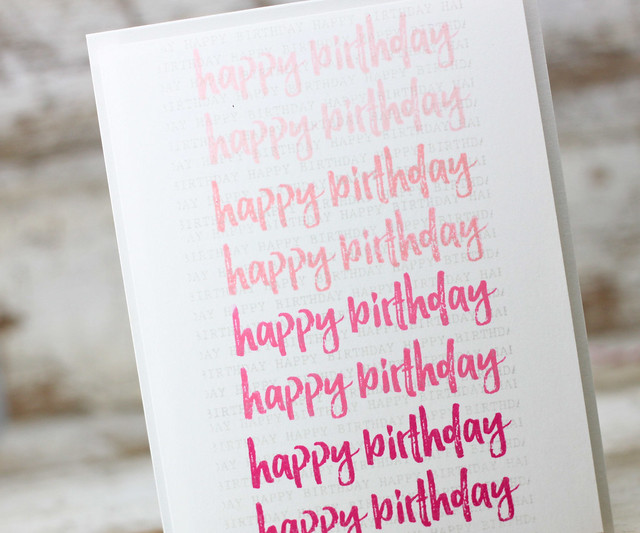
This card uses Fill in the black in the background in a light gray and then a happy birthday sentiment from Keep it Simple: Happy Birthday III in a pink ombre pattern.

IMG_3844

IMG_3845

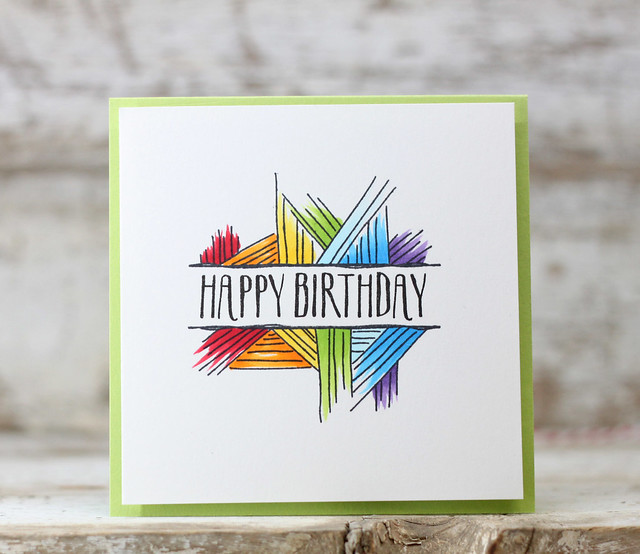
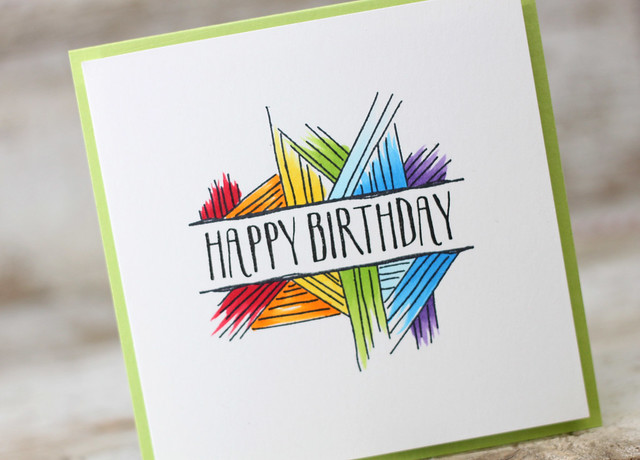
This is from the new set Splits: Happy Birthday.  I did some rainbow Copic coloring and then added it to a Simply Chartreuse card base.

IMG_3846

IMG_3847

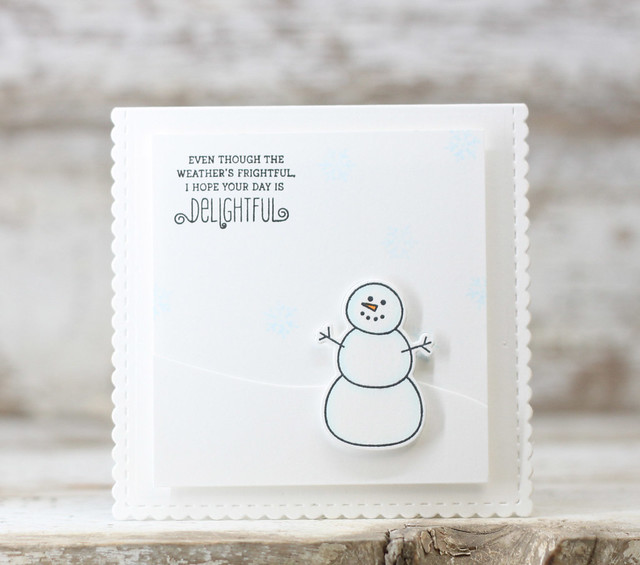
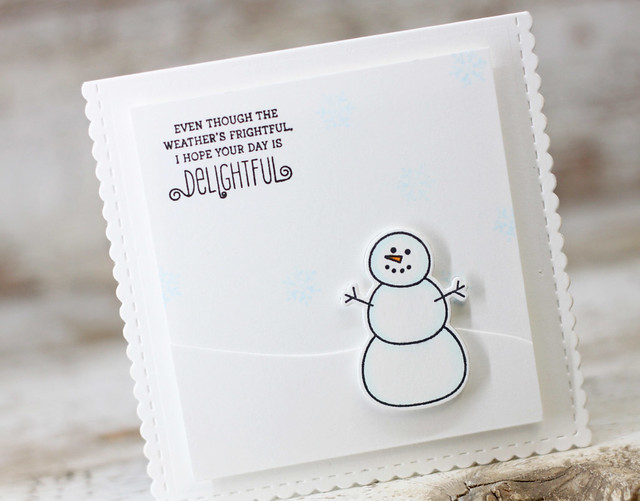
I left this one CAS with the white scalloped base and a white card front. The very light blue snowflakes are heard to see but I also added some light blue topic to the snowman.

IMG_3849

There is more to see over at Nichole's blog.  Have fun shopping tonight!  Thanks for coming by!

Laurie

11/14/16

MFT Card Kit Day 2...

It's day 2 of the MFT card kit countdown.  My card for today showcases the stamp and dies in the kit, but I added in different colors not included and also another die, the Interactive Window Trio.

Print

I took the trio window die and cut it along the side of the card base, but added paper to the inside of the card to keep the windows closed permanently.  I added in the plated and dies in a fun color combo and then a sentiment banner to finish it off. 

IMG_3852

Head on over to the MFT blog to see more today's "out of the box" card kits sneaks.  Thanks so much for stopping in today!  :)

Laurie
SaveSave

Invitation Inspiration...

Its our last day of group posts for the November Papertrey Ink Release.  Today its all about invitations...

Untitled

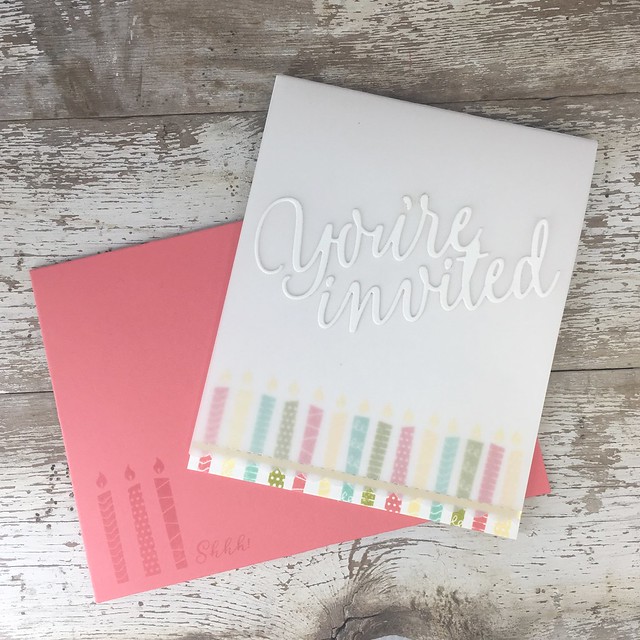
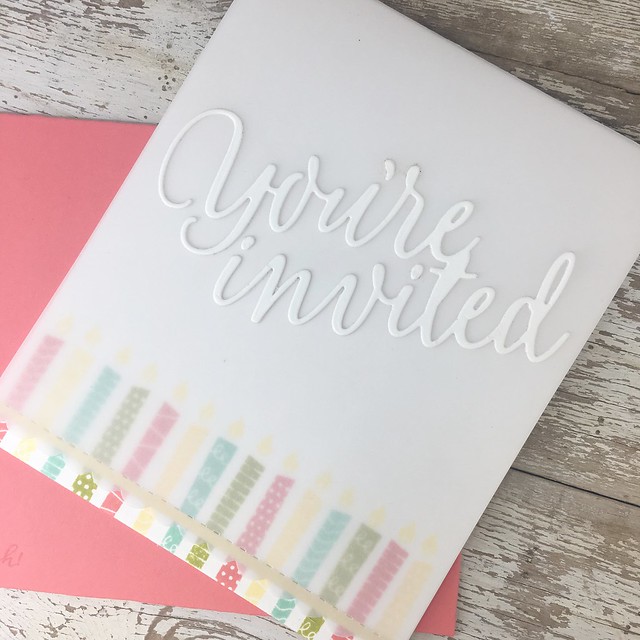
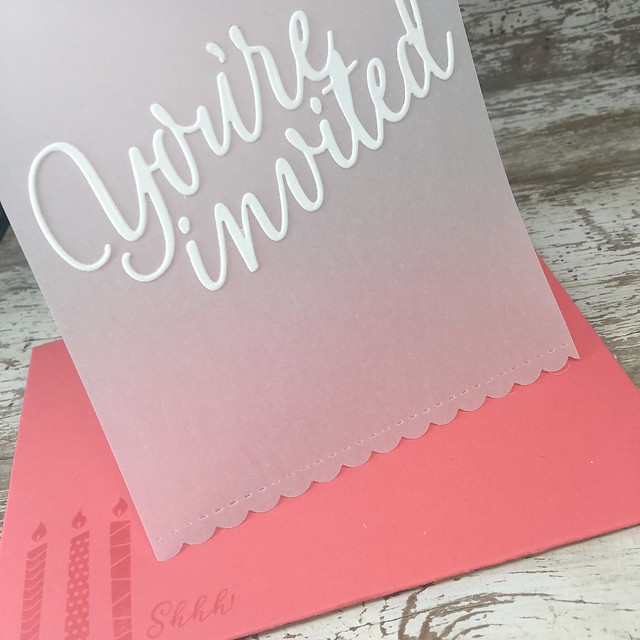
I used Big Basics: You're Invited for the front of this invitation.  I used a white card base, with a vellum overlay on the top.  I die cut You're Invited in white cardstock and attached it to the vellum overlay.  

Untitled

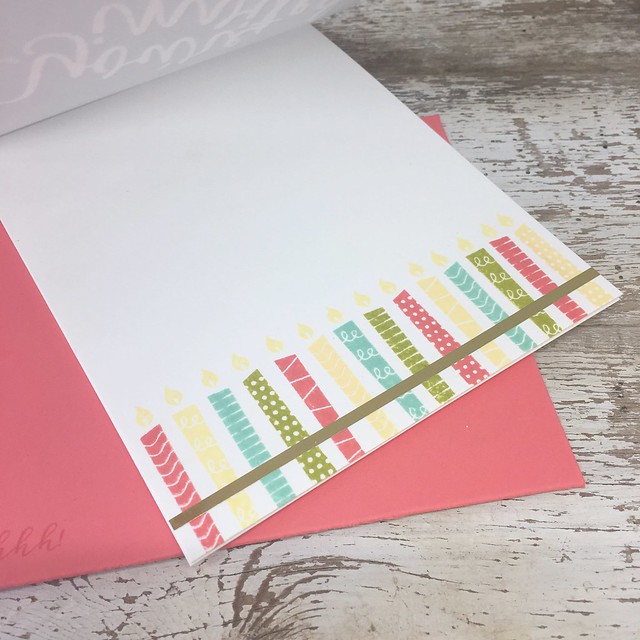
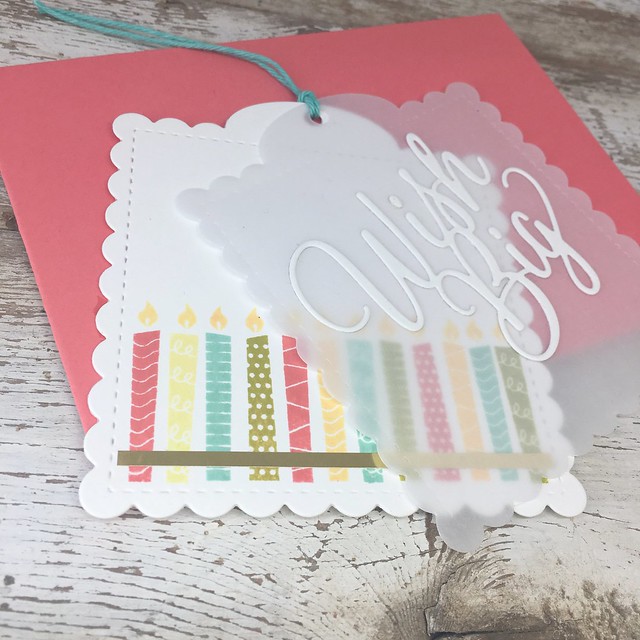
On the card base, I stamped the candles from Invitation Basics along the bottom of the card and then added in a gold adhesive strip.

Untitled

I used the new A2 Scalloped Vertical dies to cut the bottom of the vellum....

Untitled

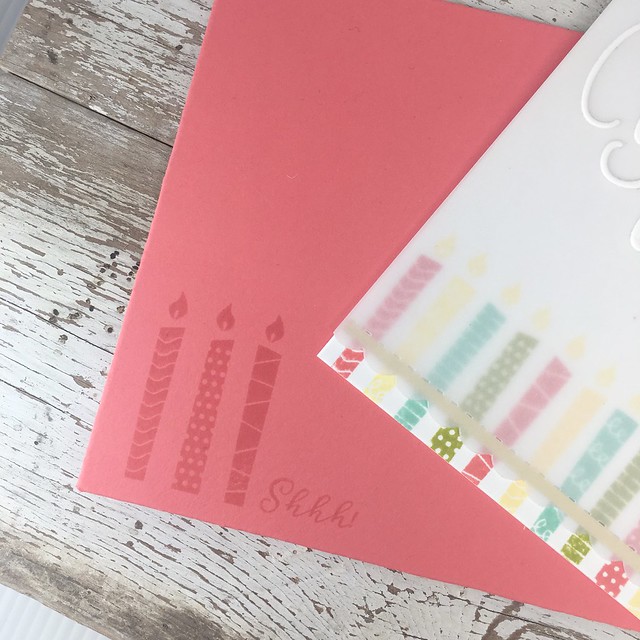
I used the Invitation Basics to create this fun coordinating envelope....

Untitled

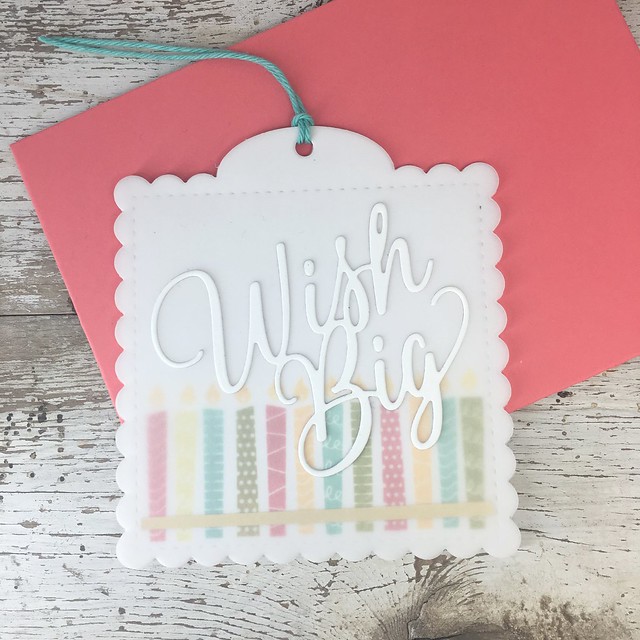
Last, I created a coordinating tag...

Untitled

I used the Big Basics: Wish Big on a vellum overlay and then created the base of the tag to match the card above....

Untitled

Nichole will have lots more to see on her blog.  Head on over there to check out the Invitation Inspiration.  Thanks for coming by and have a great day!

11/13/16

MFT November Card Kit Day 1...

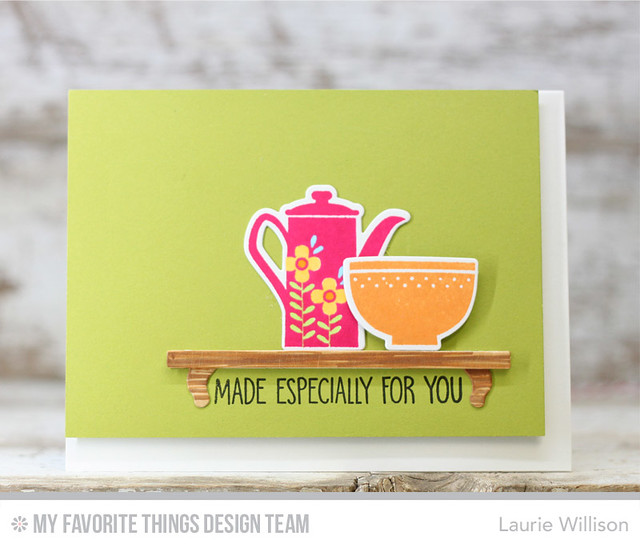
Today is Day 1 of sneaks for the November Card Kit over at MFT.  It's called Kitschy Kitchen.

Print

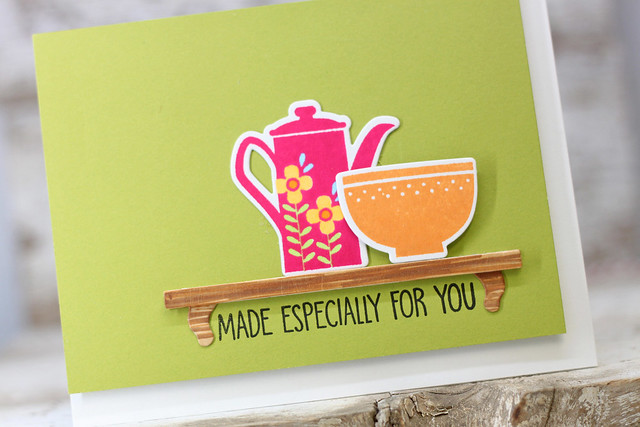
I stamped the pitcher and bowl and then added them to a Copic colored shelf.  I stamped the sentiment underneath the shelf and then added the green card front to a white card base.  Easy peasy!

IMG_3841

Head on over to the MFT Blog to see more of this month's kit.  Thanks so much for stopping in today!

Laurie
~~~~~~~~~~~~~~~~~~~~~~~~~

Supply List:
SaveSave

Birthday Wrap Inspiration...

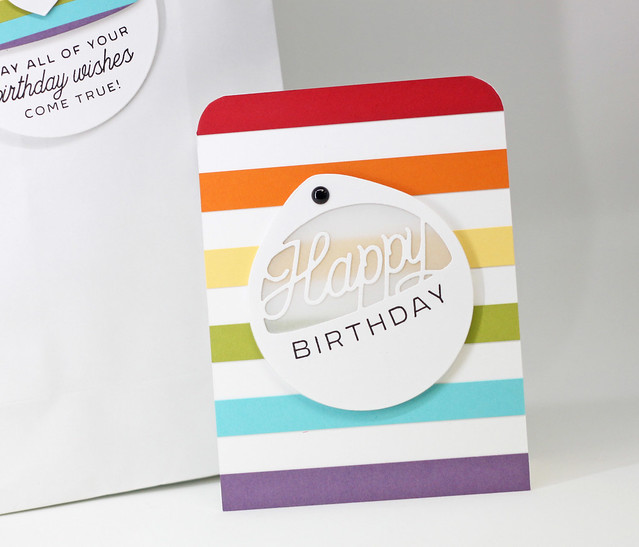
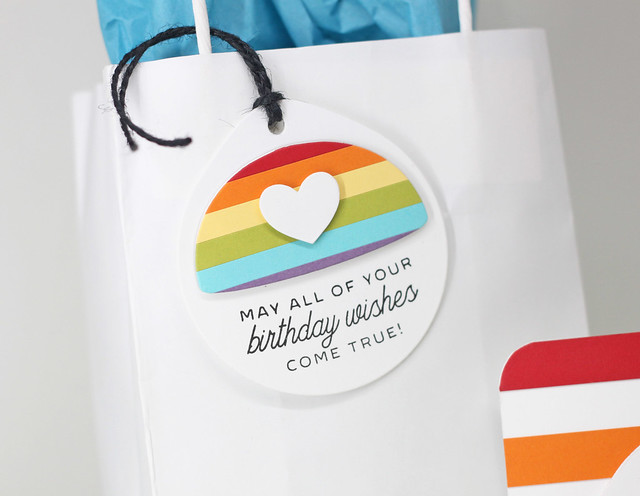
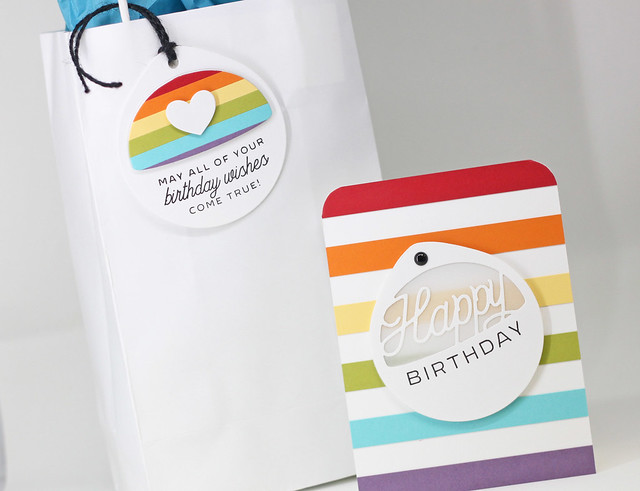
Its Day 2 of group posts at Papertrey Ink.  Today are showcasing the new For You stamps and tag dies.  I have a couple project heres to show you an easy way to making coordinating tag and card....

IMG_3819

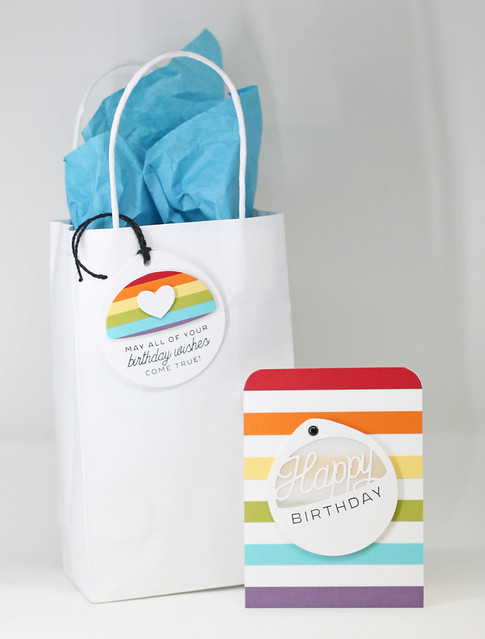
For this card, I took 1/2" strips of cardstock in rainbow order and added them to the card front.  I took the "Happy" tag and cut it out of white card stock and then layered it on top of vellum.  I added in the "birthday" stamp to the bottom of the tag in black ink.  To finish it off, I added a black enamel dot to the top of the tag. 

IMG_3820

For the tag that I attached to the gift bag, I used the open tag and cut out 1/4" strips of cardstock for the opening and then added in the sentiment and a white heart.  

IMG_3821

I used a glue dot to adhere the tag to the bag to finish it off....

IMG_3822

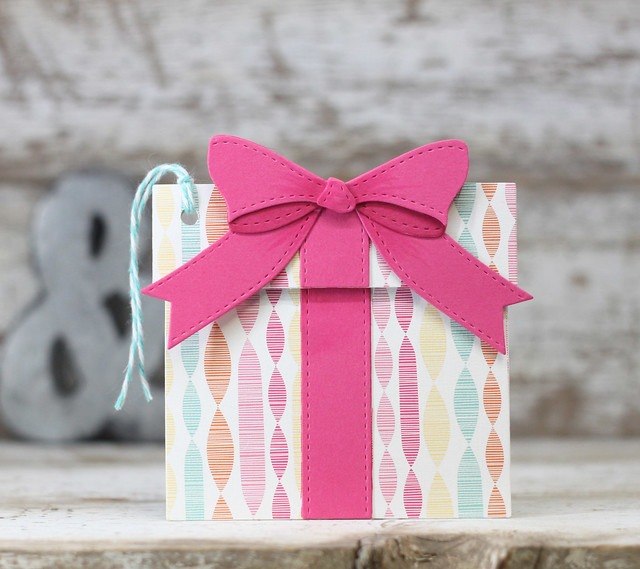
This next project uses the Wrap it Up dies to create a tag.  I cut the top layers out of patterned paper and then added a Raspberry Fizz bow.

IMG_3825

The back is another gift box die, cut out in white cardstock so I could make the back look nice and also add a sentiment.  I punched a hole in the top of the box and added in some twine to finish the tag.

IMG_3827

That is it for today.  I hope you enjoyed today's projects.  Nichole has more projects on her blog to see. We have one more day of group posts tomorrow so stop back by! 

Have a great day!

Laurie

~~~~~~~~~~~~~~~~~~~~~~~~~~~~~~~~~~~~

Supply List:

 
BLOG TEMPLATE BY DESIGNER BLOGS