1/31/19

MFT February Countdown Day 5...

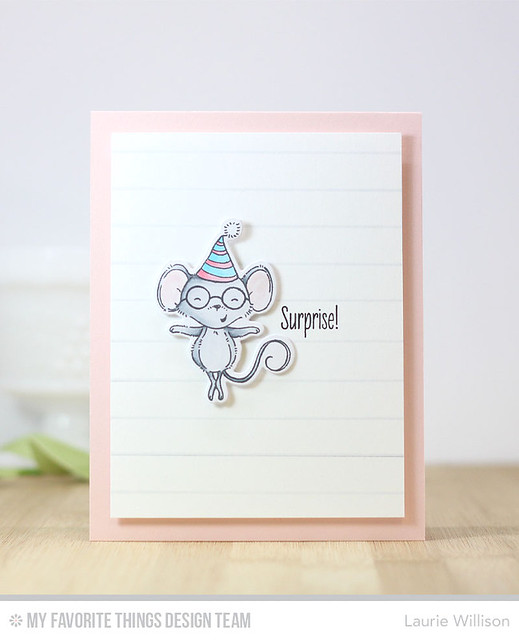
The February MFT Countdown starts today and I am thinking January seemed like it took forever but now that we have new goodies to share, I can't believe its time!  So many cute new things this month!  I have one card to share using the new set called It's a Mice Time to Celebrate!  I wanted to keep this one super clean and focus on this adorable mouse...

MFT February Release

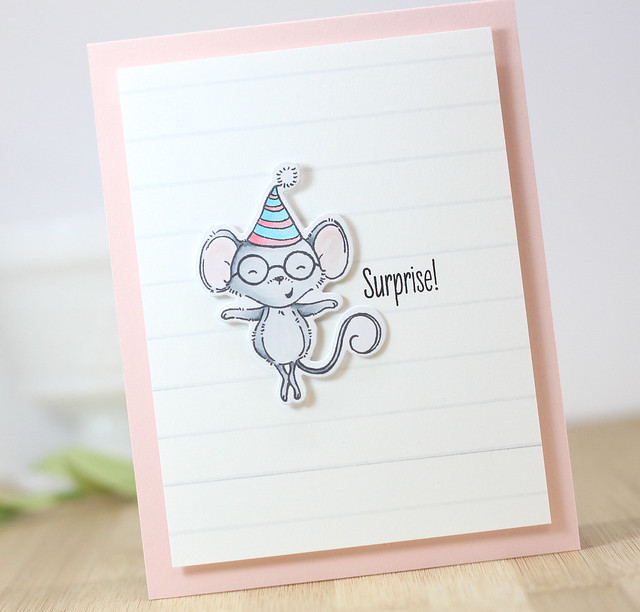
I did some light Copic coloring and then die cut the little happy dancing mouse with the coordinating die.  Next, I added some lines to a piece of white cardstock using the same light gray I colored the mouse with.  I popped the mouse up on foam tape and then stamped a simple sentiment on the front.  I added the panel to a light pink card base and done!

MFT February Release


The rest of the team will have lots more to see.  The MFT blog will have a list of places to stop.  So glad you stopped in today!  Have a great day!

1/29/19

MFT Hits and Highlights...

Another round of Hits and Highlights starts right now!  MFT has a new challenge for us....

Falling in love definitely causes a rattle and hum in your heart, so it’s only appropriate that your love-themed cards feature a shaker heart to honor that feeling. This month, we’ve challenged our designers to create shaker cards featuring hearts — big hearts, mini hearts, balloon hearts, and multi-hearts...there are so many options available in the shop we know they will blow us away with the variety and creativity they bring to the challenge. Are you feeling the love? Us too!

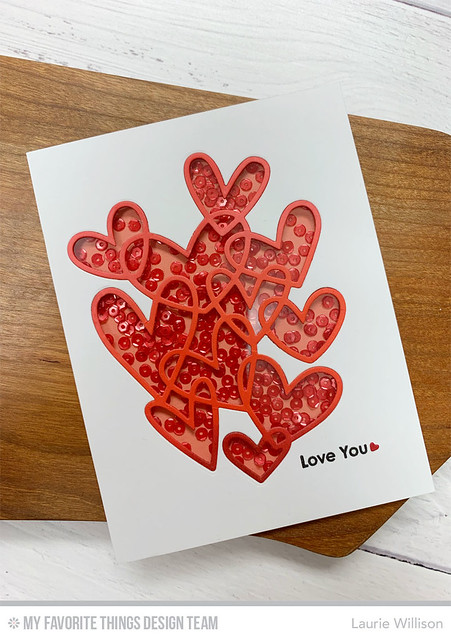
I created one giant heart shaker for today's challenge...

Print

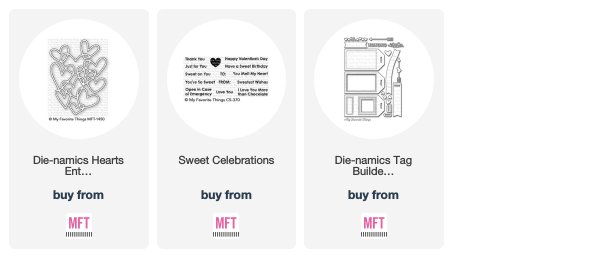
The Hearts Entwined Die worked perfectly for this card.  I die cut the hearts from a 4 1/4" x 5 1/2" card front.  I used the large negative and added acetate to the back of the panel.  Next, I die cut the hearts again in red cardstock and then added depth to it by ink blending along the bottom in a darker red. I sprayed the back of this intricate die and added it to the acetate window.  Next, I built a shaker box and added the red sequin to the box.  I closed the box with a piece of peach cardstock.  This way the red sequin and the red heart die really pop.  Last, I added the simple sentiment to the card front and finished it off with a tiny red heart die from Tag Builder 5.  

Check out the MFT Blog to see what the rest of the Design Team has for today.  And then don't forget to play along!

Thanks for stopping in today!  Hope you have a great day!


_____________________________________

FIND ME OVER ON:

Instagram: Laurie Willison (@laurie_willison)


Facebook: Soapbox Creations

All products in today's post are linked below and throughout the post.  These are my personal affiliate links which you can shop from at no cost to you!  :)  Thank you for supporting Soapbox Creations!  
1/27/19

Love you {MFT}...

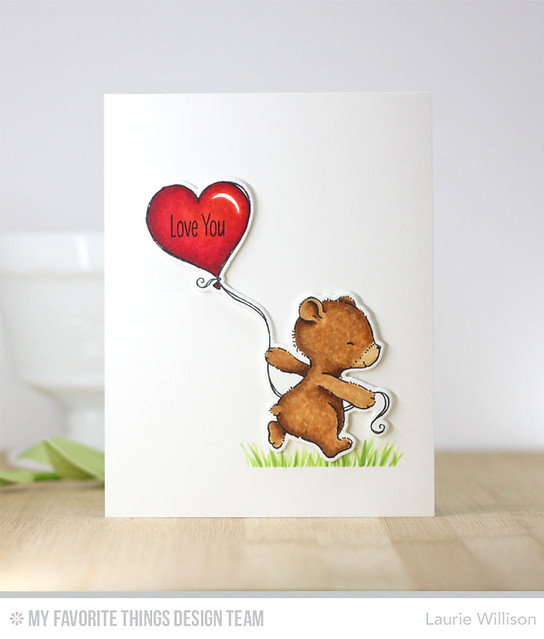
Hi friends!  Stopping in with a quick, clean and simple card using the new set from MFT called Joyful Heart Bears.

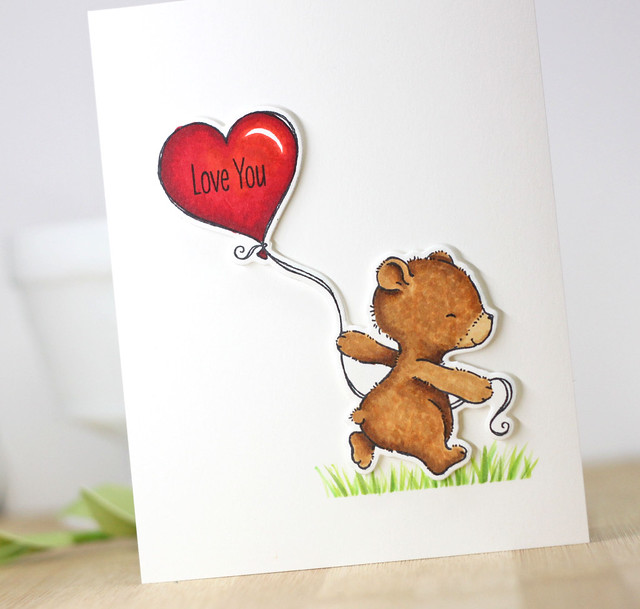
I am still learning about coloring with Comics as I go along.  I did a little shading and attempted a more textured look with this little guy today...

MFT

To keep this super simple, I folder a white cad base and added a little piece of masking tape to the bottom.  I took 2 colors of green copics and did a little flicking to make a small patch of grass.  I colored up that adorable image and die cut him with the amazing open die.  I love these dies.  It makes it SO easy to cut out these images.  Last I stamped a sentiment in the balloon and added him to the card with foam tape.  Easy peasy!

MFT

Thanks so much for coming by today!  Have a great day!


_____________________________________

FIND ME OVER ON:

Instagram: Laurie Willison (@laurie_willison)


Facebook: Soapbox Creations

All products in today's post are linked below and throughout the post.  These are my personal affiliate links which you can shop from at no cost to you!  :)  Thank you for supporting Soapbox Creations!  
1/24/19

Altenew January 2019 Stamp/Die/Stencil Release Blog Hop...

I have been super excited about this post because I am in love with all things January at Altenew.  I kinda went a tad paper happy and I made like 5 things.  So I am thrilled that you are here today to join us for the Altenew January Hop.  Keep scrolling to see my projects, to learn about the giveaway and to see the full blog list for today's hop.  

Let's get started!  

Here is my first card which showcased the new stamp set called Mini Brownstone....

January Altenew

To create this card, I lined up the genius images to create an easy rainbow line up of Brownstone houses.  I added a stoop to each house in a gray ink.  I stamped "congratulations" in black in across the main image.  This gorgeous sentiment is from the new set called All the Hearts.  I added the front white panel to a light gray card base to finish off the card.  

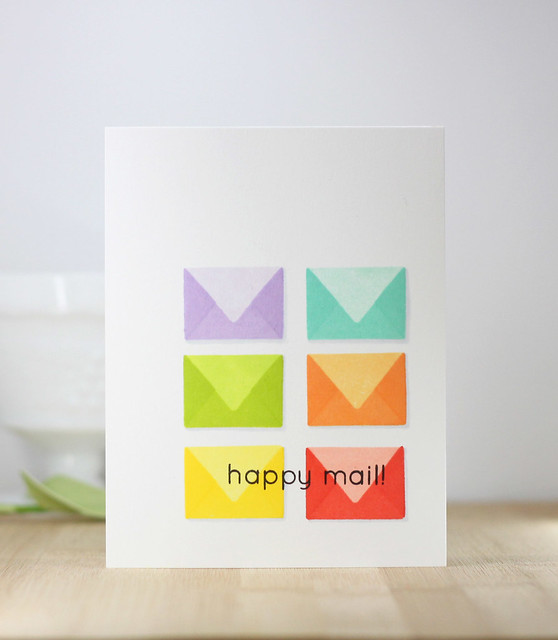
This next card is super super simple!  I love white space, rainbow colors and easy.  This card is a great mixture of all of the above....

January Altenew

I stamped the envelopes from the new set called Snail Mail, in rainbow colors and then added a tiny light gray copic shadow along each side.  I went in and added the sentiment, which is from the same set, across the bottom in black ink.  

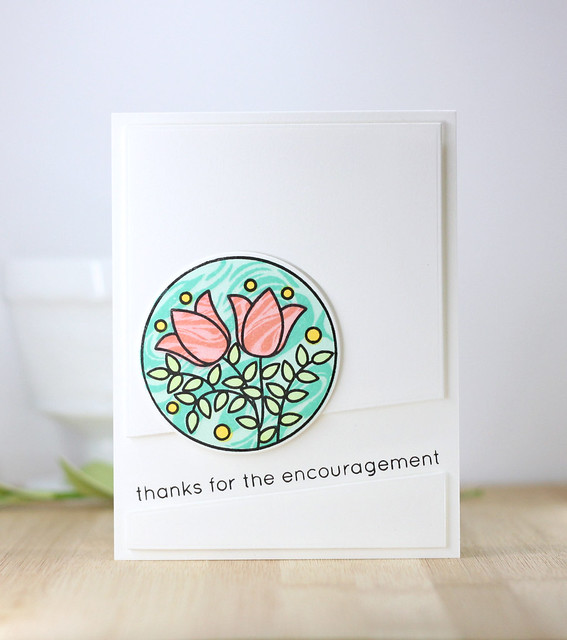
I cut a couple of white panels and added them to a white card base to create this next card...

January Altenew

I added the sentiment along the diagonal and then stamped this gorgeous image from the new set called Stained Glass Window.  I love how all the colors and layers make for such a pretty focal point. This stamp set is amazing!!  So easy to line up and such gorgeous details!

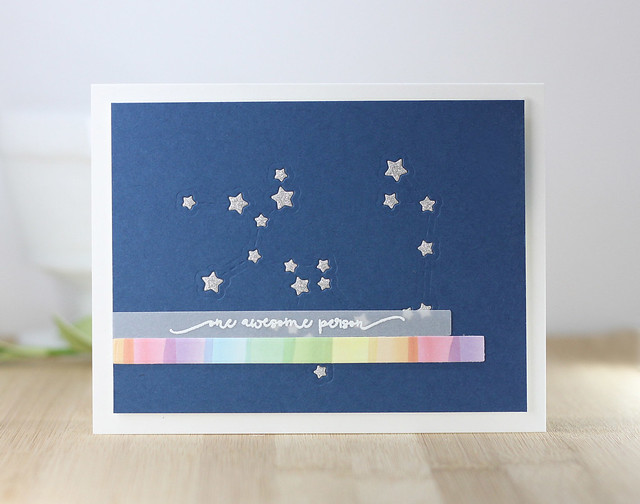
Altenew has come out with a new line of Constellation Die Sets.  I am using the Sagittarius set for this card....

January Altenew

I die cut the small constellation die on this navy blue card front.  I die cut it again in a silver glitter cardstock and laid those stars inside the die cut to create this little sky.  I added the Pastel Strokes Washi to a piece of white card stock and then cut out a strip.  I heat embossed  the sentiment on some vellum and added that to the card.  Altenew Washi is so much fun for adding detail on to card fronts.

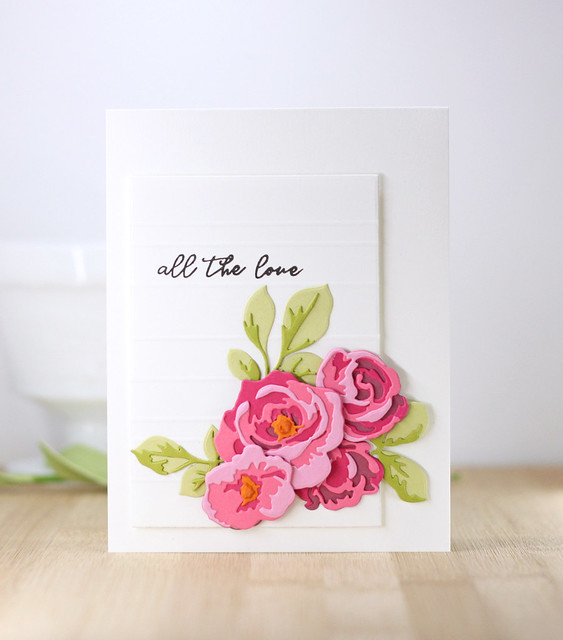
Saving my favorite for last.  Garden Picks 3D Die is gorgeous!!  It was so much fun to die cut the pieces and line them up with this being the end result...

January Altenew

I cut a small panel and aded some score lines to the card.  I was able to stamp the "all the love" sentiment from the All the Hearts set right in between the score lines.  I attached the roses and leaves and the popped that panel up on a white card base.  I love that a white card base really makes the floral pop.

Check out the Stamp Bundles offered today.....


_____________________________________

GIVEAWAY

To celebrate this release, Altenew is giving away a $50 gift certificate to 6 lucky winners! Please leave a comment on the Altenew Card Blog and/or Altenew Scrapbook Blog by 12/31/2018 for a chance to win. 6 winners will be announced on the Altenew blogs on 2/3/2019.


_____________________________________

BLOG HOP


So glad you stopped in today!  Thanks for coming by.  Have a great day!


_____________________________________

FIND ME OVER ON:

Instagram: Laurie Willison (@laurie_willison)


Facebook: Soapbox Creations

All products in today's post are linked below and throughout the post.  These are my personal affiliate links which you can shop from at no cost to you!  :)  Thank you for supporting Soapbox Creations!  

1/22/19

MFT January Card Kit Release Day...


Good Morning!  Today is the release of the MFT January Heart Art Card Kit.  Yay!  I have one last card to share using this month's kit.  Here is the full kit....


Here is my last card for the countdown...

MFT January Card Kit

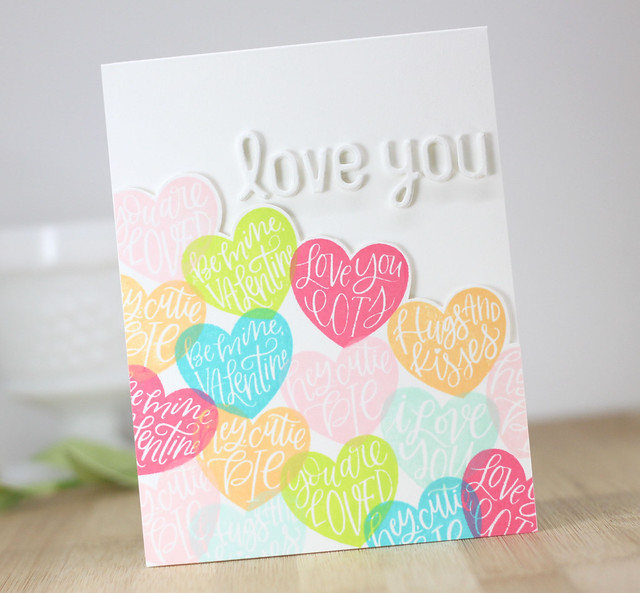
To create this card, I stamped all the hearts randomly over a card front.  I stopped stamping along the top of the card front and then went in and did a little fussy cutting around the hearts to create a border.  I layered this card front on to a white card base with foam tape for the added dimension.  Last, I grabbed the Simply Hello die and added that to the card front with fun foam and white cardstock.  

MFT January Card Kit

Check out what the rest of the team created for today by checking out the MFT Blog.  There, you can find all the details about today's release.  

Thanks so much for coming by today!  Have a great day!


1/21/19

MFT January Card Kit Countdown...


Day of the MFT January Card Kit Countdown is here.  Check out this amazing new kit....


This new kit will be available on Tuesday, January 22nd at 9am CST but for now I am here with another sneak.

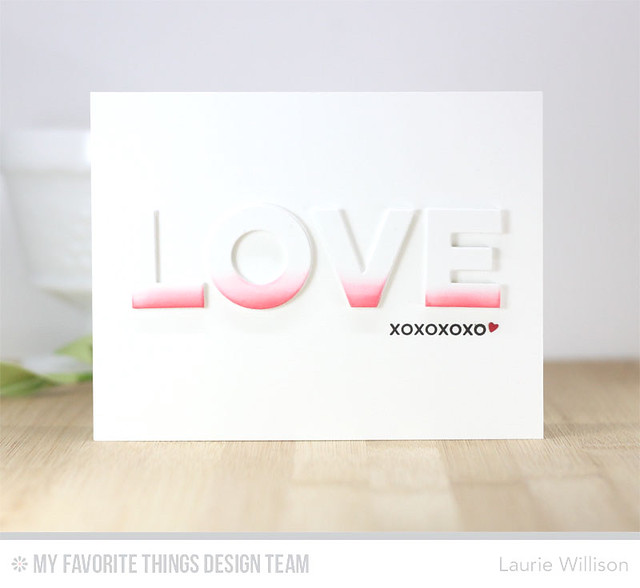
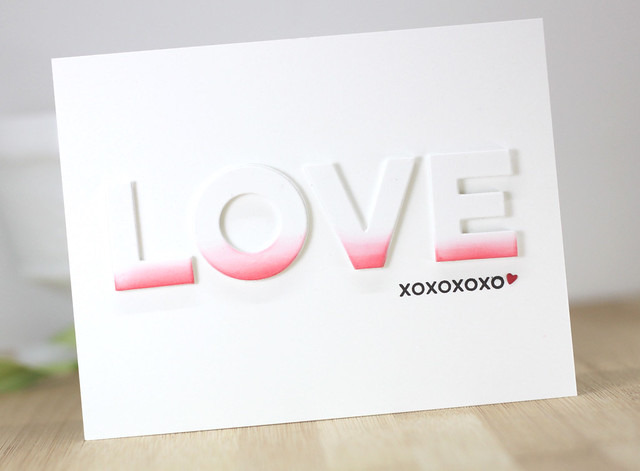
I used the LOVE die from the kit to make this super simple card....

MFT January Card Kit

I die cut the sentiment in white card stock and again in white fun foam.  I added a little bit of color along the bottom of each letter and then popped them up on fun foam.  To finish the card off, I added the xoxoxo sentiment from the From the Heart sentiment set.  I tucked in a tiny red heart die from Tag Builders 5 Die-namics set.

MFT January Card Kit

Check out the MFT Blog for more details about the January Card Kit!  Thanks for stopping in today! 

1/20/19

MFT January Card Kit Countdown....


Hello friends!  The first day of the MFT January Card Kit Countdown starts today.  This month's kit is ADORABLE!  


The kit includes...

Heart Art Card Kit
- Heart Art Stamp Set
- Heart Trio Shaker Window Die-namics
- Double the Love Die-namics
- Heart Trio Shaker Pouches
- Card Stock -  Smooth White (5), Cotton Candy (1), Ripe Raspberry (1), Red Hot (1), Berrylicious (1), Blu Raspberry (1), Wild Wisteria (1), Gravel Gray (1)

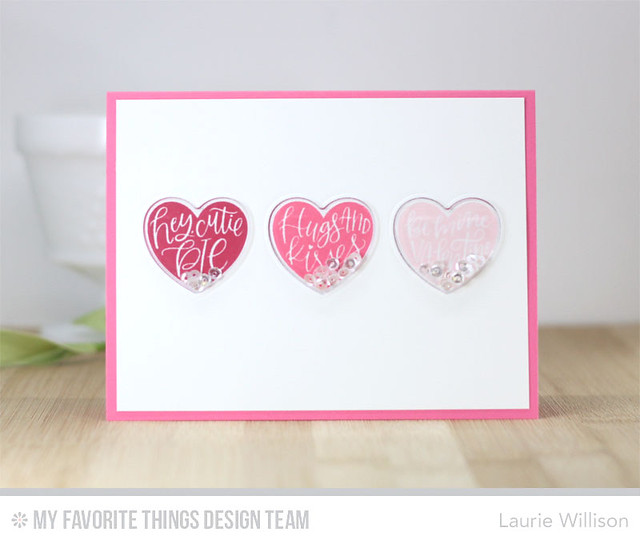
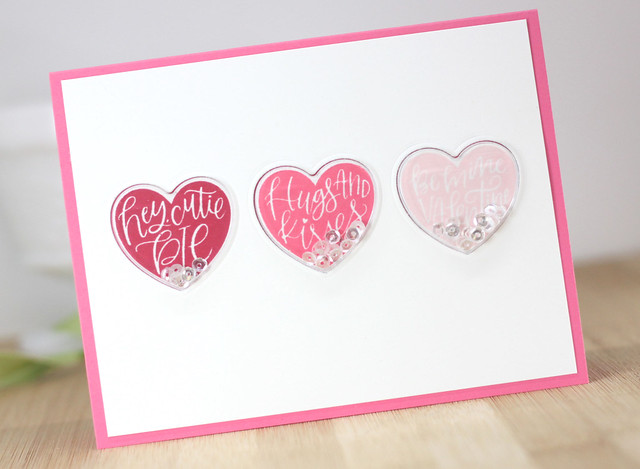
Here is a quick, clean and simple card using the shaker pouches....

MFT January Card Kit

To create this cad, I die cut the Heart Trio Shaker Die on a piece of white cardstock.  I stamped hearts from the Heart Art Stamp Set on the 3 hearts.  After I added the shaker pouches to the card front, I added one of each of the hearts to the back of the windows to create the shaker boxes.  I left the rest of the card clean and simple and added the front to a pink card base.  

MFT January Card Kit

The rest of the Design Team will have lots more to see!  Check it all out over on the MFT Blog.  Remember everything you see over the next couple of days will be available on Kit Release Day, Tuesday, January 22nd at 9am CST. 

Thanks so much for stopping in today!

1/18/19

My Favorite Things and Misti Blog Hop...


Welcome to the My Favorite Things and Misti Blog Hop!  We have a great line up today of projects showcasing MFT and the mazing Misti Stamping Tool. Check out the MFT Blog for a full line up of stops to make.  

MFT/Misti Collaboration

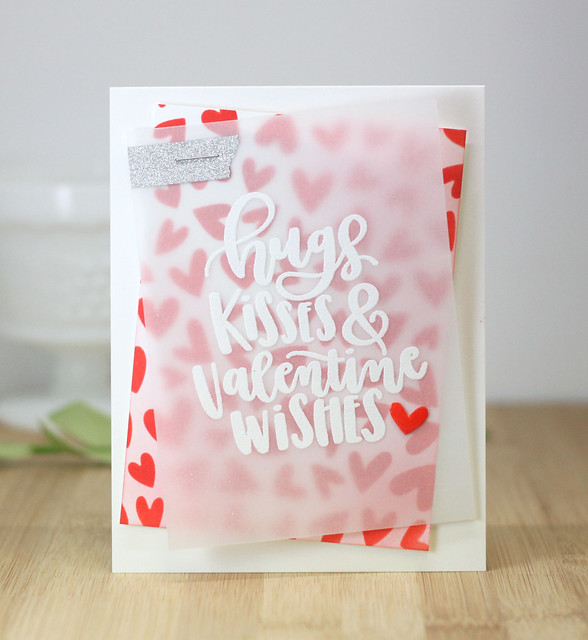
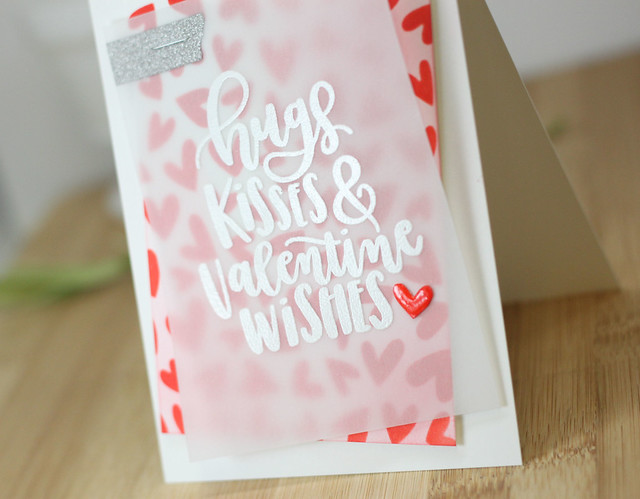
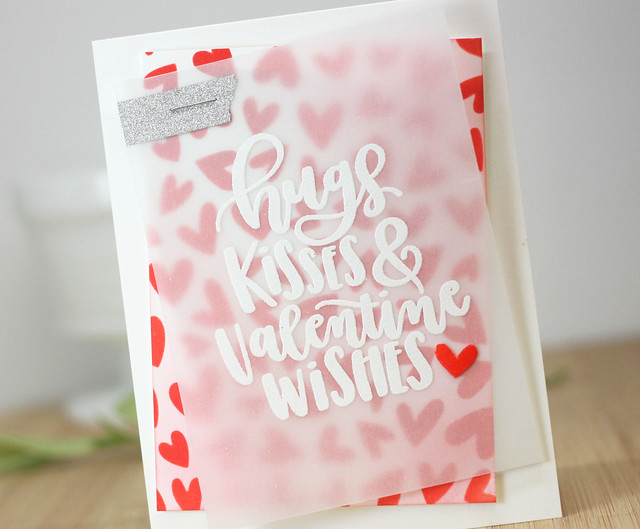
One of my most favorite uses for the Misti is double stamping.  With the Misti, double stamping a perfect image is completely possible.  This gives you a solid image and even brighter color when you can add layers of ink.  In today's card, I used double stamping with Versamark to create a solid heat embossed image.  

IMG_8178MFT/Misti Collaboration

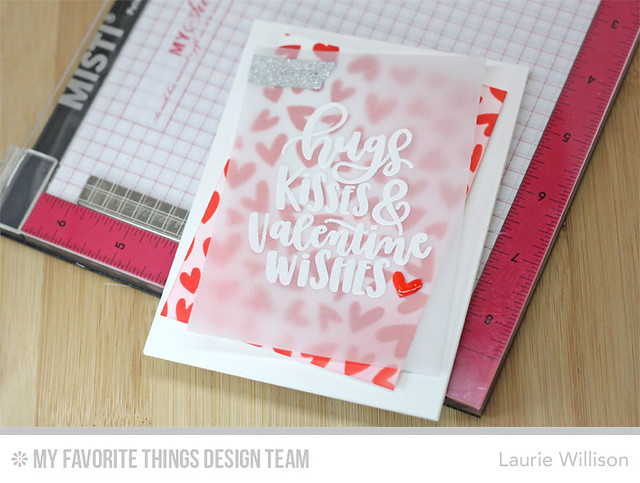
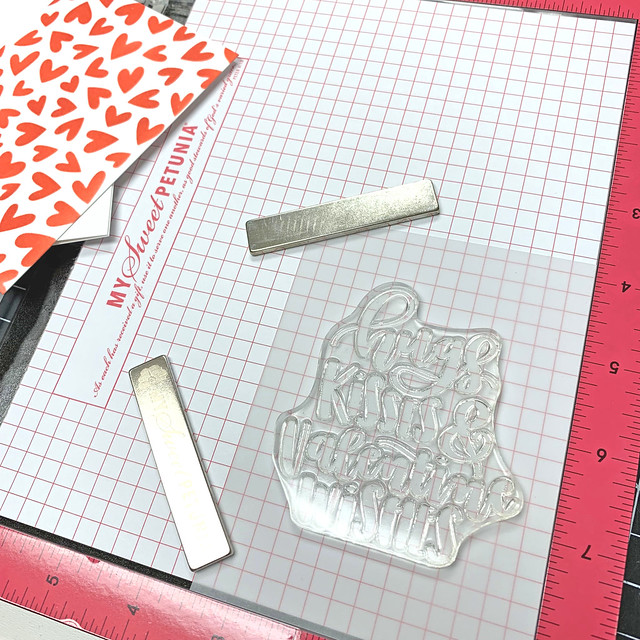
I lined up a piece of Vellum inside the Misti.  The benefit of using this great tool is having those graph lines.  You are able to line up your stamps perfectly within your cardstock.  


MFT/Misti Collaboration

I used the fabulous bar magnets to hold down the Vellum and then stamped the image 3 times to ensure a perfectly coated, Versamark image.  This allowed to get great embossing powder coverage. 

MFT/Misti Collaboration

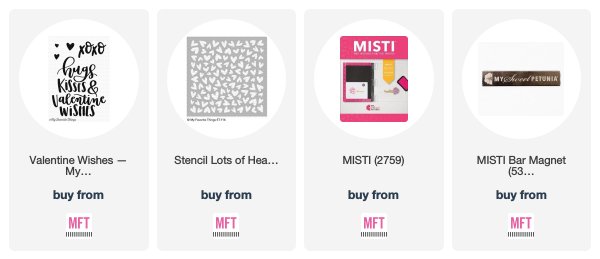
I love that embossed look!  I layered the vellum on a piece of white cardstock that I added the Lots of Heart Stencil to with some Candied Apple Oxide Ink.  I decided to go in a little on the edges with some Worn Lipstick Oxide ink just to add a little pink details.

MFT/Misti Collaboration

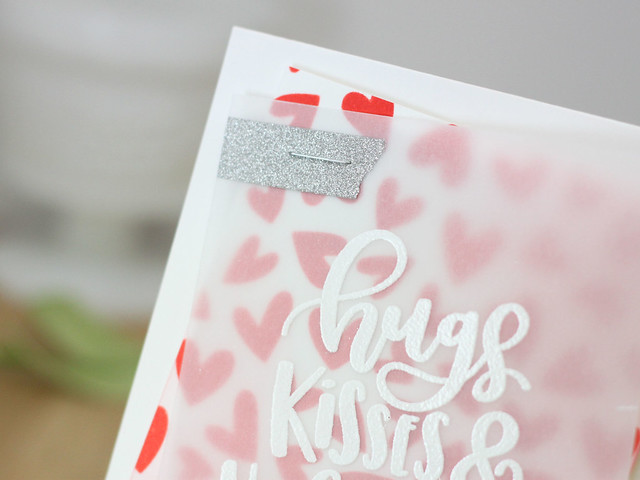
I added a small strip of Silver Glitter Washi to the top of the card and then attached the 2 pieces together with a staple.  I know staples are a different way to adhere paper together on a card but I do love the detail of the silver staple. 


MFT/Misti Collaboration

I attached the stenciled and vellum card front to a white card base using foam tape.  Last, I fussy cut one of the hearts from the stencil and added it to the vellum front.  I added a layer of Glossy Accents to the heart for a little shine.  

I hope you have enjoyed my card today.  Please stop over to the MFT Blog for more details.  There are lots of prizes to be given away and you will be able to find all those details over there.  

Thanks so much for stopping by today!  Have a great weekend!


_____________________________________

FIND ME OVER ON:

Instagram: Laurie Willison (@laurie_willison)


Facebook: Soapbox Creations

All products in today's post are linked below and throughout the post.  These are my personal affiliate links which you can shop from at no cost to you!  :)  Thank you for supporting Soapbox Creations!  

1/17/19

MFT Birthday Project....

Stopping in today with a new card for the MFT Birthday Project Challenge.  Here is the challenge for January!  

We know it’s the thought that counts but c’mon, can we all agree that a thoughtful gift is really the icing on the birthday cake? With a wide variety of gift stamps and dies, you ought to have no trouble completing this month’s challenge — join our team in crafting a birthday card featuring one or more presents.

First let me apologize for these horrible photos.  It went down like this....daylight bulb burned out.  Rain and drizzle.  No sun.  Day 2 and 3....still no sun.  Daylight bulb won't be here till tomorrow.  LOL!  SO, I give you blue photos of birthday card...

Print

To create this card, I cut out 4 little gift bags from the gift bag die and added them to the front of the card.  I used sentiments from Essential Sentiments and lined them up with my Misit.  I added hearts from Tag Builders 5 to each bag and then finished the card off with a strip of washi tape along the bottom.  

Untitled

The MFT Challenge Blog will have lots more gifty cards to share.  Head on over there and play along!  Thanks for coming by today!


_____________________________________

FIND ME OVER ON:

Instagram: Laurie Willison (@laurie_willison)


Facebook: Soapbox Creations

All products in today's post are linked below and throughout the post.  These are my personal affiliate links which you can shop from at no cost to you!  :)  Thank you for supporting Soapbox Creations!  
 
BLOG TEMPLATE BY DESIGNER BLOGS