3/04/18

MFT Countdown Day 2...

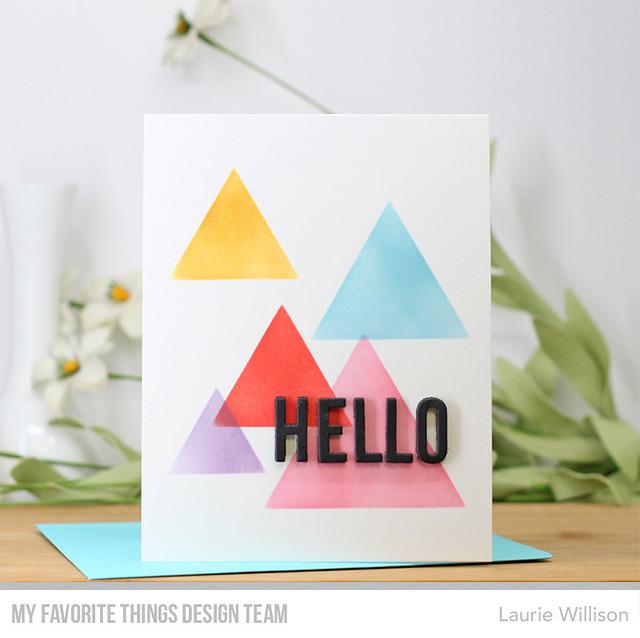
Hey there!  Today is Day 2 of the MFT March Countdown.  I have a super fun new stencil to share with you...Stencil Basics Shape Triangle. This stencil is so versatile and can make for an easy clean and simple card. 

MFT March 2018 Release
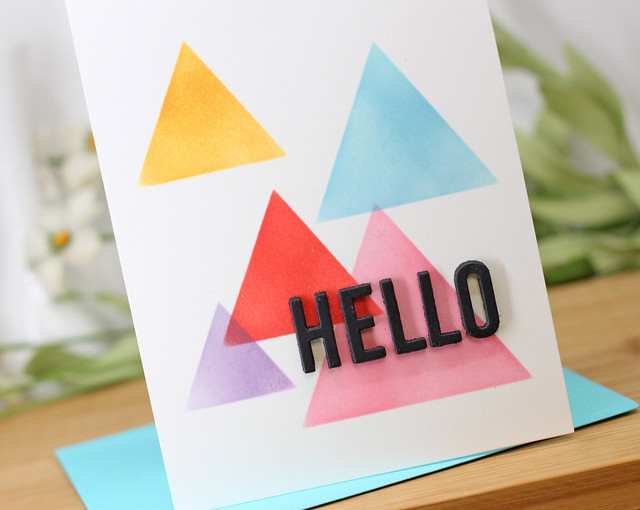
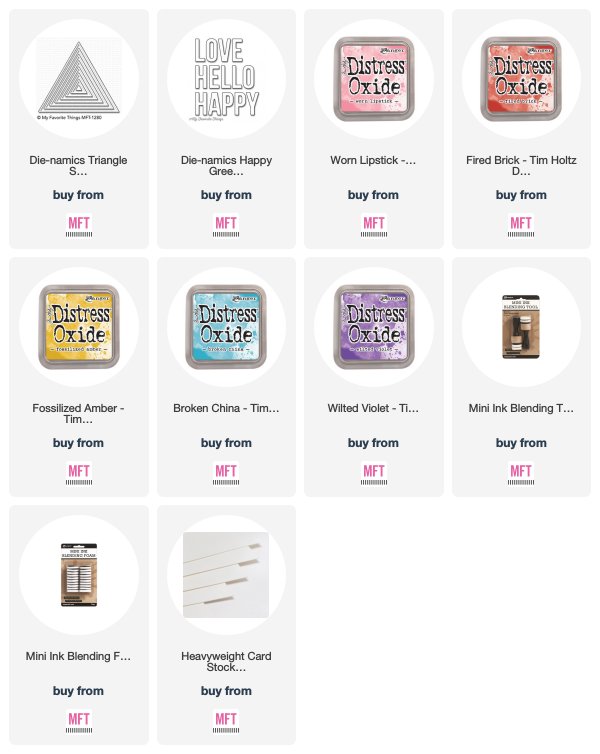
I used the different sized triangle in the stencil along with some different colors of oxides and made a quick background.  Next, I die cut Hello from black fun foam and black cardstock to add a dimensional sentiment to the card front.  

MFT March 2018 Release

The MFT Blog will have more details about this months release.  Stay tuned for another countdown day and then release day, Tuesday, March 6th when everything will be available at 8pm CST.  

Thanks so much for stopping by today!


3/03/18

MFT Countdown Day 3...

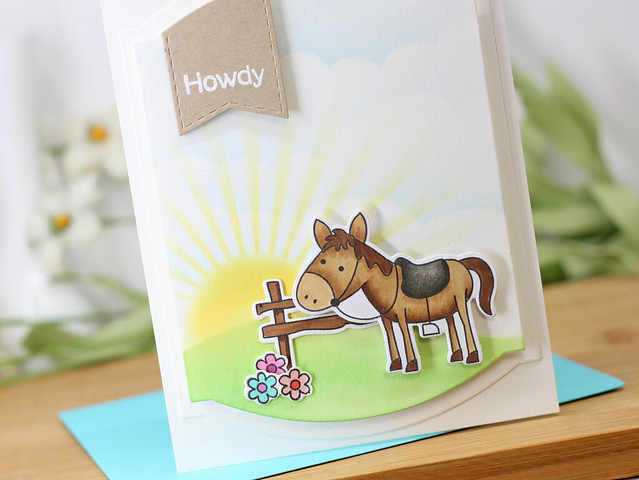
Howdy friends!  We are at Day 3 of the MFT Countdown and I have an adorable new set to share with you today.  This new set is called Best in the West.  It has several adorable images that are so much to color.

MFT March 2018 Release

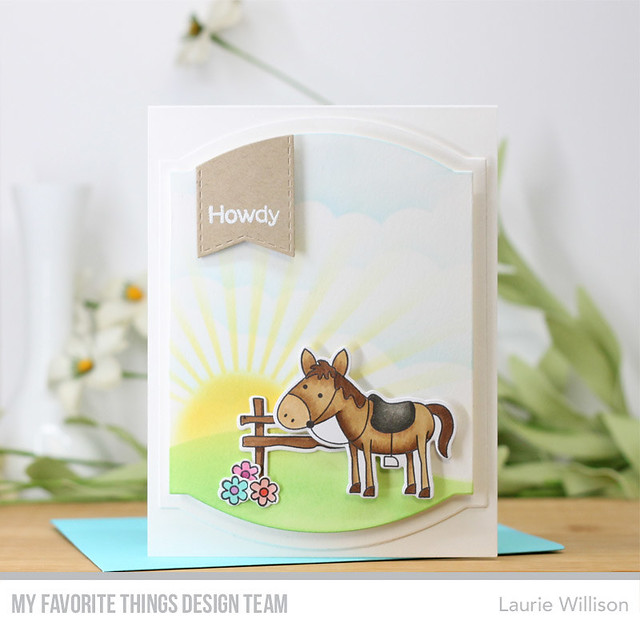
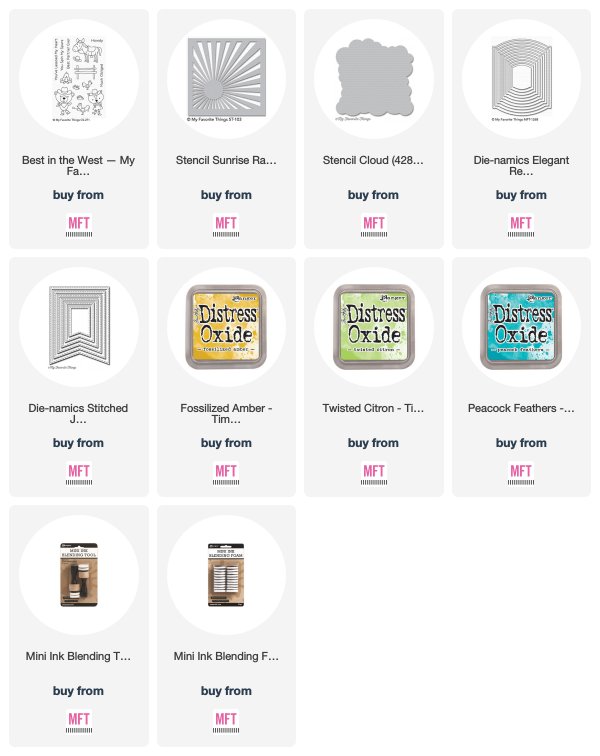
I used 2 more new products on this card.... the Elegant Rectangle STAX and the Sunrise Radiating Rays Stencil. First, I used the Elegant Rectangles to create a layered background.  On the top layer, I colored up a little scene using the Cloud Stencil and the Drifts and Hills Stencil.  On top of the background scene, I added in the new Sunrise Radiating Rays stencil.  I colored up the fence and horse images and then added in some flowers from the new Beautiful Day.

To finish off this card, I die cut the smallest Stitched Fishtail and heat embossed the sentiment.  

MFT March 2018 Release

I am so glad you stopped in.  We have 2 more days till release day so I hope you will stop by tomorrow.  Everything you see this week will be available Tuesday, March 6th at 8pm CST.  Leave a comment and tell me what is on your wishlist so far!

Thanks for stopping in!


3/02/18

MFT Countdown Day 4...

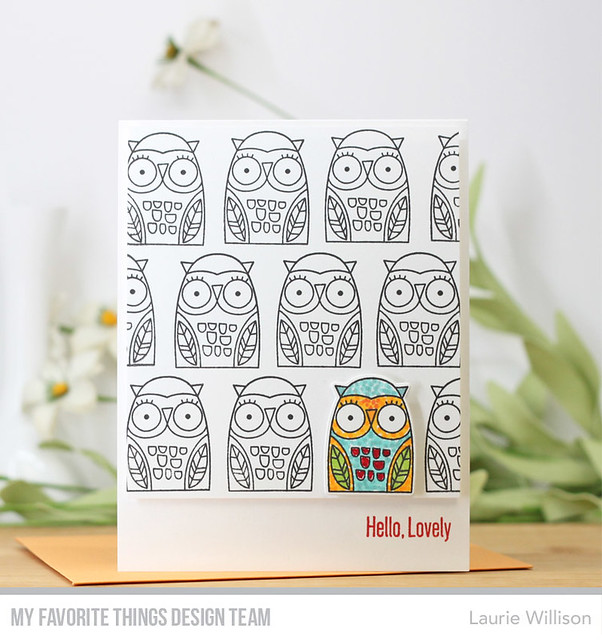
Welcome to day 4 of the MFT Countdown.  Today we have several adorable new sets to share but I am focusing on the new set called Owl My Love.

MFT March 2018 Release

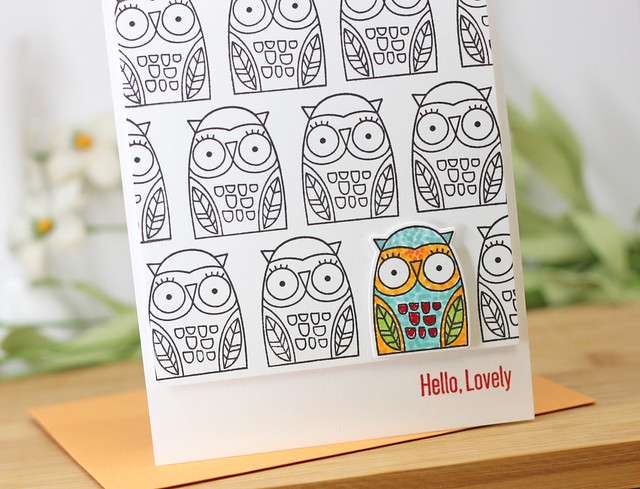
To create this card, I stamped the owl image to cover the front card panel and then did a little Copic stippling on one image.  I popped that panel up on foam tape and then stamped a sentiment, also included in the set, along the bottom in Red Hot ink.  Super simple!

MFT March 2018 Release

Check out the MFT Blog to see more of the peeks today.  There will be lots to see!

Remember we have 3 days of the countdown left and then the March MFT Release will be available on Tuesday, March 6th at 8pm CST.  Come back tomorrow to see day 3 of the countdown.

Thanks for coming by and I hope to see you soon!


3/01/18

MFT Countdown Day 5....

February flew by like a flash and here we are at the March MFT Release Countdown already.  Wow!  Lots of good stuff this month and today we are starting out with a peek of a super cute set called Delightful Dinosaurs.

MFT March 2018 Release

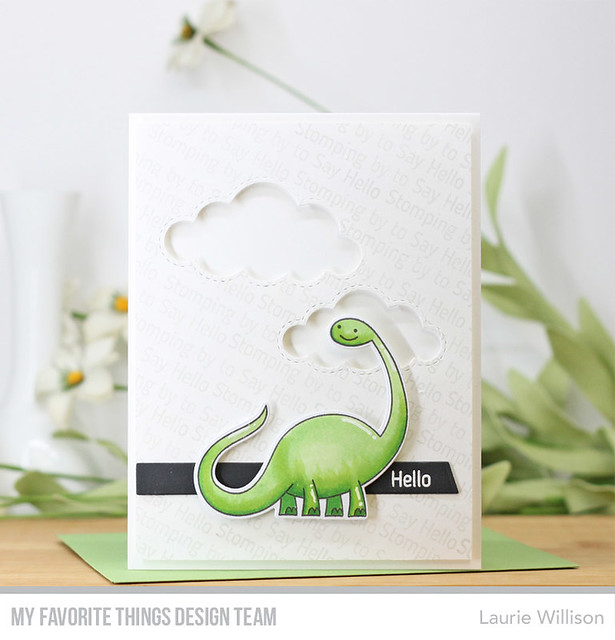
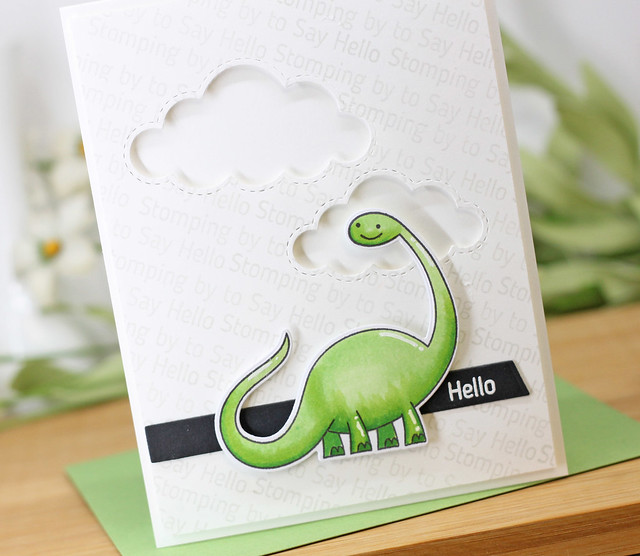
To create this card, I grabbed a sentiment from the stamp set, Stomping By to Say Hello, and stamped in a light gray ink all over the back panel.  Next, I die cut the stitched clouds into that same panel.  I used foam tape and popped the panel up on a white cards base.  Next, I used the Slanted Sentiment Strip die in black cardstock and heat embossed the "Hello" from the same sentiment I used on the background.  I colored up that adorable dinosaur and added him to the card front.  

MFT March 2018 Release

The MFT Blog will have a list of the Design Team stops to make today.  We have 4 more days of the countdown until release day, March 6th at 8pm CST, when everything you see this week will be available for purchase.

Thanks for coming by today!  Hope you come back tomorrow!


Crafty Friends...

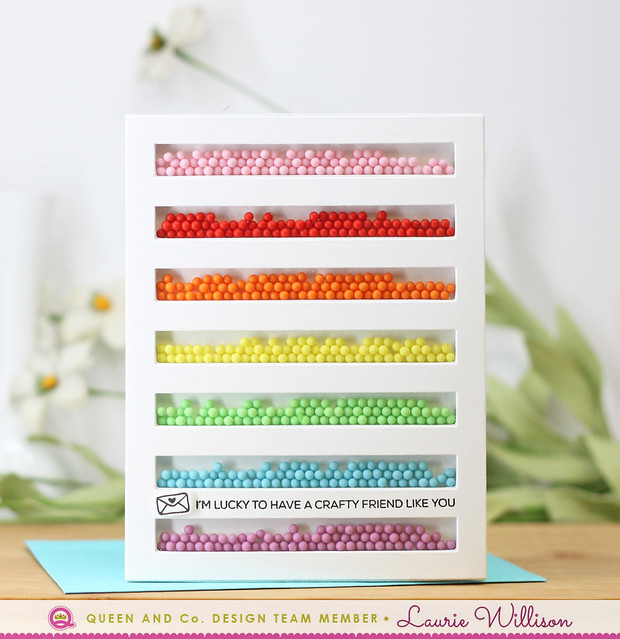
Hello Crafty Friends!  I am stopping in today to share a Queen and Company project I have been working on.  I have a craft retreat coming up very soon and one of the activities we like to do is a Shoebox Swap.  If you haven't heard of a shoebox swap before, its where you put together a card kit for each guest so they can recreate your card.  First off, let me show you my card.....
Queen and Co

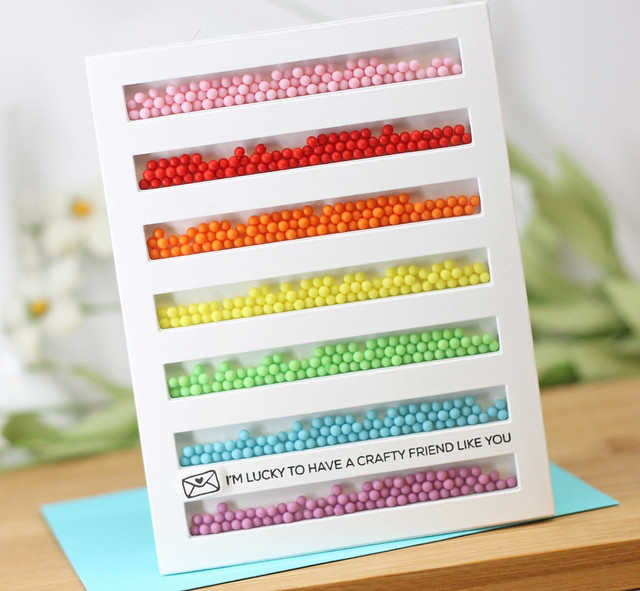
I created this card using the Queen and Company Lines Shaker Card kit.  These cards are so very easy to put together as everything comes in its own kit.  (Kits linked below).  I used the Pops toppings set to create the rainbow shake.  Last, I used my Misti to stamp the sentiment and added in the little stamped envelope.

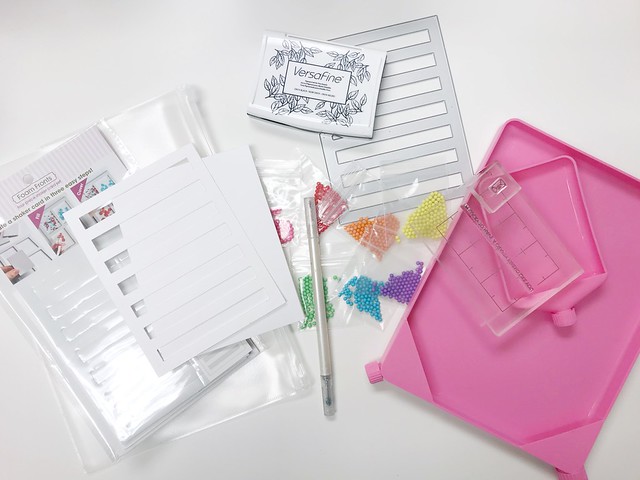
Here is a quick pick of what I put in each kit....
Untitled

I divided each color of the Pops Toppings in little baggies for each of 14 kits.  Each guest will get the Lines Card Kit.  I used the Lines Card Front Die to make my own Card Front out of Neenah cardstock, but the kit comes with a card front you can use too.

In the tool kit, I added Queen and Company's Topping Trays.  These are amazing to keep all the little toppings in one place and then the ends will twist off so you can pour your toppings back in their storage container.  No lost toppings!  I also added in a jewel picker upper (from Hobby Lobby).  This helps if you get the wrong color topping in the wrong rainbow slot.  :)  I also put the sentiment on a block as well as the little envelope and a black ink pad.  Everything in one place to create their own shaker card.

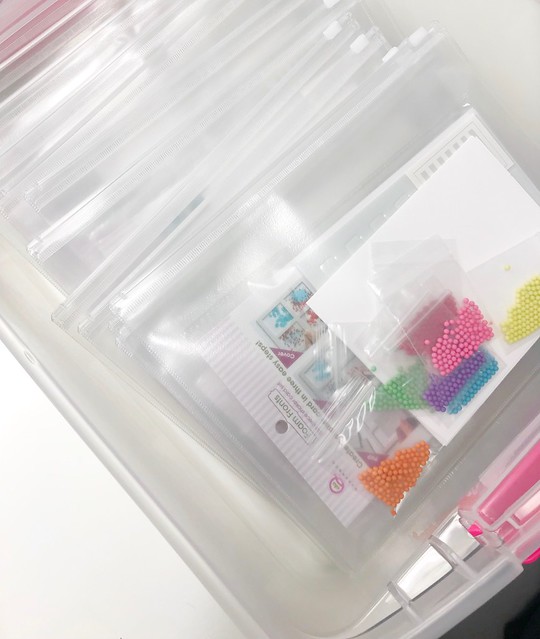
I put each card kit into a clear zipper bag that I found on Amazon....
Untitled

I can't wait to pass out my card kits.  I know my friends will have fun creating their own shaker card.

Queen and Co

So glad you stopped in today!  Hope you have enjoyed my creation!

Have a great day!
 
BLOG TEMPLATE BY DESIGNER BLOGS