4/26/22

Hot Foil FANTASTICNESS....

Is fantasticaness a word?  Well, I am feeling it for this amazing new product from Spellbinders.  Check out the Essential Solid Rectangle Hot Foil Plate.  This new plate has several functions....you could hot foil a large rectangle to create your own foiled paper.  Or what I did today was use the left over foil from another foiled image and added that foil to a piece of cardstock.  I used the Skinny Striped Background Hot Foil Plate on and other card and took the leftover foil to create this rectangle....


Spellbinders


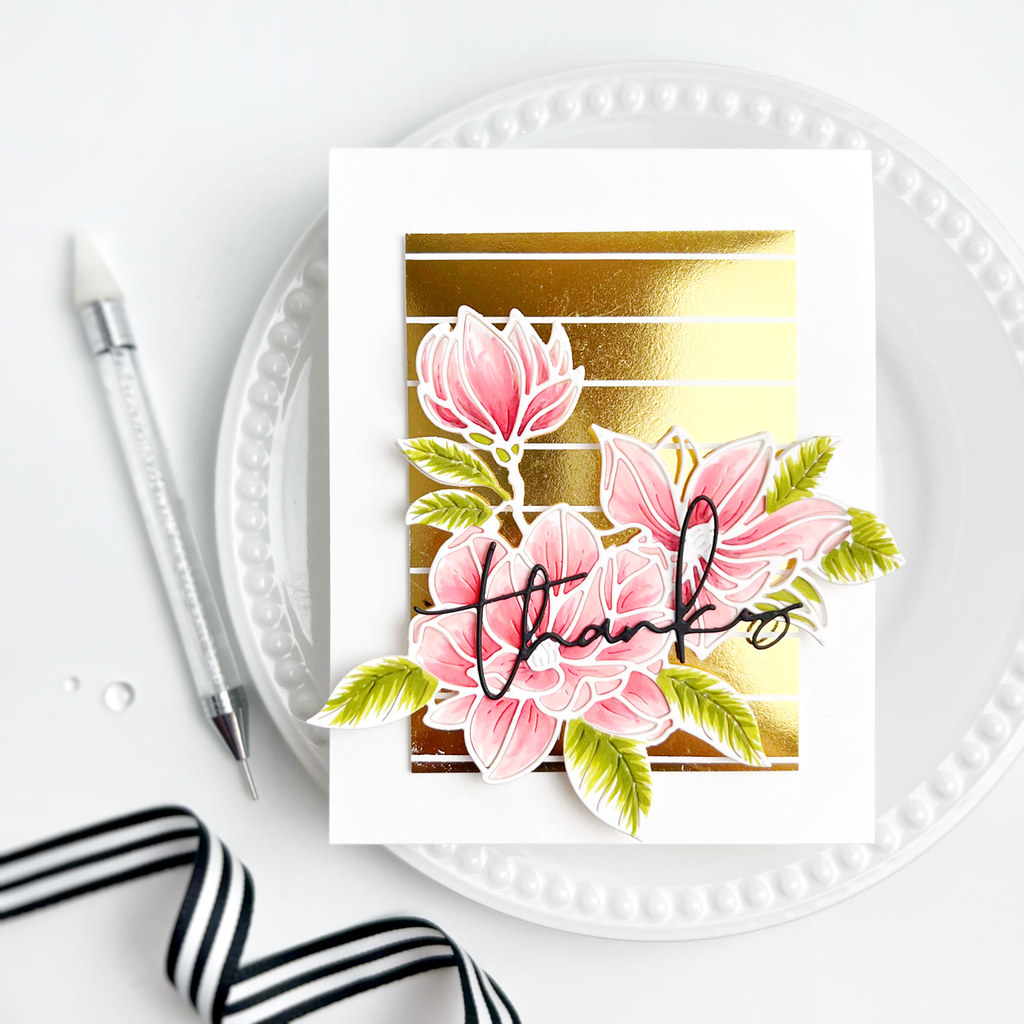
After foiling with this gorgeous gold foil, I cut it out and added it to a white card base with foam tape.  Then I used the Magnolia Blooms to add in a pop of color.  I did 2 layers here....the first was a quick color using comic markers and then next, I popped out the outline and laid it on top.  


Spellbinders


To finish off this card, I added in Yana's Layered Script Sentiments.  Love the delicate cuts these make!  


Spellbinders


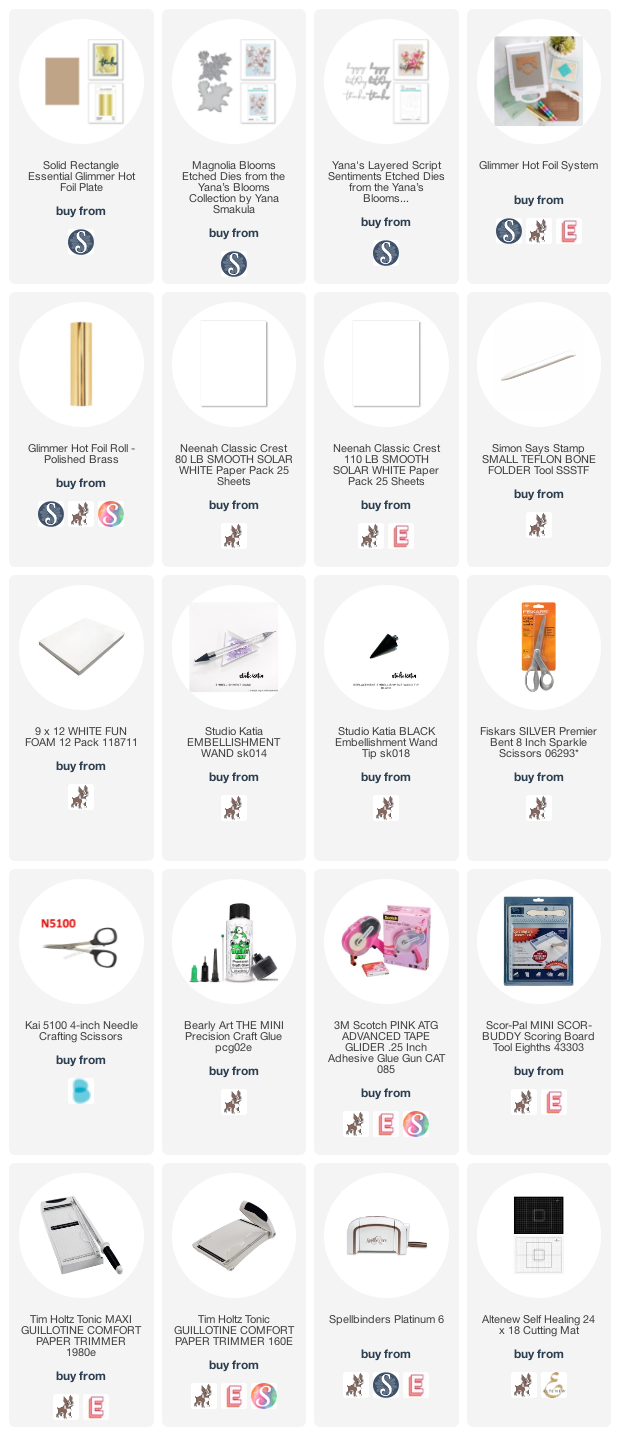
Check out all of the new Hot Foil Plates from Spellbinders by clicking HERE!  There is a Circle, Square, Oval and Rectangle.  So many possibilities!


_____________________________________


Are you new to hot foiling?


Spellbinders has a platform called Glimmer Hot Foil System.  This platform heats up metal plates called Glimmer Plates.  These glimmer plates come in ALL different types....sentiments, florals, backgrounds, graphic details etc....and add the most gorgeous foiling detail to your cards.  And the foils?  There are LOTS of different colors to chose from!


Here are some links to help point you in the right direction....


The Glimmer Hot Foil System works great with a Platinum 6 Die Cut machine from Spellbinders but also works with other die cut machines. You can click HERE to see a compatibility chart.  


First you heat up the platform and your glimmer plate on the Glimmer System Platform.  Then you add in the foil and the cardstock and run it thorough your die cut machine.  Once you pull off the foil negative, the magic happens!  That foil that is set on your cardstock and the results are just gorgeous!  

 __________________________________


Thanks so much for stopping in today!  Hope you have a great day!


 __________________________________


FIND ME OVER ON:


Instagram: Laurie Willison (@laurie_willison)


All products in today's post are linked below and throughout the post.  These are my personal affiliate links which you can shop from at no cost to you!  :)  Thank you for supporting Soapbox Creations!  


4/25/22

Altenew April 2022 Spring Garden Collection Release Blog Hop + Giveaway


Welcome to the Spring Garden Collection Release Blog Hop from Altenew.  Today, Altenew is release more of their gorgeous Hot Foil Plates and Stand Alone Dies.  I have combined 2 of them today to make a quick and easy card!  Keep scrolling to see today's project, the details of an amazing giveaway and a full list of stops on todays hop.


Altenew


To create this card, I used the Chevron Background Hot Foil Plate along with the Antique Blossoms Die to create this card.  I first hot foiled the Chevron Plate in Gold Foil.  New to foiling?  I have a little bit more detail at the bottom of my post.  I cut the panel down and layered it on a soft pink card base.  


Altenew


Next, I die cut the Antique Blossoms in White Cardstock and added that to the front panel.  I finished the card off with an ink blended sentiment from the Be Kind Die Set and then placed a few gold sequins.  


Altenew


See the full Garden Spring Collection by clicking HERE!

 __________________________________


GIVEAWAY


$300 in total prizes! To celebrate this release, Altenew is giving away a $50 gift certificate to 2 lucky winners and a $25 gift certificate to 8 winners! Please leave a comment on the Altenew Card Blog and/or each designer’s blog post on the blog hop list below by 05/01/2022 for a chance to win. 


Altenew will draw 10 random winners from the comments left on each stop of this blog hop and announce the winners on the Altenew Winners Page on 05/03/2022.


 __________________________________


BLOG HOP

Altenew Blog

Jaycee Gaspar

Cheryl Espie

Terri Koszler

Mindy Eggen

Jenny Colacicco

Katrina Howe

Verity Biddlecombe

Nathalie DeSousa

Nicole Watt

Virginia Lu

Carol Hintermeier

Laurie Willison

LauraJane

Norine Borys

Keren Baker

Reiko Tsuchida

Preeti Chandran

Tenia Nelson

Nenette S. Madero

Agnieszka MaƂyszek

Colleen Balija

Teresa Litchfield

Natasha Davies

Rosie Neustaedter

Ann Taylor

Sande Woodson

Linda Westfall

Nandini Karmarkar

SathyaKala Sankaran

Susan Stagno

Bridget Casey

Eva Bussom

Amy Hill

Audrey Yeager

Hussena Calcuttawala

Nichol Spohr

Daniel Diaz


 __________________________________


FIND ME OVER ON:


Instagram: Laurie Willison (@laurie_willison)


All products in today's post are linked below and throughout the post.  These are my personal affiliate links which you can shop from at no cost to you!  :)  Thank you for supporting Soapbox Creations!  


4/21/22

Thank You {The Greetery}...

I love finding multiple uses for stamp sets that make them go farther for lots of occasions.  Balloon Bouquet from The Greetery is one of my all time favorite sets because I just love that floral swag.  The balloons are gorgeous but I love that a die is included so you can use it on its own.  


The Greetery


First, I stamped out the balloon (Ink colors linked in supply list) and the florals twice so I had 2 balloon to work with.  I used the floral bouquet die and cut both out.  After layering a Postal Frame on my white card base, I used foam squares to pop up the floral pieces so they were just barely overlapping each other on both sides. 


The Greetery


Last, I hot foiled the Thank You plate from Opposites Attract Hot Foil Sentiment Set.  I absolutely love the shine that hot foiling brings to a card.  Check out more details below if you haven't tried hot foiling yet. 


The Greetery


So glad you stopped in today!  Hope you have a great day!

_____________________________________


Are you new to hot foiling?


Spellbinders has a platform called Glimmer Hot Foil System.  This platform heats up metal plates called Glimmer Plates.  These glimmer plates come in ALL different types....sentiments, florals, backgrounds, graphic details etc....and add the most gorgeous foiling detail to your cards.  And the foils?  There are LOTS of different colors to chose from!


Here are some links to help point you in the right direction....


The Glimmer Hot Foil System works great with a Platinum 6 Die Cut machine from Spellbinders but also works with other die cut machines. You can click HERE to see a compatibility chart.  


First you heat up the platform and your glimmer plate on the Glimmer System Platform.  Then you add in the foil and the cardstock and run it thorough your die cut machine.  Once you pull off the foil negative, the magic happens!  That foil that is set on your cardstock and the results are just gorgeous!  

 __________________________________


FIND ME OVER ON:


Instagram: Laurie Willison (@laurie_willison)


All products in today's post are linked below and throughout the post.  These are my personal affiliate links which you can shop from at no cost to you!  :)  Thank you for supporting Soapbox Creations!  


4/20/22

You add color to my life {Spellbinders}...

I have a quick card using the new Color Block Mini Square Dies from Spellbinders today.  I love this geometric pattern with the different colors of cardstock.  


Spellbinders


I cut out 6 colors of squares and then added each one to the next in rainbow order to create a fun pattern.  I added all the finished squares to a piece of cardstock and then popped it up on the card front.  Last, I added in a fun sentiment with foam strips to complete this card.  Super quick and easy!

Hope you are all having a great week!  Thanks for stopping in!

 __________________________________


FIND ME OVER ON:


Instagram: Laurie Willison (@laurie_willison)


All products in today's post are linked below and throughout the post.  These are my personal affiliate links which you can shop from at no cost to you!  :)  Thank you for supporting Soapbox Creations!  


4/16/22

Easter Blessings {The Greetery{...

Happy Easter to my crafty friends!  I hope your weekend is being spent with family or friends and definitely some chocolate!  My weekend is being spent with family in my camper....and praising Jesus for all He has done!  He is Risen!!

I have a card today using Greetery products that just feel so springy!  

The Greetery


Print Shop: Fresh Floral is a favorite of mine so I used it to create this background.  I love the blooms and with your choice of color combos, this set can go a long way!


The Greetery


I used the Easter Jubliee Creative Kit dies to add in the sentiment on top of a Postal Frame Die. (PS...Scoop theses Postal Frames up today!  They are on sale!)   I popped each letter up with a die cut layer of fun foam for dimension and then added in the "blessings" banner.  Super easy!


The Greetery


Happy Easter!  Hope you all have a great weekend!

 __________________________________


FIND ME OVER ON:


Instagram: Laurie Willison (@laurie_willison)


All products in today's post are linked below and throughout the post.  These are my personal affiliate links which you can shop from at no cost to you!  :)  Thank you for supporting Soapbox Creations!  


4/13/22

Happy Springtime {The Greetery}...

Hi friends!  I made a card today...just because!  Life has been so busy these last 6 months, so I feel like I haven't had much craft room time.  The Greetery's BotaniCuts Carrot Dies having been swimming in my brain and so I had to pull them out and use them!  I put a few things together and created a fun, spingy card.  All the supplies used in today's card are located at the bottom of my post in the supply list!  


The Greetery


First off, I die cut 5 carrrots in yellow cardstock.  I took a blending brush and some orange and brown inks to blend them up into the perfect orange color.  (All inks linked in my supply list)

After die cutting the carrot tops in a pale green cardstock, I took some green ink and blended it directly on the dies to add in some shading.  I needed the perfect "dirt" so I ripped up 2 pieces of brown cardstock.  One for the back and a smaller one to lay ontop of the carrots.  I laid out all the pieces and glued them to the white card base and then took scissors and cut off all the carrot bottoms to give it all an even edge along the bottom of the card front. 

Next, I stamped up one of those Sprinkled with Kindess Watering Cans.  I ran it through my die cut machine with the coordinating die and then tucked it down in behind the dirt layer and the carrots.  

Using another blending brush, I lightly blended up some Altenew Mountain Mist to create a little bit of a sky.  I die cut 2 clouds from the On Cloud Nine Die Set (Spellbinders) and added them to the card with some foam squares.  Last, I stamped the perfect spring sentiment from the Springtime sets from The Greetery.  


The Greetery


I hope you have enjoyed my Greetery project for today!  Thanks for coming by!

 __________________________________


FIND ME OVER ON:


Instagram: Laurie Willison (@laurie_willison)


All products in today's post are linked below and throughout the post.  These are my personal affiliate links which you can shop from at no cost to you!  :)  Thank you for supporting Soapbox Creations!  


BLOG TEMPLATE BY DESIGNER BLOGS