5/09/16

Moments Inked Travel Planning...

Moments Inked Banner
We are on the final days of the countdown to summer vacation and with the arrival of summer brings a pretty busy summer.  Lots of kid stuff and lots of travel!  I have prepared some pages tucked inside my planner, just to help get organized.  We have 3 big trips planned so far and I am hoping to squeeze in a few more, but here is one set of very simple organizational pages for all those lists I love to make.

Untitled

There are 4 of us, so using the 3x6 post it notes works perfectly to give each of us a list of our "must haves" or "don't forgets".  I stacked up 4 notes and then washi taped them on to my clear dashboard....

Planner travel pages

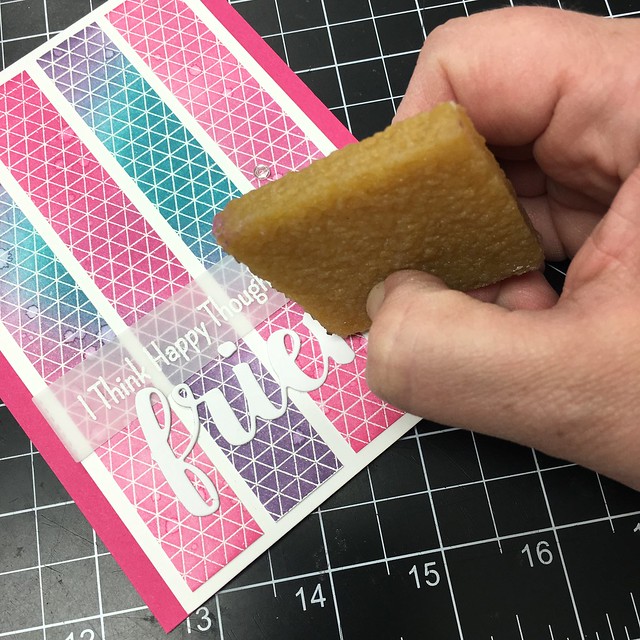
Lining the large lined stamp from Posted II Stamp set works perfectly using a stamp positioner.  I was able to stamp them all quickly.

Planner travel pages

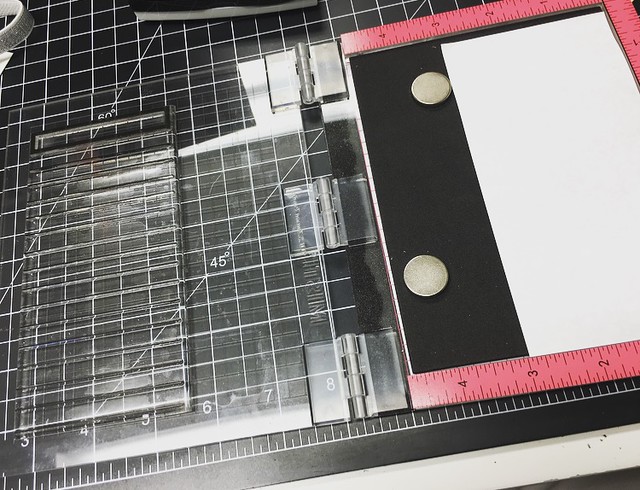
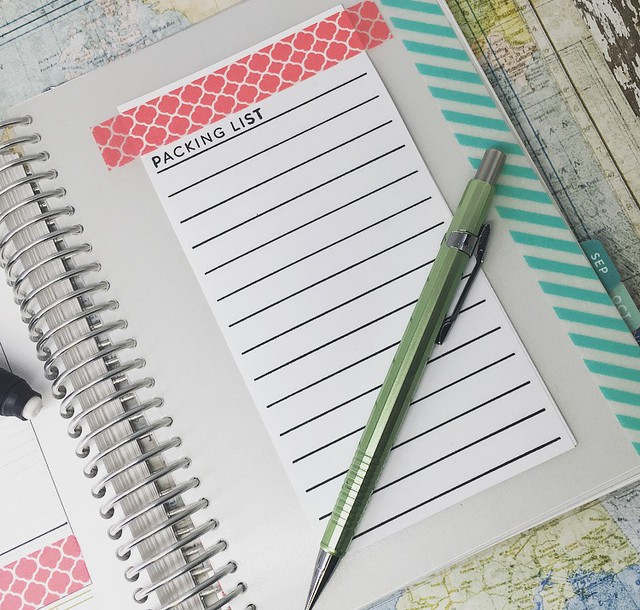
I used ones of the listed words from the Listed stamp set at the top of the packing lists.  

Planner travel pages

Next, I die cut 3 pages from white card stock using the large page die from the Divided Die set. 

Planner travel pages

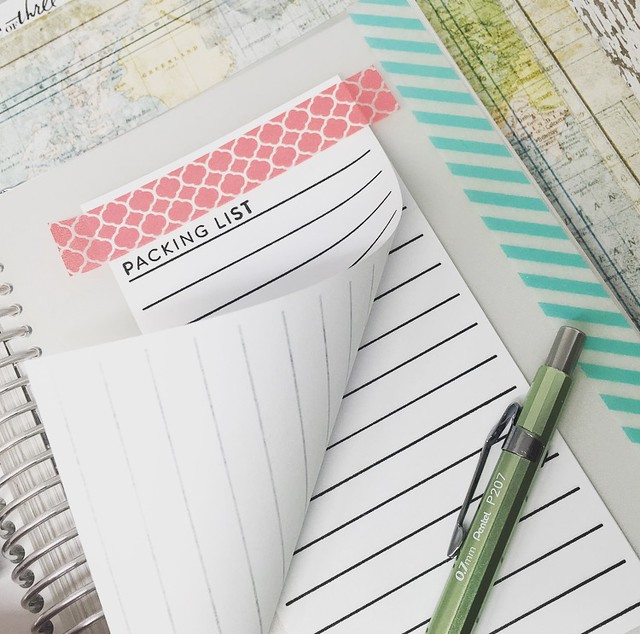
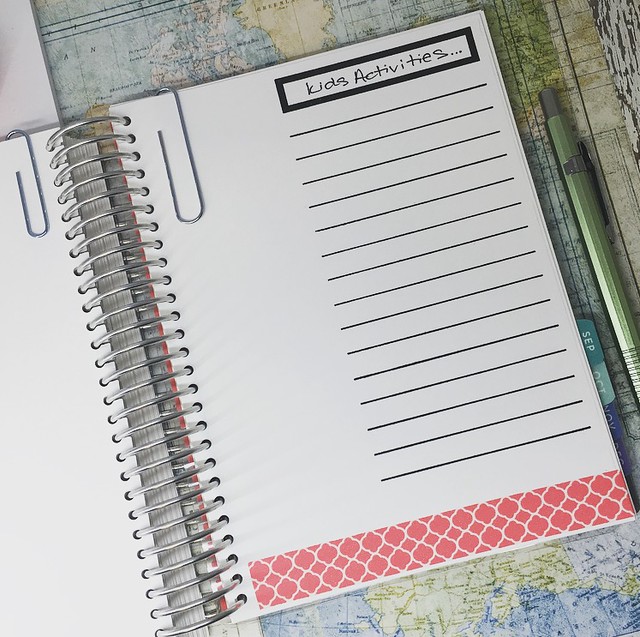
I stamped the Listed image again on each page.  I really like to keep things simple, so I added a strip of washi on each page for a little decoration. 

Planner travel pages

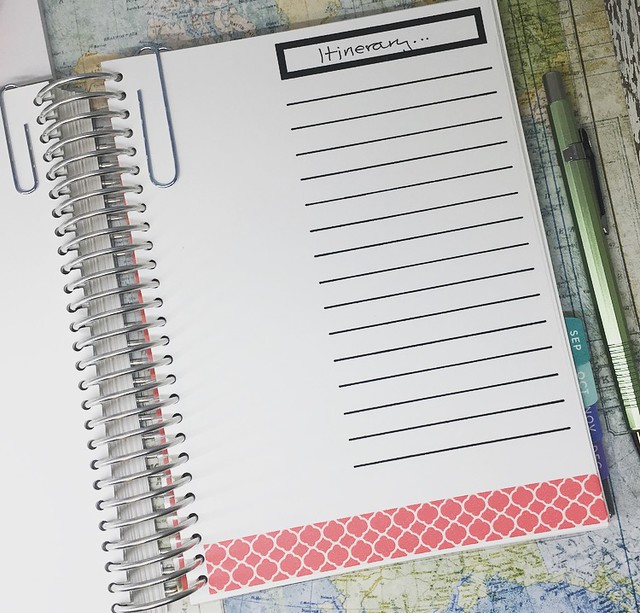
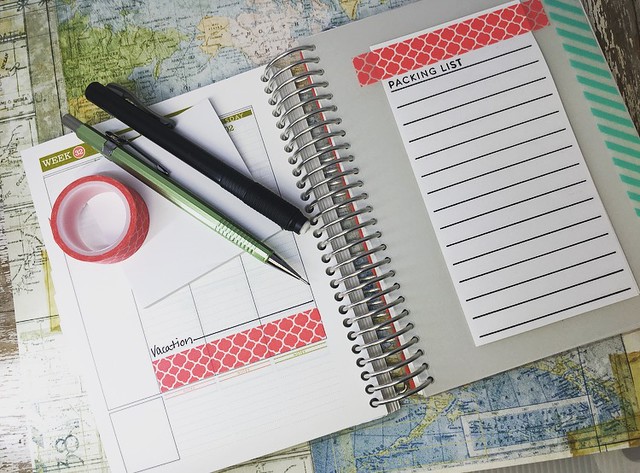
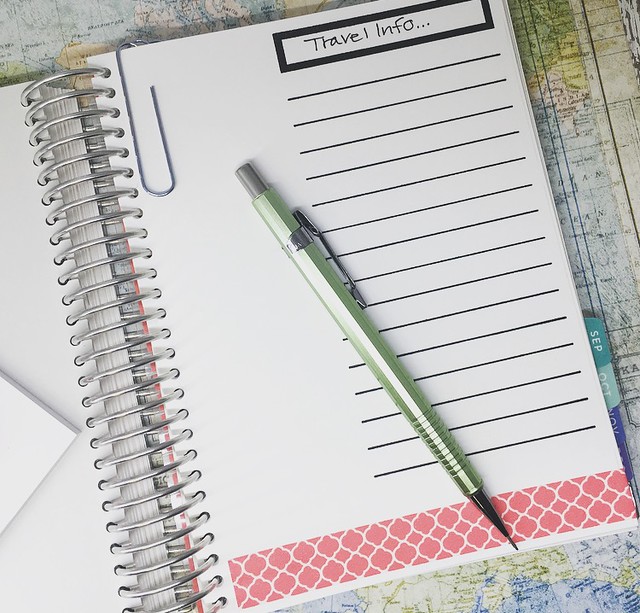
At the top of each page, I added a large paper clip, to attach any print outs, coupons or documents we need for each page.  I have one for Travel Info, Itinerary and Kids Activities.

Planner travel pages

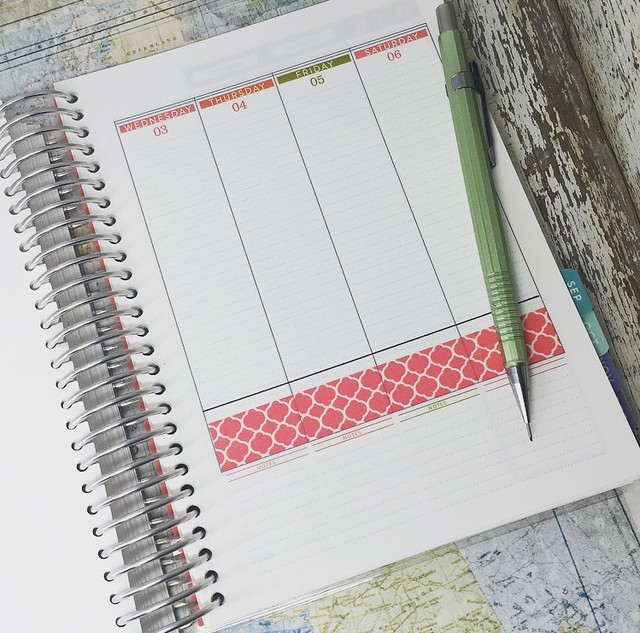
And just to coordinate and block out the days on the planner itself, I have the same washi starting on the first day of vacation....

Planner travel pages

....and ending on the last day.

Planner travel pages

To purchase your own Moments Inked Planner and to see all the coordinating stamps and dies, click HERE.

So that is it for today.  I hope you've enjoyed my simple vacation planning pages.  Thanks so much for stopping in and I will see you soon for the PTI May Release!

Laurie-W-Moments-Inked-Intro


5/03/16

MFT Product Launch...

Have you loved this months MFT release?  So many fun new stamps and dies.  I have a card to share today with the new rainbow and cloud die that I absolutely LOVE LOVE!  They work together to make the most CAS card!

Print

I cut the rainbow out of the 6 different color card stocks and then added a cloud and sentiment.  I stamped a little heart and then added some glossy accent to finish it off. 

Print

I know there will be lots more to see over at the MFT Blog!  Head over there and check it out! Thanks for stopping in!


4/29/16

MFT Countdown Day 3...

Welcome to Day 3 of the MFT May Countdown.  I have a card to share today using an adorable new set called Magical Unicorns.

Print

I did a little distress inking in the background and then created the scene using the images from the new set.  I pulled out my Copics and did a little coloring for this occasion! These unicorns are so adorable and I do love anything rainbow!

Print

Head on over to the MFT blog to see more of the sneaks for today.  So glad you came by today and I will be back soon with some more MFT goodies!  

4/25/16

MFT Blueprints Challenge...

Our challenge this month for the Creative Construction with Blueprints, is to use the strips, tags and flags found in the MFT Blueprint dies, to add a sentiment on to a card.

I created this card to look like the sky...

Print

I added in the Stitched Cloud Edge dies to create the top of the card after blending in the ink along the bottom.  Next, I added in the watercolored butterfly die.  I needed to find the perfect place for a sentiment, so I knew vellum would be perfect with this stitched banner.  

26020982123_72c1f49885_k

To finish it off, I added in some rain drops.  A fun CAS card using a banner to add in the sentiment.  Stop over to the MFT blog to see more for today's Blueprints Challenge.  Thanks for stopping by!


4/20/16

My Favorite Things and Xyron...


I have a fun post to share today!  Xyron and MFT are doing a little collaboration and I have a card and some products to share.

First up, here is my card...

MFT/Xyron

I used the Geometric Grid Background and some Distress inks to create this panel.  I cut the panel into 4 strips and ran each through the Xyron Sticker Maker to stick them down to the white panel. 

MFT/Xyron

Next, I took the "friend" die and ran it through the Sticker Maker.  This is such an easy way to add adhesive to the back of your detailed dies.

Untitled

You just feed it into the front of the little machine and then crank it out....

Untitled

After I adhered it to my card front, I took the Xyron Adhesive Eraser Cube and just cleaned up the edges of the sentiment.  This handy little tool is going to be a life saved in my craft room.   I always have some type of adhesive to remove from somewhere!

Untitled

I also added a sentiment on a vellum banner and added in some sequins for some added detail....

MFT/Xyron

Please stop over to the MFT Blog to see more on this fun collaboration with Xyron and see what prizes are up for grab@  Check out the Xyron site HERE to see what fun supplies they have for card making and scrapbooking.

Thanks so much for stopping in today!


Supply List: 


BLOG TEMPLATE BY DESIGNER BLOGS