I have lots more to share today on this day 2 of group posts for the September PTI Release. I have a hard time typing September. How is it September? Was it not the fastest summer EVER?
OK on to the projects. I have lots to share. And lots of pics, so hang with me! Today's topic is all about Holiday Wraps. These new goodies from PTI are SO. MUCH. FUN. And ok so easy! If you follow my blog, you know I like easy. And quick. Love.
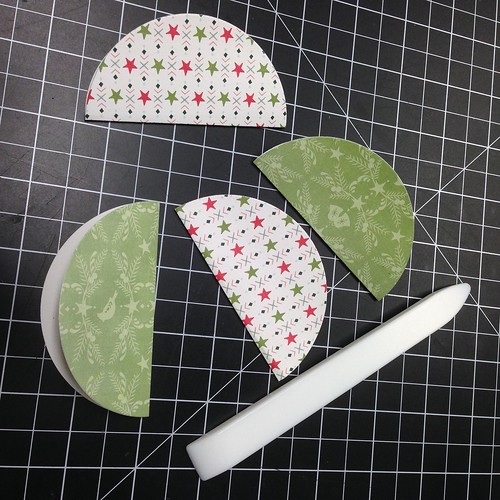
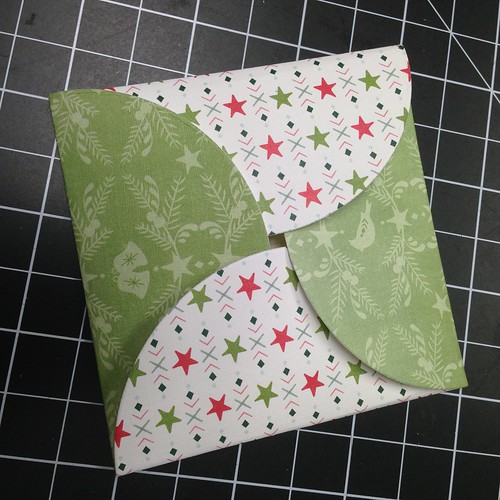
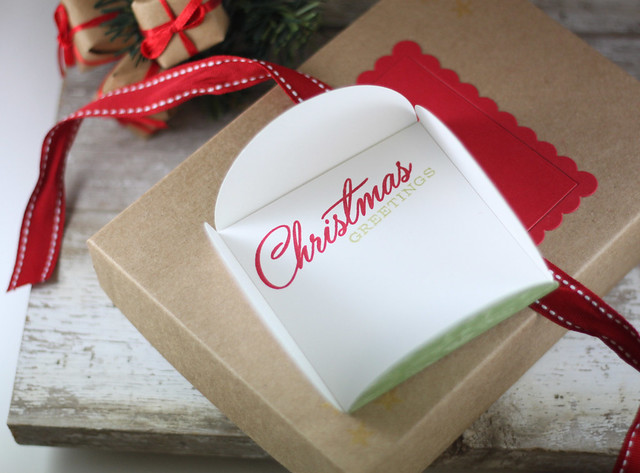
This first little gift item is a super easy (and quick) cookie holder using the new Ribbon Sliders Stamps and Papers.
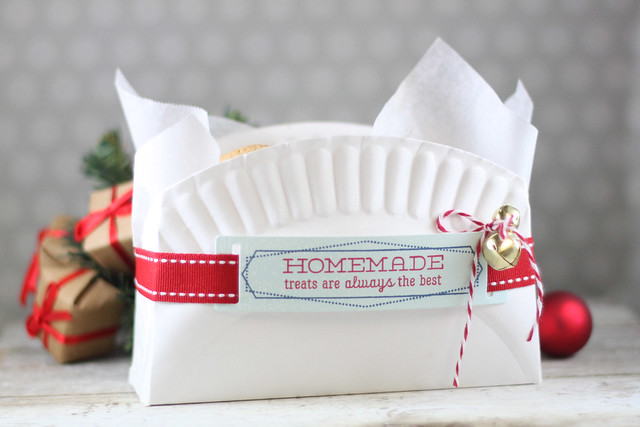
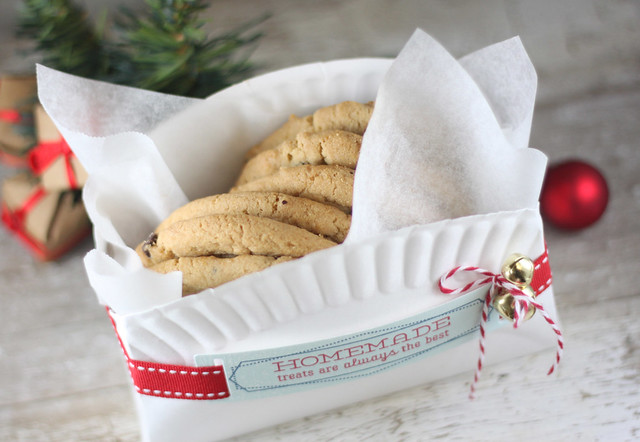
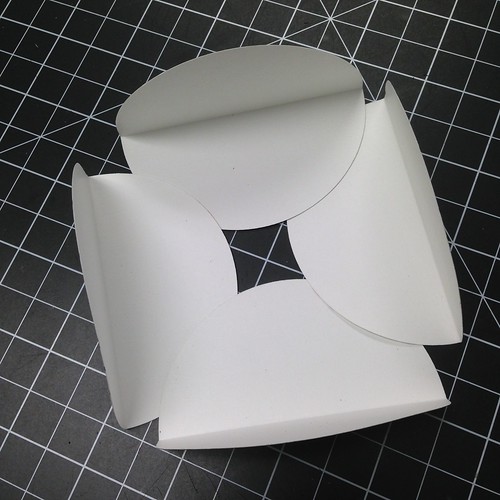
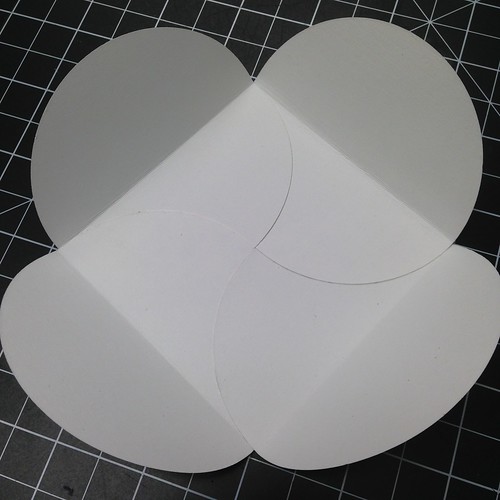
First, I took a white (cheap) paper plate and did a little folding and cutting and made this super fun little basket. I used Pure Poppy Saddle Stitch Ribbon....my favorite ribbon in the history of ever....and added in on to this ribbon slider.
OK on to the projects. I have lots to share. And lots of pics, so hang with me! Today's topic is all about Holiday Wraps. These new goodies from PTI are SO. MUCH. FUN. And ok so easy! If you follow my blog, you know I like easy. And quick. Love.
This first little gift item is a super easy (and quick) cookie holder using the new Ribbon Sliders Stamps and Papers.
First, I took a white (cheap) paper plate and did a little folding and cutting and made this super fun little basket. I used Pure Poppy Saddle Stitch Ribbon....my favorite ribbon in the history of ever....and added in on to this ribbon slider.
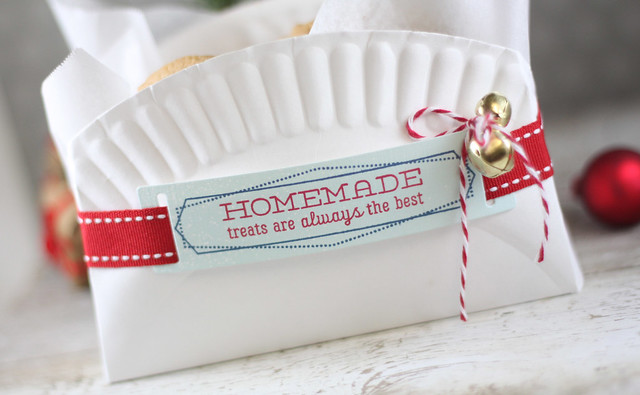
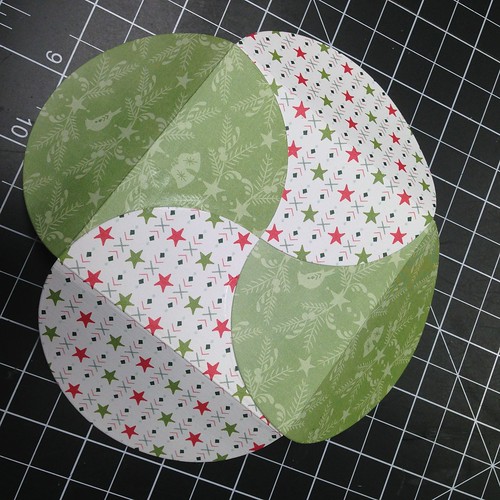
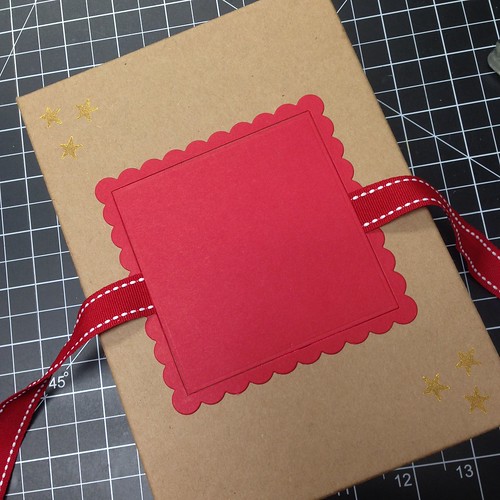
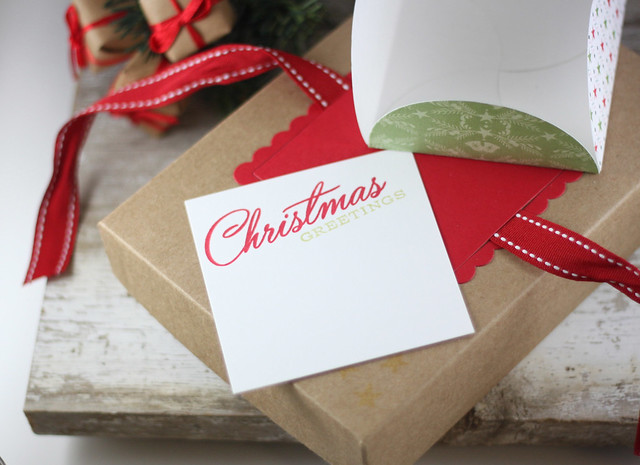
The paper is from the Ribbon Slider paper pack and using the die it was so easy to make this tag. I stamped the frame in Enchanted Evening and then the sentiment in Pure Poppy.
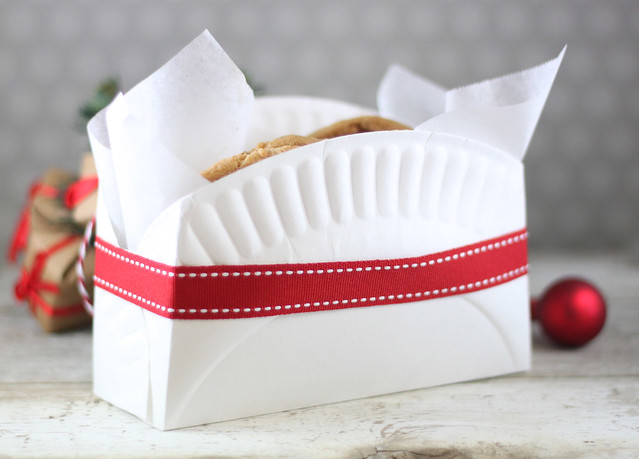
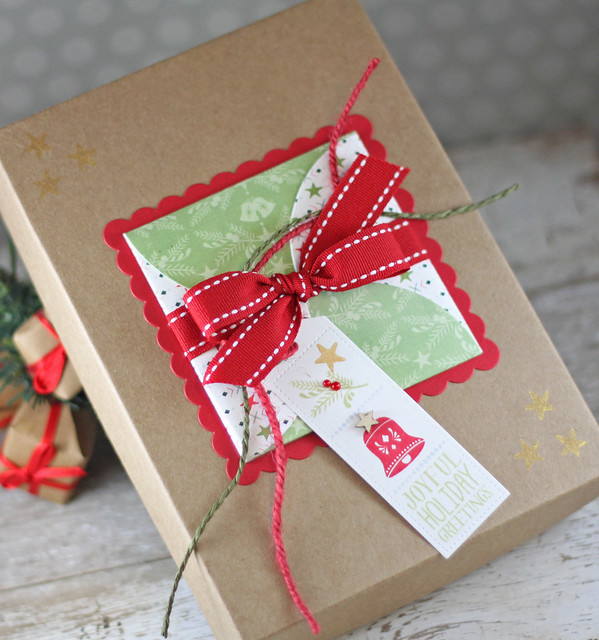
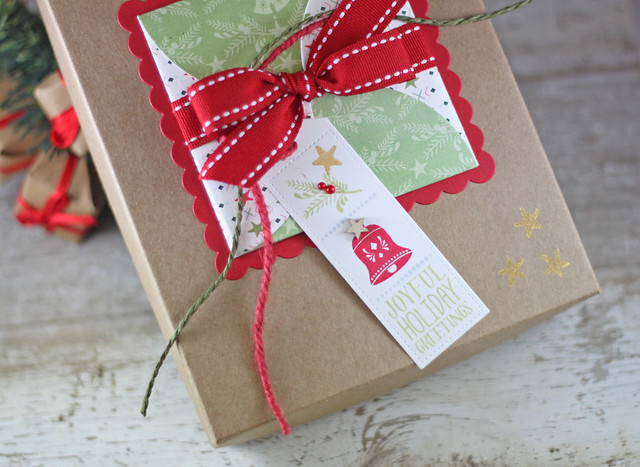
You can see there is no seam on the back side, as I attached the ribbon ends with glue dots and then slide the seam around the front so it is hidden by the tag. Fun, huh? To finish it off, I added some more bells and a little twine bow. I am so happy with this fun little basket....I can see many of these as teacher and neighbor gifts in my near future. Seriously, Lizzie is a genius! Love these Ribbon Sliders.
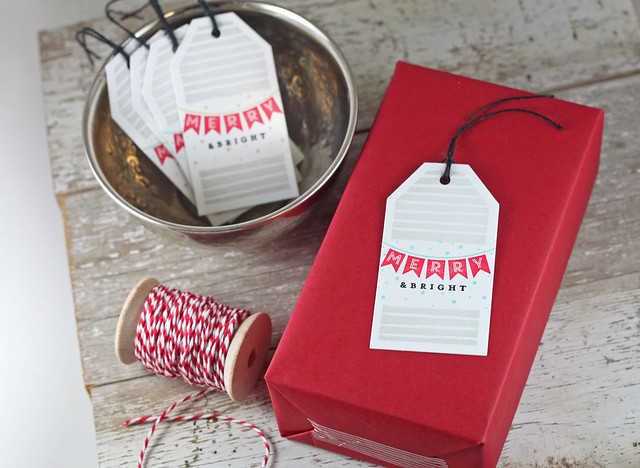
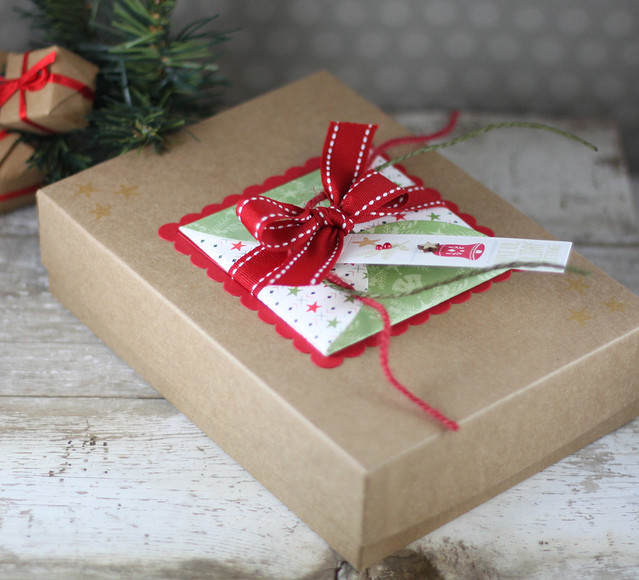
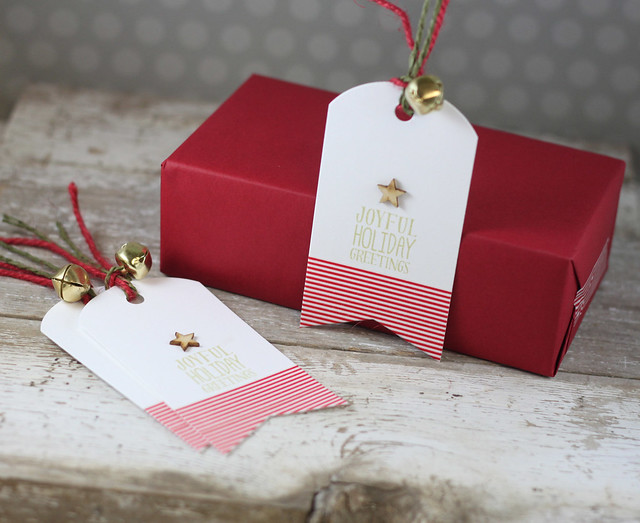
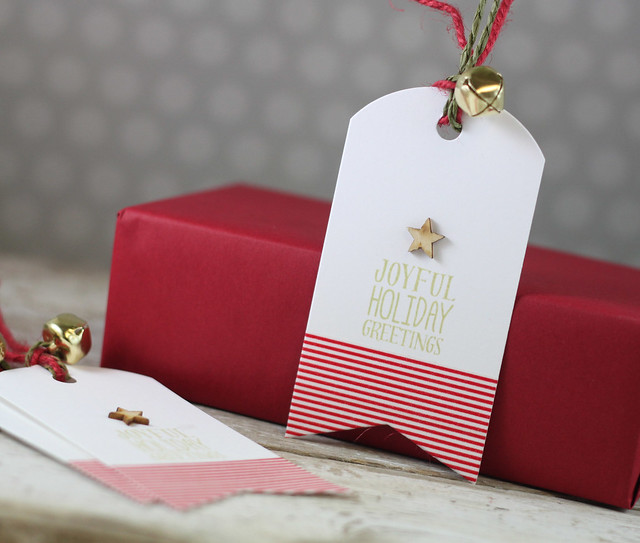
Next, I have a set of tags from Minute to Make: Holiday Tags 2. This is another new set that I am so excited about, I can hardly handle it. Again....I love quick. I love easy. This is seriously that product. The way the stamps are laid out on the package? Genius! It makes for quick and easy and of course, with different color combos, these tags can go for miles!
I kept this package super simple with some red wrapping paper and washi. (Yes that striped washi I used yesterday on those tags? My favorite!) I added some black twine onto the tags and then just taped them down to the package. It took me maybe 2 minutes to cut and stamp these tags out. Love that!
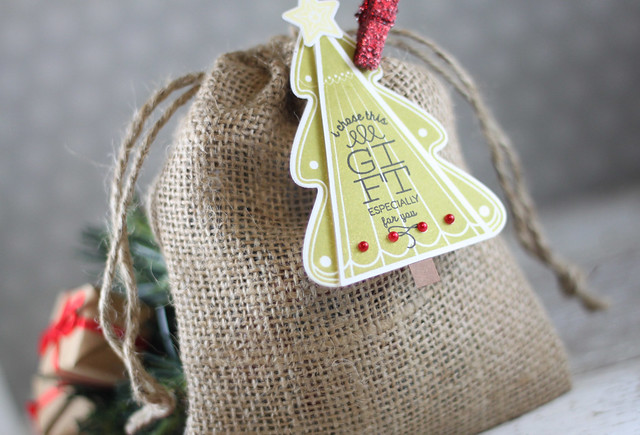
Next, I have a tag that I made out of the stamps and dies from Christmas Tree Change up. Normally, this tree would make a really cut little treat box, but today, I have a quick little tag.
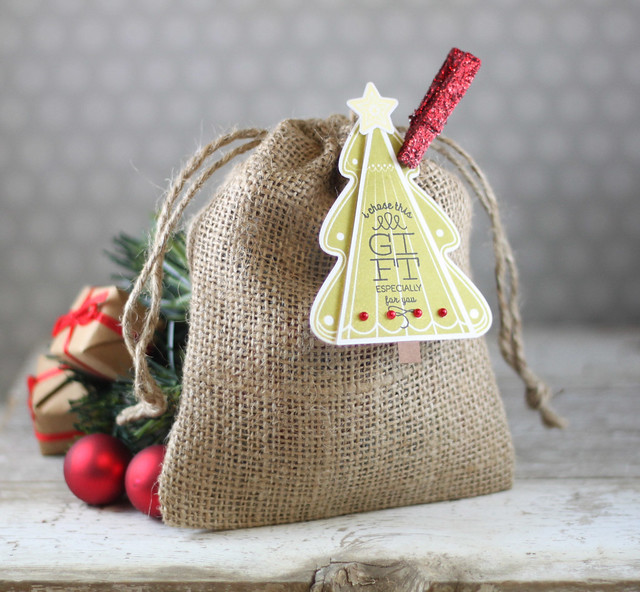
I used one side of the treat box die and the front of the tree and then layered them together. I added in a star and a couple pearls for a little decoration. I chose a sentiment from the Ribbon Slider set and stamped it right on top in black ink. I added the tag to a cute little PTI Burlap bag with a glittered clothespin. I can see this full of candy for a fun little Christmas gift.
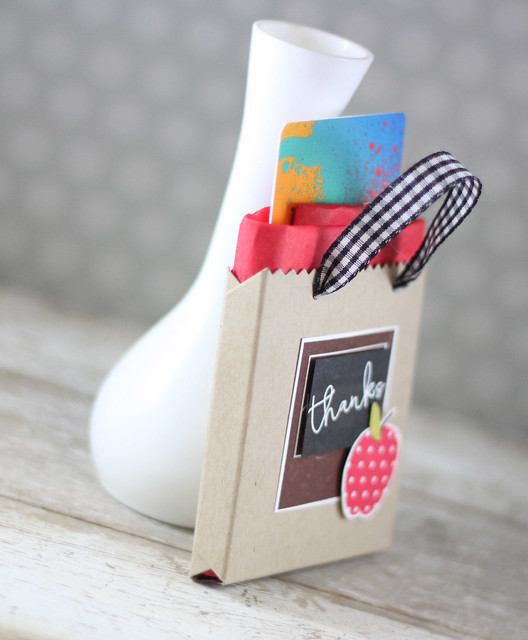
This last little gift is not actually a Holiday theme but is absolutely for the Holidays. What better gift to give a teacher, than a gift card? In a fun little gift card gift bag! :) I used the "thanks" stamp from the In the Bag stamp set...making it into a little chalkboard look.
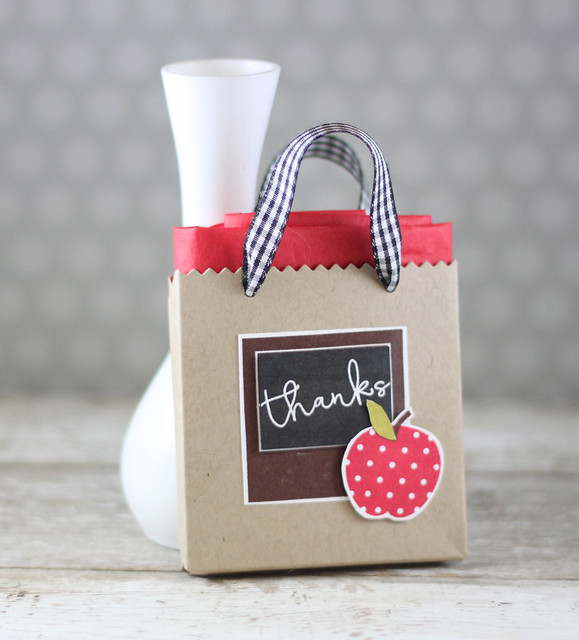
I added in an apple from Teachers Apple to the front of the little gift bag. I took some red tissue paper and folded it so the gift card could slip down inside.
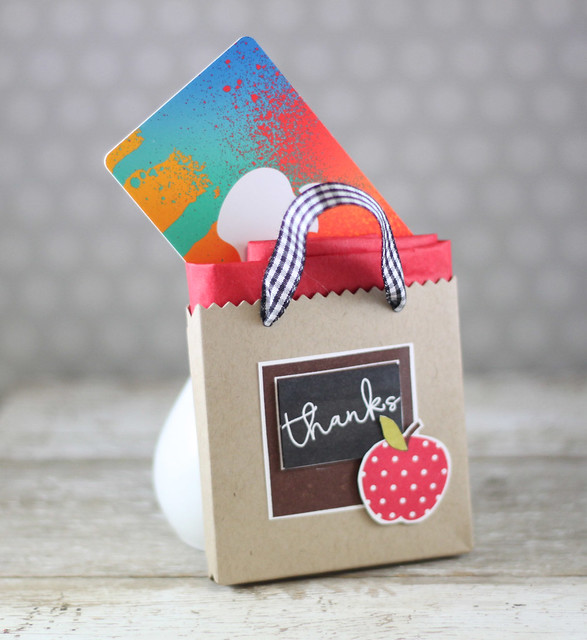
I used some black gingham ribbon to add the bag handles. By cutting 2 of these bag dies that are meant to use like a pocket, they work great together for a little mini bag.
So that is it for today. Thanks so much for hanging out with me through all these photos and projects! I hope you are feeling inspired today. Here are some links with lots more to see....
Amy Sheffer
See you back tomorrow! Have a great Sunday!


