6/12/15

Inspiration by the Sea...

Welcome to the first group post for the June Papertrey Ink Release.  We have a fun theme for today's cards with all new stamps and dies, with inspiration from the sea.  

IMG_1302

My first card uses one of the new anchor dies from the Ahoy die set.  

IMG_1292

I cut the anchor out of Raspberry Fizz card stock and then added in some twine to the side.  I stamped the sentiment, also from the Ahoy stamp set.  The background was created using Watercolor Wonder stamps in Enchanted Evening. 

IMG_1293

On the inside of this card, I added a verse from the new set called Light of Life.  I love how it fits perfectly down in the inside corner...

IMG_1330

I found inspiration for this next card on Pinterest.

IMG_1296

I used some Distress inks to blend the water colors on the base of the card.  I used Post it Tape to mask of the top.  Next, I stamped the sentiment from Guiding Lights, in Enchanted Evening and then added in a white boat die from the Ahoy set.  

IMG_1297

I bet the other girls have some amazing things to see.  Here is a list of links to visit to see more June PTI goodness!


Stop back by tomorrow to see more!  Have a great day!

6/10/15

Card Hanger Dies

Just stopping in to share an old post.  For those of you not familiar with my Card Hanger dies, you can see everything below.  To purchase a card hanger die, check the right sidebar here and click on the Paypal button.  There are rectangle, scalloped, decorative and the mini in stock.  Let me know if you have any questions!  Thanks for stopping in today!

~~~~~~~~~~~~~~~~~~~~~~~~~~~~~~~~~~~~~~~~~~~~~~~~~~~~~~~~~~~~


My new die is called a Card Hanger Die.  Basically this die, allows a clean and finished opening in your bag, to hang your card making a quick and easy gift bag.  You have the chance to showcase that card you spent so much time on instead of putting it in an envelope!  And your gift bag is decorated and ready to go in one easy step!  Just hang your card!

IMG_9304

You can coordinate your card hanger with the card you are using.  Stamp on it, emboss it, personalize it...anything you want!

IMG_9293

IMG_9294

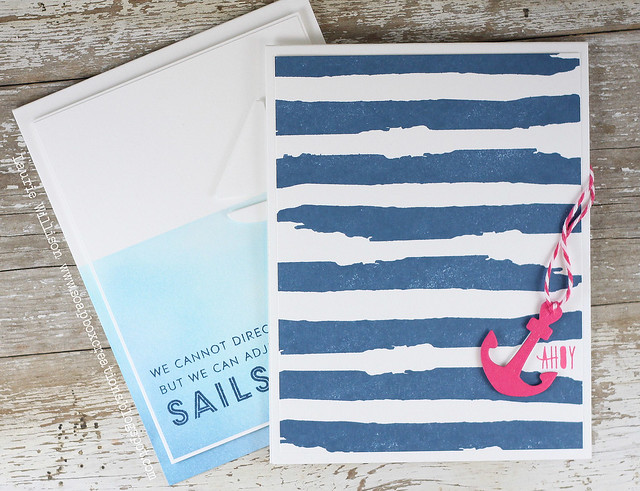
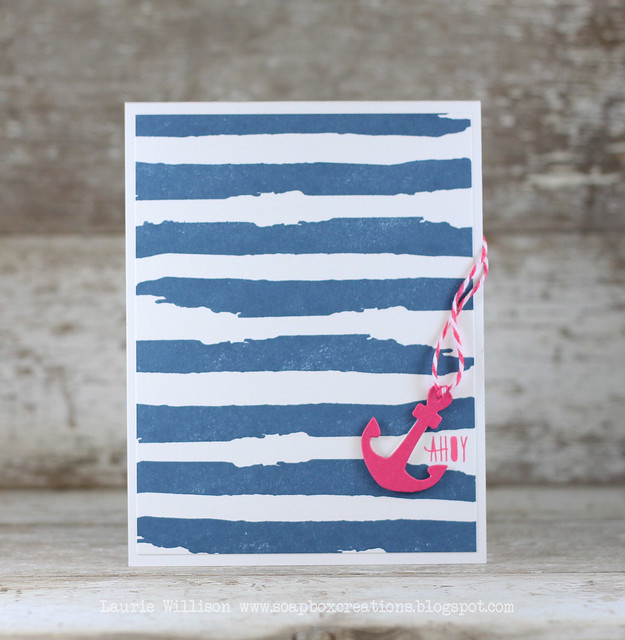
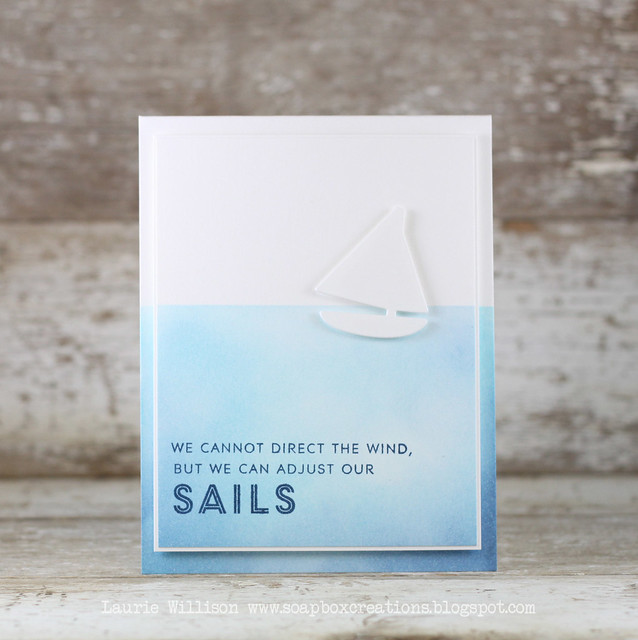
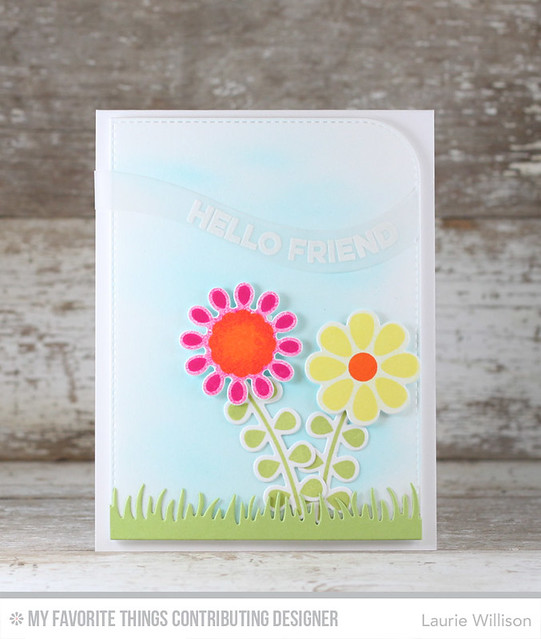
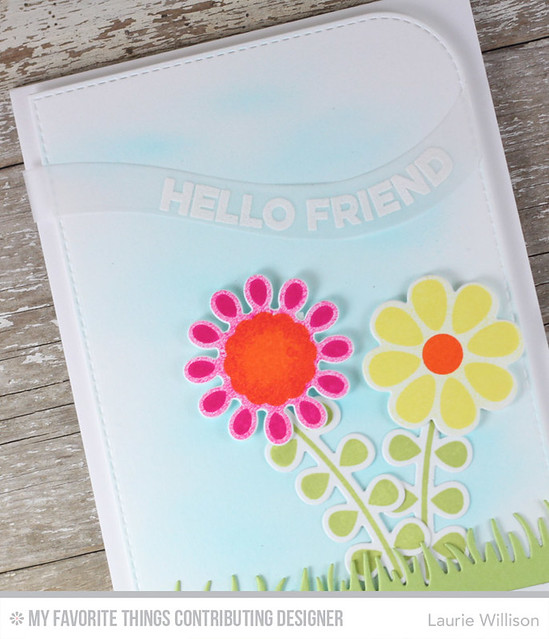
This card was so fun to make but obviously wouldn't fit into an envelope, so its perfect to hang right on the front of the bag....

IMG_9306_edited-1

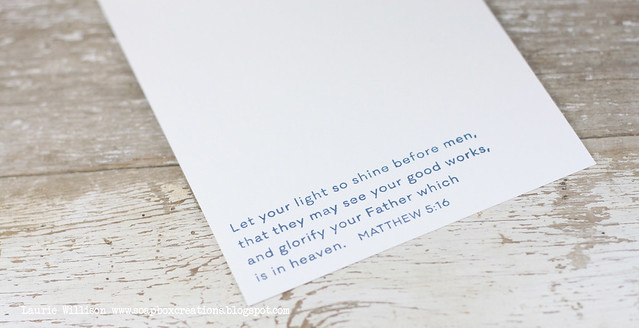
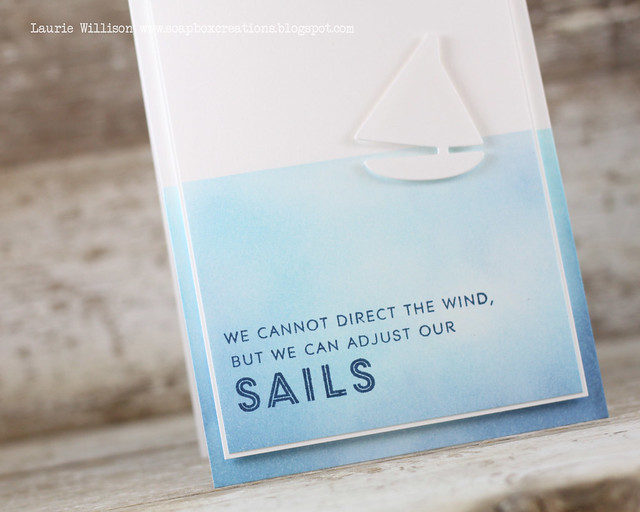
You can see that the note is written inside the card, and slides in and out easily!

IMG_9301

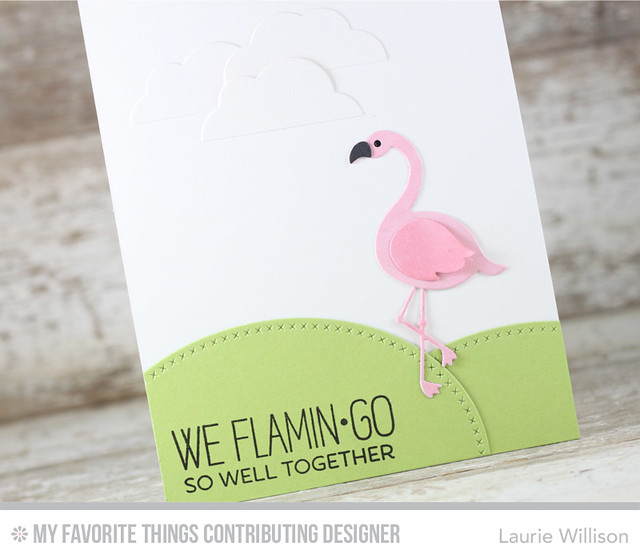
Here is one more bag that I made back in December.  I made this large medallion and this card definitely can't be mailed easily.  Plus this cute sentiment from Neat and Tangled is perfect for a gift bag!

IMG_9307

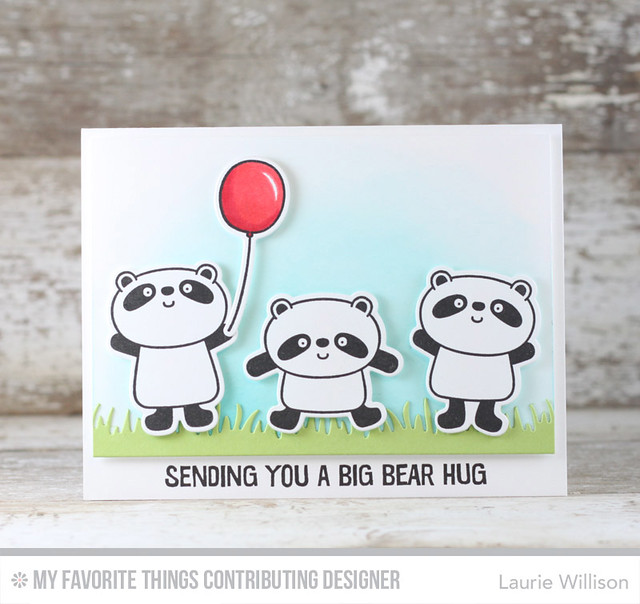
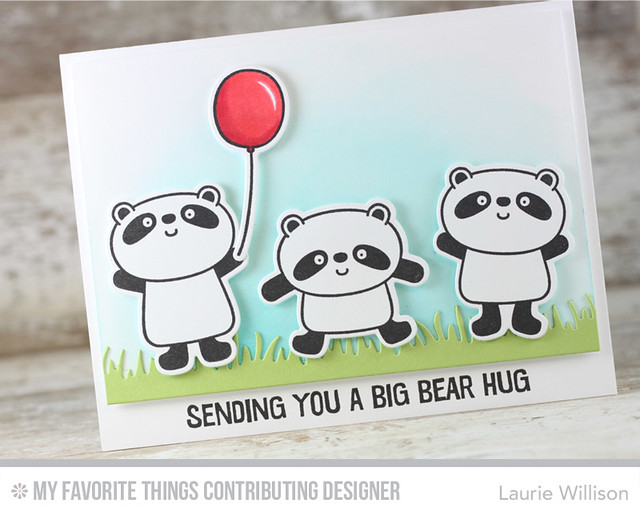
This is one of my favorite Christmas cards from this last  year and I think it works so well here!

IMG_9309

Here is a bag using the Scalloped dies...

IMG_9753_edited-1

I love the versatility in this one because it also doubles as an edger die!

IMG_9754

 Here is a video for you...(my first ever iMovie-made video!) so you can see how to use it.  Come back after you watch the video, so I can tell you a little bit more about the die....


I just love how this die makes it possible to use the card as your gift bag decoration.  Now all those cards that don't fit in an envelope, can hang front and center.  This saves us time too.  I have several bags in my cabinet already with kraft colored hangers on them.  I can grab any card, at any time and the bag is ready to go!  If I have extra time, I can make a card hanger that coordinates with my card!


In the video, I share 2 ways to use the die.  I forgot to mention that the first way to use the die is for the heavier cards.  They lay flat if the back side of the card is tucked in to the bag.  If you are reusing the bag, then cutting the hole in the bag and added the reinforcement card stock, inside and out, can make the bag last longer and hold those cards with larger details a little easier.

The second way to attach the hanger, works for those lighter cards.  Also, this die works great for making pockets on envelopes and has a few other fun uses too! 

  I would love for you to check out these blogs for some more amazing ideas....

Suzanne / Amy / Jen

  Thanks so much for stopping by!

~~~~~~~~~~~~~~~~~~~~~~~~~~~~

ETA: Answers to a few questions!  The die is around 5" long and the opening allows an A2 card to fit perfectly inside!  The Mini will fit onto a small bag and hold a 3" card.  

6/07/15

Sending you...


Have you been enjoying the June My Favorite Things release?  I am finally home to catch up on it myself.  I thought I would stop in and post this card that was supposed to go live on June 5th.....oops! I have been on a cruise ship with no internet for the past 7 days and its been pretty fabulous!  I spent my 15th anniversary with my husband and kids, in Cozumel.  I didn't want to come home!  But here I am and I had to stop in and share my release card that I made a awhile back.

These panda's from the Happy Panda set....well...I love them.  Know why I love them so much?  Because you don't have to color them.  :)  Right up my alley!

June MFT

I blended a little sky in the background and then added in some Fresh Cut Grass.   I die cut the pandas and the ballon and then stamped them using my Misti.  I did actually color that balloon with Copics....can you see my little bit of shading?  (insert thumbs up)  Last I lined up the sentiment on the card base and stamped it in the center.  I popped the focal point up on foam tape for some dimension.


June MFT

So now I have a huge load of laundry x 7 to get done.  June is the busiest its ever been so I won't be around very often.  Tomorrow starts VBS and a million summer camps.  I may need a vacation from June alone.  :)

Thanks so much for stopping by! Have a great day!

5/29/15

Hello Friend...

Hi friends!  Long time no see.  Things have been crazy here with the end of school and now the first week of summer.  I haven't had much crafty time and am missing my crafty friends and my craft room too!  I do know that it is a disaster down there though.  It's bad.  lol!  I hope to have some time in July to sit down and get it all organized and do some purging.

OK so I needed a quick card for a friend, so I pulled out the my Favorite Things Build-able Blooms stamps and dies to make a fun little scene...

May 2015 MFT

I used Blueprints 22 for the back panel with a little Copic Airbrush detail for the blue sky.  I added in the Fresh Cut Grass die before adhering down the blooms.  I used Wavy Greetings on a little wavy piece of vellum I cut with the Ride the Wave dies.

May 2015 MFT

So that is it for today!  It's going to be a tad quiet for awhile.  The month of June is pretty much going to be a blur.  Lots of fun to be had here so I am hoping it doesn't go by too fast.  Thanks so much for stopping in today!  Hope you have a great day!


5/25/15

We Flamingo!!

Good morning!  I have a quick and simple card using mostly dies from My Favorite Things.

MFTMay2015

First off, these flamingos are SO cute!  And super easy to put together.  I actually cut all the pieces out in white and then colored each piece with a Copic.  Easy peasy!  I cut the hills out of the Cross Stitch Oval Stax dies.  One die made both hills.  Next, I cut one of the flower dies from Buildable Blooms, to made a few flat bottom clouds.  Last, I stamped the sentiment on the bottom of the hill in black ink.  

MFTMay2015

Do you have any fun plans for today?  We have friends coming over and then just getting ready for the week.  We are officially on Summer Vacation here and its also known as Crazy Town.  We have so many fun things planned but, oh my, do I hope I keep my head above water.  Ha!

Hope you have a great day and thanks so much for stopping by!


BLOG TEMPLATE BY DESIGNER BLOGS