3/07/17

MFT Product Launch...

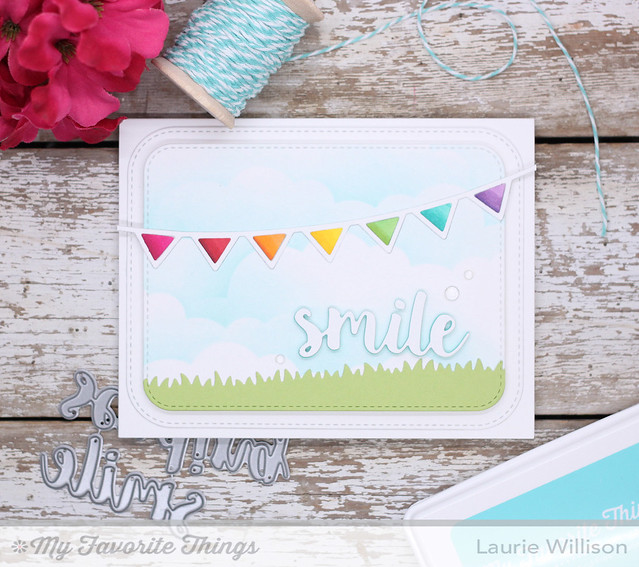
Welcome to the MFT Product Launch for the March Release.  I have 2 cards to share today with a common theme.  I used Blueprints 31 and a cloud background to make matching card base, one vertical and one horizontal.

Here is my first card....
IMG_4326_edited-1

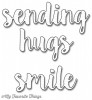
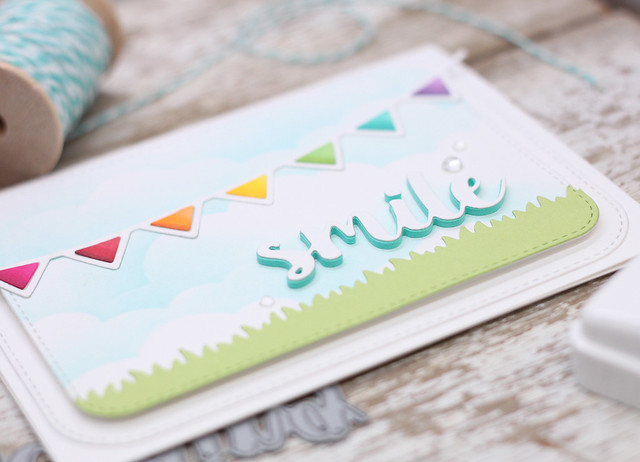
I did a matted card base with the Blueprints 31 and added some masked clouds.  Then I aded some grass along the bottom.  I used the new Party Banners across the top, using Copic markers to color a rainbow banner.  Next I added the smile die cut on the bottom using some blue fun foam to pop it up.  
IMG_4337

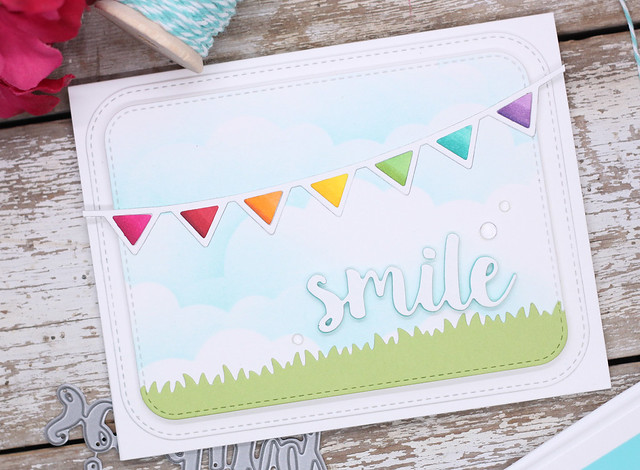
You can see the colored fun foam here behind the white sentiment.  I love that look!  I finished off the card with some raindrops. 
IMG_4331

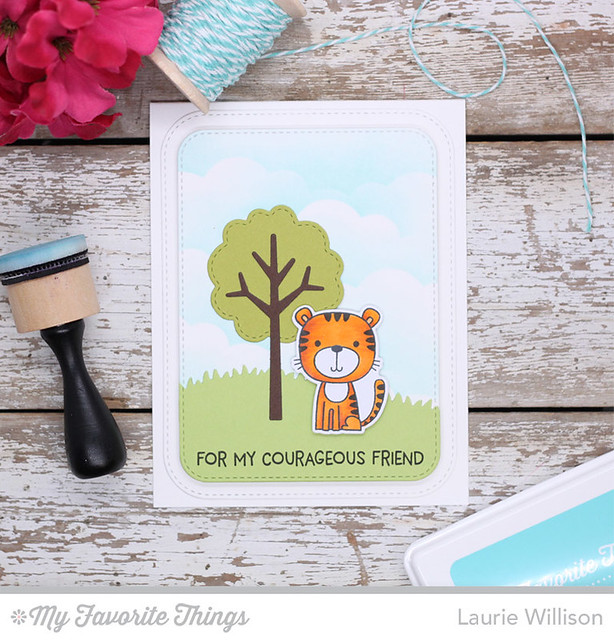
I did one more card with the same base but this time added the cutest sentiment and tiger from the new set called Lions and Tigers.  
Print
On this one, I added in a tree in the background and popped up the little tiger with some fun foam.

I hope you are ready for some shopping because the whole March Release is available now!  Head on over to the MFT Blog to learn and see more about all the details for this months release.

Thanks for stopping by!


~~~~~~~~~~~~~~~~~~~~~~~~~~~~~~~~~~~~~~

Supply List: 


3/05/17

Love You Shaker Card....

Hey there!  It's Laurie Willison here again with another card using the Heart Throb kit from Queen and Company.  With all the supplies included, you can make up a quick and easy card with lots of color!

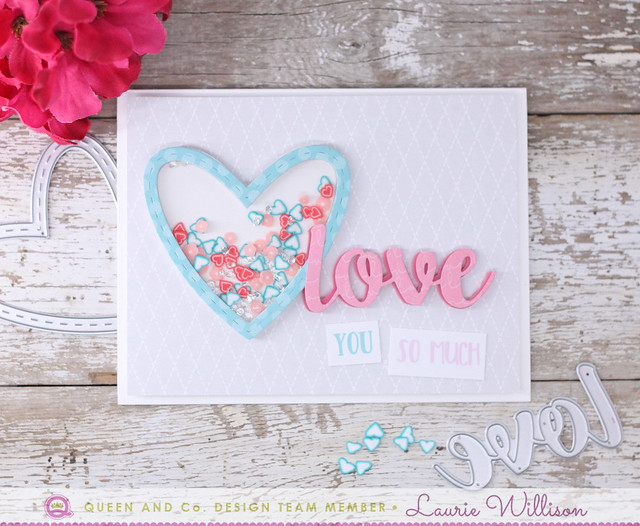
IMG_4151

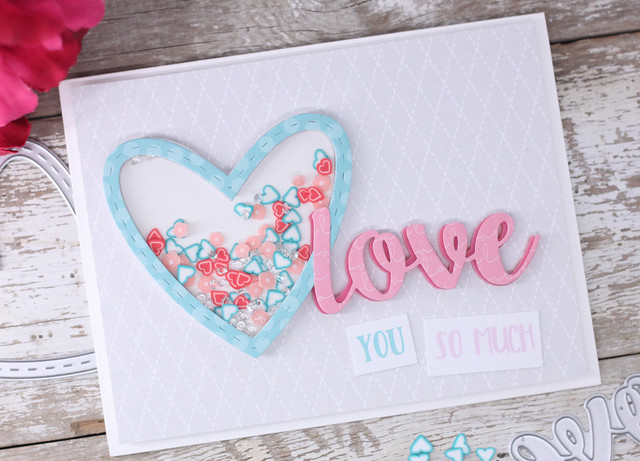
For this card, I added one of the gray patterned paper pieces from the pack included, to the card base. Next, I added in the heart shaker box, lined with a blue polka dot patterned paper die cut.  I used the pink acrylic "love" and then offset a paper die cut for that 2 tone look.  Last, I added in the "you so much" sentiments on the card front.  Super easy!

IMG_4152

Hope you have enjoyed today's card!  Thanks so much for stopping in!


3/03/17

Heart Throb Kit Cards...

Hey there is Laurie Willison here with some more cards using the adorable Heart Throb kit from Queen and Company.  I have 2 quick and simple cards today using the adorable elements from the kits.

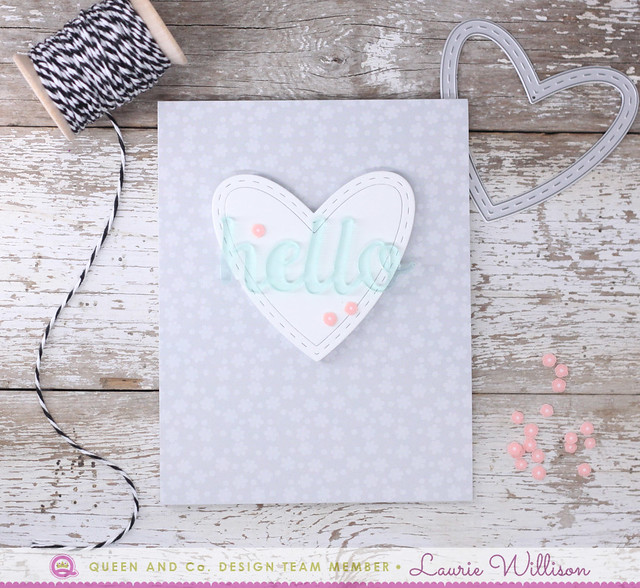
HeartThrobKit

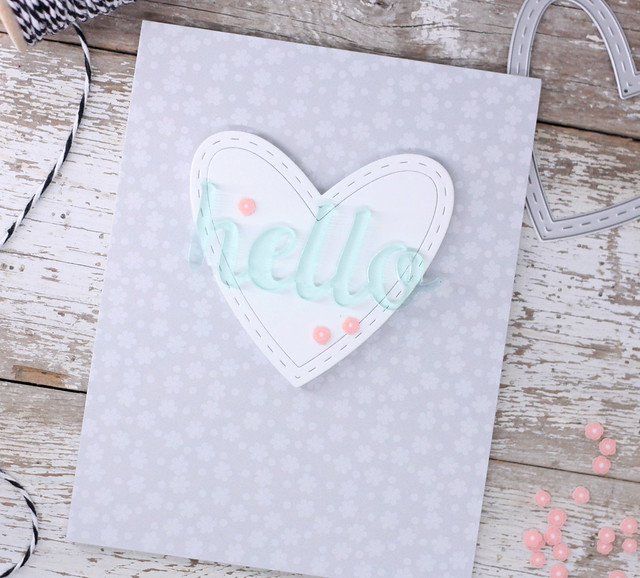
This card was so fun to make and so easy!  I used this gorgeous gray pattered paper from the pack that comes in the kit, to cover the card base.  Next, I took the heart foam shaker box and the center heart and added it to the front of the card.  I used the heart die to cut a white stitched heart outline and center, and added them both to create the 3D heart.  I used the acrylic "hello" from the kit and attached it to the heart along with some of the little flowers for a tiny pop of color.

HeartThrob2

One more CAS card....

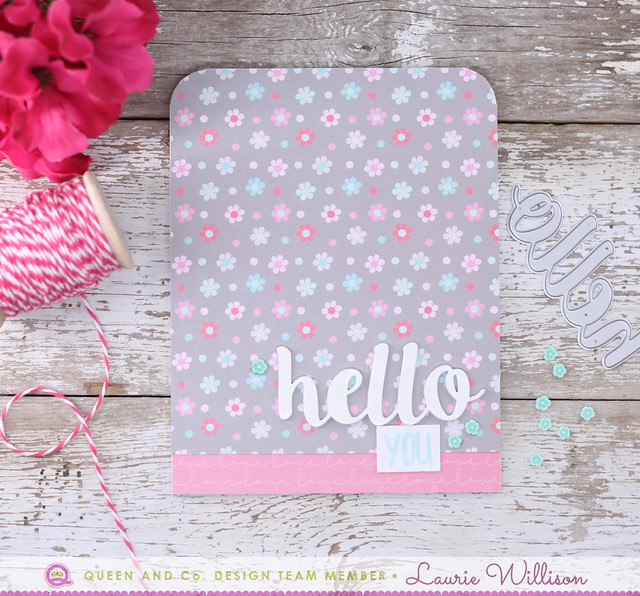
IMG_4154

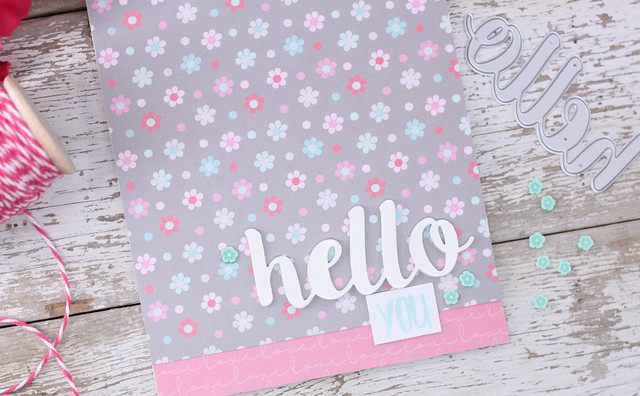
I added patterned paper to the card base in 2 layers with a little pink peeking out underneath.  I added in a die cut hello, covered with glossy accents for some shine.  Next, I added in the "you" sticker by layering it with cardstock so it could be a little more 3D.  Last, I added in those adorable teal flowers to finish it off.  

IMG_4155

That is it for today.  I hope you are enjoying this Heart Throb kit as much as I am!  So many possibilities in what you are able to create with whats included.

Hope you have a great day!


Supply List:

Queen and Company Heart Throb Kit
Neenah 110 lb White Card Stock for Card Bases

3/02/17

Card Hanger Dies Back in Stock!


Just a quick repost of my last Card Hanger Die post to let you know....

ALL CARD HANGER DIES ARE BACK IN STOCK!
You can purchase your own by clicking on the Paypal button on the right side bar here on my blog.

This post  below is a repost but will give you more info on the dies if you haven't seen them before.....

~~~~~~~~~~~~~~~~~~~~~~~~~~~~~~~~~~~~~~~~~~~~~

Stopping in today with a quick post about my Card Hanger Dies.  If you haven't seen these dies, click HERE for a video and HERE for the original post.  It is been 4 years since their launch and they are still going strong.

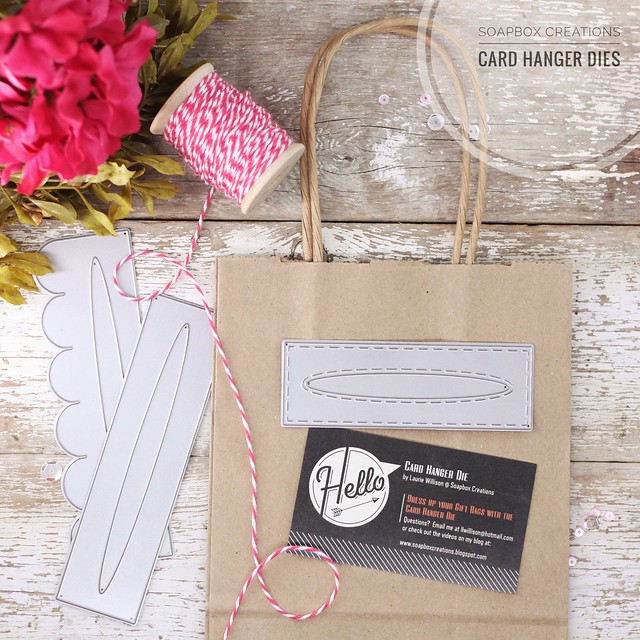
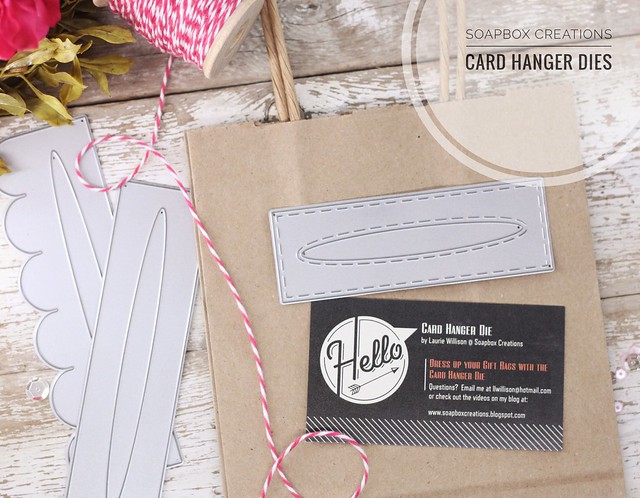
The Card Hanger die, is simply a die to create a "hanger" for your handmade cards.  The hanger attaches to the front of a gift bag.  The great thing about this is, those handmade card that we put our hearts into, become the focal point for your bag, the decoration for your bag....AND they don't get lost inside!!

Untitled

I currently have all 4 dies in stock.

*Stitched Mini Card Hanger Die
-This die hold 3" cards on mini bags (pictured above)

*Scalloped Card Hanger Die
-holds A2 cards with an opening of 4 1/4" and also doubles as a scalloped border.  A 2fer!  :)

*Rectangle Card Hanger Die
- holds A2 cards with an opening of 4 1/4" with a stream lined clean look.

*Decorative Card Hanger Die
-holds A2 cards with an opening of 4 1/4" with a bracket edge to add a little detail.  (not pictured here but you can click HERE to see the decorative die in action)

Untitled

Here is a quick video I made last year to show a little more about the dies....


I just have a few left this time around, so if you would like to purchase on of your own, the Paypal button in on the right side here on my blog.

If you have any questions, please let me know! Thanks for stopping by!


2/27/17

MFT Creative Construction with Blueprints...

Its time for another monthly round of Creative Construction with Blueprints over at MFT.  Here is this months challenge....

Flaps, windows, and pull-out tabs are all inviting ways to encourage your recipients to interact with your creations. Our exclusive collection of Blueprints Die-namics include a variety of interactive design features and this month, our team is ready to inspire you to use them in your own creations.


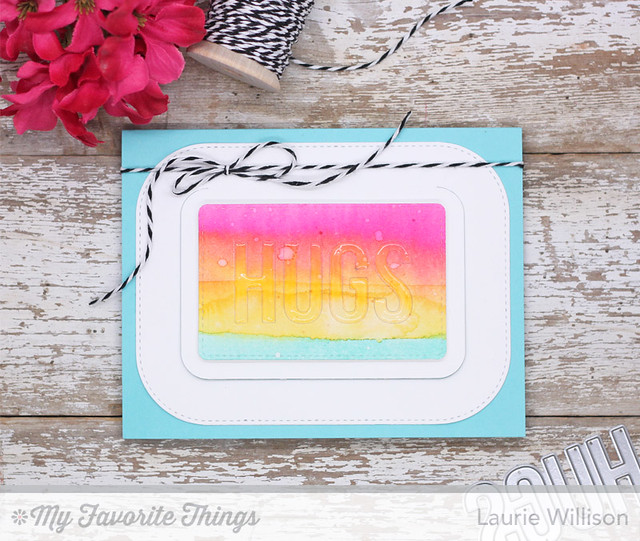
I decided to go for a fun little gift card holder with a hidden special message.

MFT Creative Construction with Blueprints - February 2017

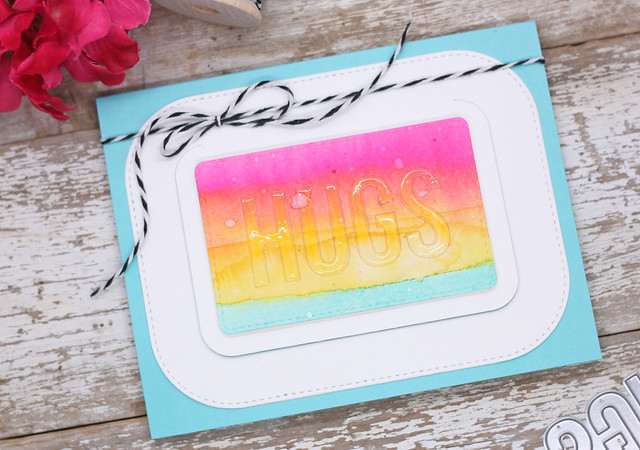
Using Blueprints 30, I first used the small stitched rectangle to cut out a watercolor rainbow I made on watercolor paper.  Next, I die cut the word HUGS right in the middle.  Instead of popping out the die cut word, I added some Post it Tape to the back so it would stay attached.  I used Glossy Accents to cover each letter for some dimension and shine.  

MFT Creative Construction with Blueprints - February 2017

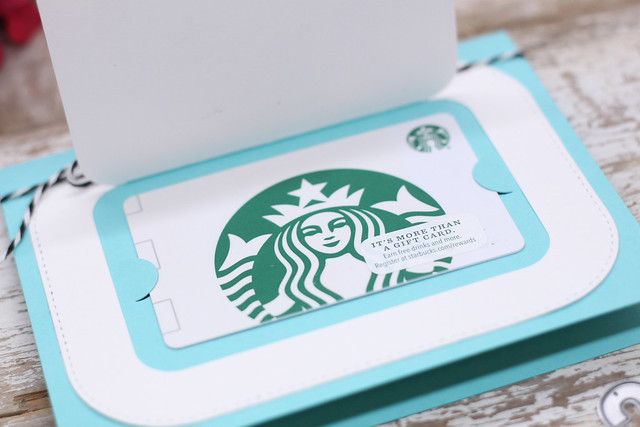
I placed the sentiment panel on the gift card flap die and then attached it to a Summer Splash card base.  

MFT Creative Construction with Blueprints - February 2017

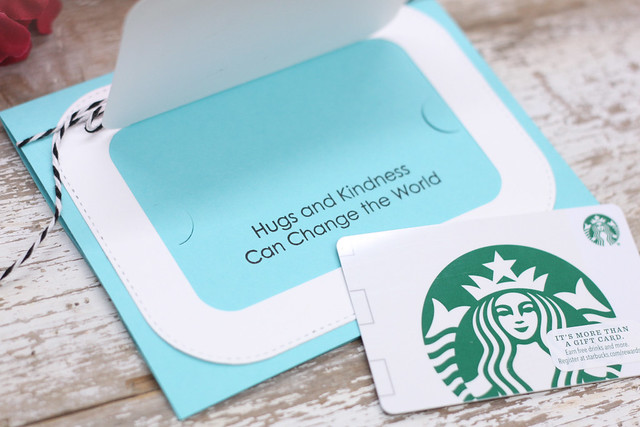
I die cut the gift card holder tabs on the card base and then stamped a sentiment that will show only when the gift card is removed from the card.  

MFT Creative Construction with Blueprints - February 2017

If you would like to receive this card in the mail, leave me a comment and I will draw a name!

Head on over to the MFT Blog to see what the rest of the team created for today's challenge.  Thanks so much for stopping in today!


~~~~~~~~~~~~~~~~~~~~~~~~~~~~~~~~~~

Supply List:



BLOG TEMPLATE BY DESIGNER BLOGS