11/08/18

Spellbinders Glimmer Hot Foil System Blog Hop...


Hey there friends!  Today is a fun day! It's time for the Spellbinders Glimmer Hot Foil System Hop.  I bet you have seen some amazing stuff so far.  I have a few clean and simple cards using the foil system. I have one project using the Glimmer Plates and one showing how you an use a regular die to create a fun design.  

_____________________________________

CARDS

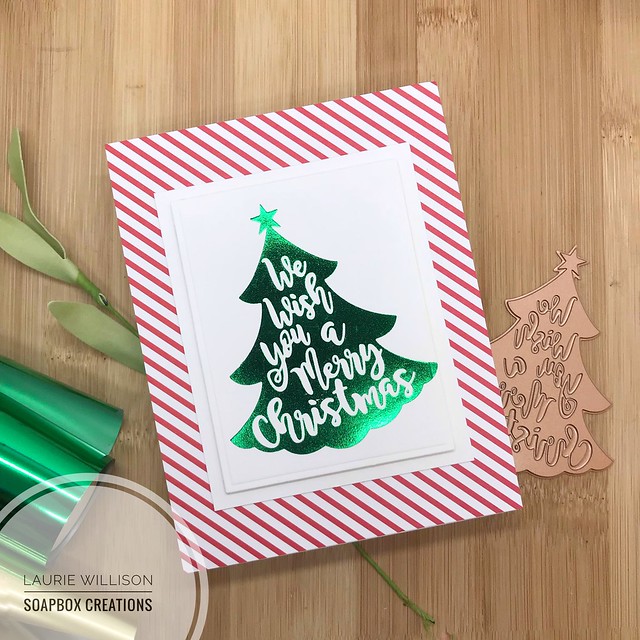
I have several easy designs here today.  This first one showcases the We Wish You Glimmer Plate.  I just love this tree and the green foil makes for an adorable pairing.  I die cut the tree with a rectangle Nestabilities dies and then layered it with another rectangle of white cardstock.  I added the tree to a striped pattern paper covered card base.
Untitled

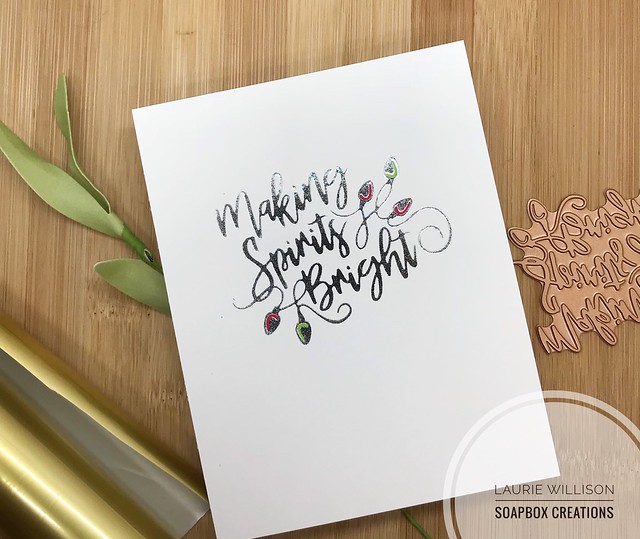
This next card would be super easy to mass produce.....because I left the foiled die to shine by itself.  The Making Spirits Bright Glimmer Plate is one of my favorites with that beautiful font and those adorable lights.  All it took was a little Copic coloring to add some detail to this clean and simple card....
Untitled

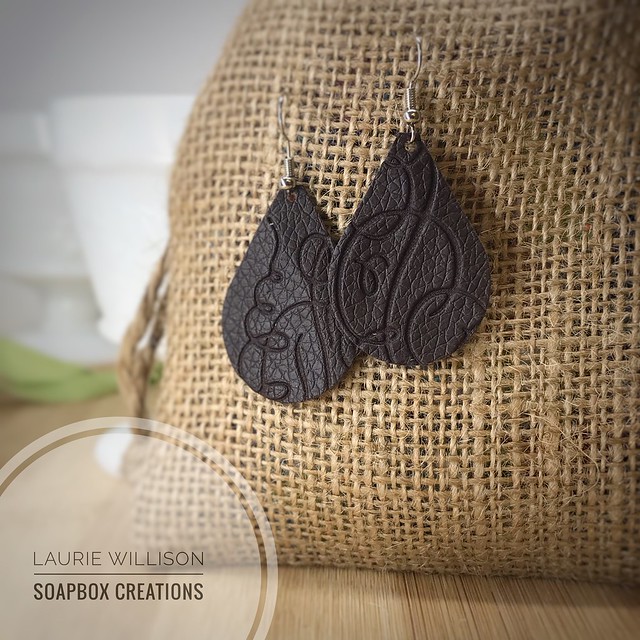
I had an idea for the next project when I saw the Flourishes Frame Glimmer Plate.  Leather earrings are all the rage and some of them are made with a fake leather that has leather look but it melts a little like plastic.  I had to give it a shot so I tested it out and was able to make these...
Untitled

To create these, I set the Hot Foil System up just like you would foil something.  Instead of laying down the foil, I added a piece of parchment paper between the die and the faux leather.  I rolled it through the Platinum 6 and it resulted in in a fun embossed leather.  You can find many earring cut templates on Pinterest so you can cut any shape of earring you'd like. (all supplies linked below)

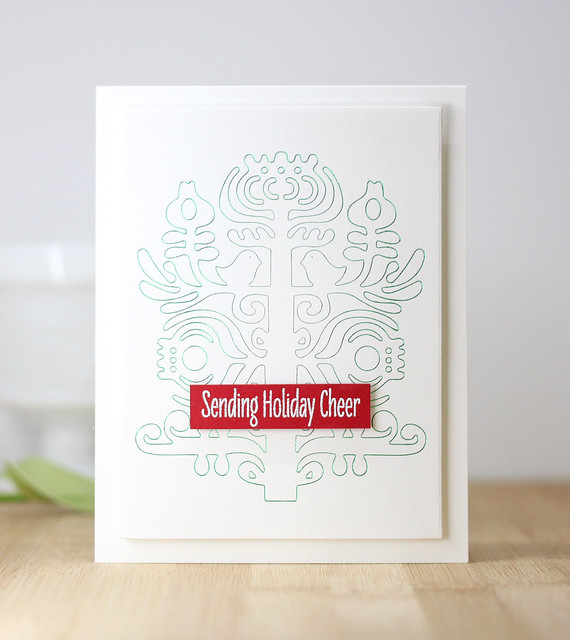
This last project uses the Nordic Tree Die to create a fun design on the card front...
Spellbinders

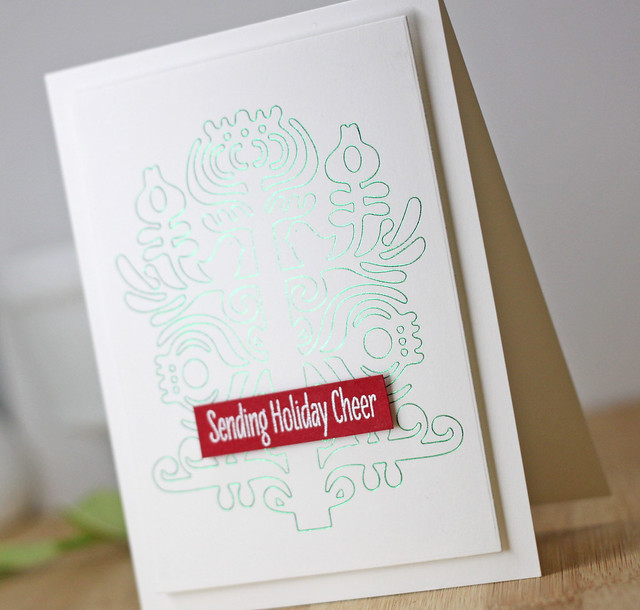
To create this card, I used the Green Glimmer Hot Foil and used the regular die through the Hot Foil System.  I love how it looks.  It also gives it a little bit of a letter press look too, which is so detailed and fun! I popped the image up on fun foam on the white card base and then heat embossed sentiment on the front of the card.

Look at the shine on the front of the card...
Spellbinders

Check out the Glimmer Hot Foil System by clicking HERE.

You can get refills on the Foil by clicking HERE.

Check out the Foil Foil Plates by clicking HERE.

_____________________________________

GIVEAWAY

To celebrate this release, we are giving away a $50 gift certificate to a lucky winner. Please leave a comment on Spellbinders blog by Sunday, November 18th11:59 pm EDT for a chance to win. The winner will be announced in the blog hop post the following Monday. Winner is responsible for shipping cost, duties and taxes.


_____________________________________

BLOG HOP

Laurie Willison (you are here!)
Yana Smakula

Thanks so much for coming by today.  Hope you have a great day!


_____________________________________

FIND ME OVER ON:

Instagram: Laurie Willison (@laurie_willison)


Facebook: Soapbox Creations

All products in today's post are linked below and throughout the post.  These are my personal affiliate links which you can shop from at no cost to you!  :)  Thank you for supporting Soapbox Creations!  

MFT Countdown Day 5....

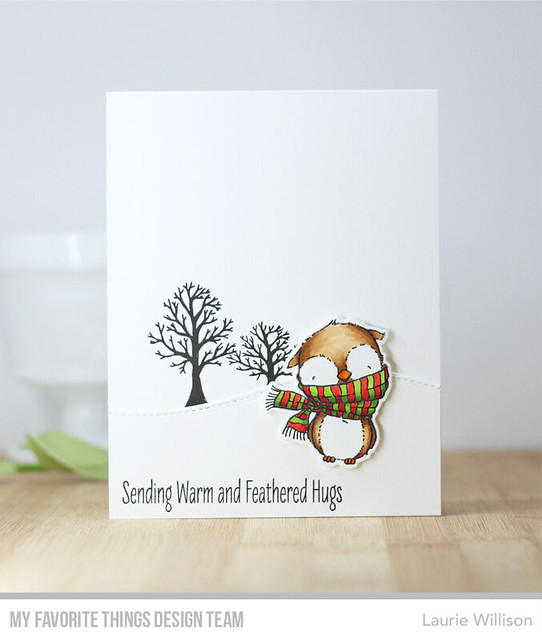
Welcome to Day 5 of the MFT Countdown.  There are so many adorable new things to share this week so lets jump right in.  I am using the new set called Warm and Feathered Hugs....

November MFT Release

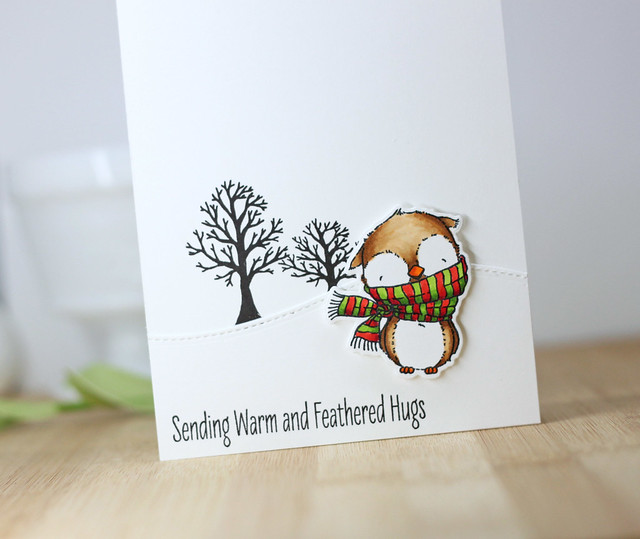
I felt like this set was the perfect set for a clean and simple card.  I added 2 trees from the set in black in and then added in a stitched slope.  I stamped the sentiment along the bottom and the die cut and colored up that adorable owl.  I love that big ole' scarf and I loved coloring this image.  I popped him up on foam tape to finish it off.  

November MFT Release

Head on over to the MFT Blog to see more details about this month's release.  So glad you stopped in today!

11/05/18

Hero Arts November 2018 My Monthly Hero Blog Hop


Hello there crafty friends!  Today is a fun day!  It's release day for the November My Monthly Hero Kit over at Hero Arts.  And this kit....and all the add-ons...are so much fun!   Check out the kit....


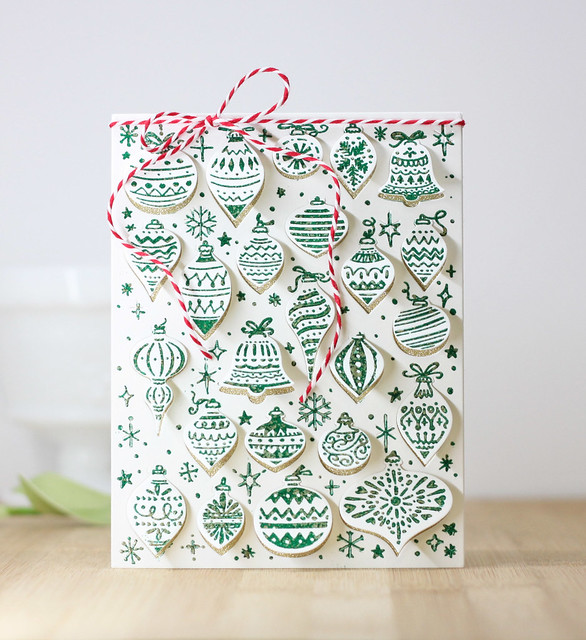
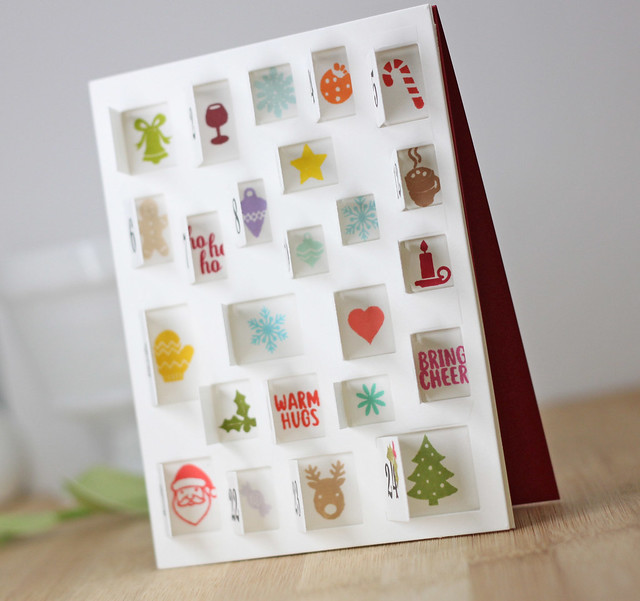
I just love this advent calendar theme.  The stamp set coordinates perfectly with the cover plate creating the coolest little advent calendar card front or it would work perfectly by itself to create a gorgeous card front.  In the case of my first card, I combined the 2 to create a 3D card....

November My Monthly Hero Kit

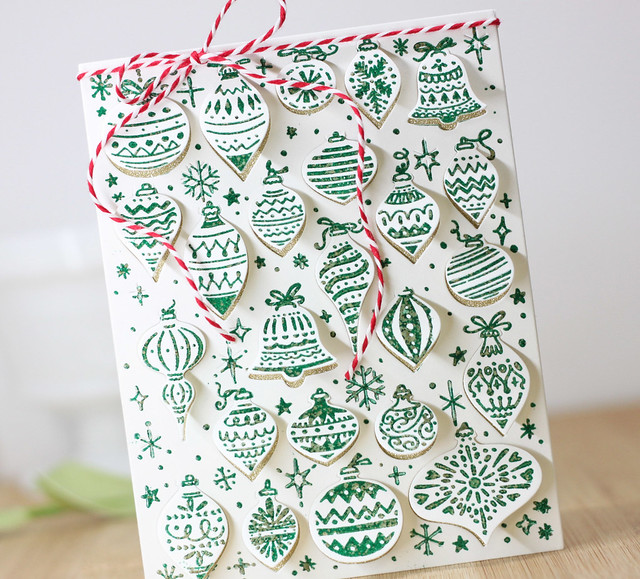
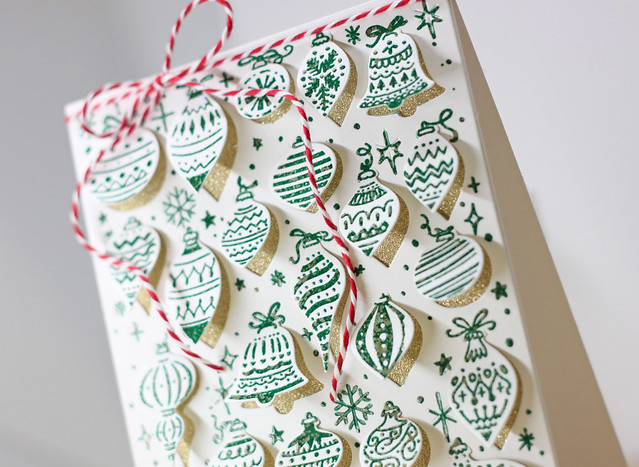
First, I heat embossed the background stamp on white card stock using the green embossing powder that comes in the kit.  Let's take a minute and talk about that embossing powder....it has gold flecks in for the coolest marbled look....

November My Monthly Hero Kit

The cover plate lines up perfectly to cut out each ornament but they are all left with the flap at the top to create the calendar.  I decided to make it a card front but adding a piece of gold glitter card stock behind the ornaments.  

November My Monthly Hero Kit

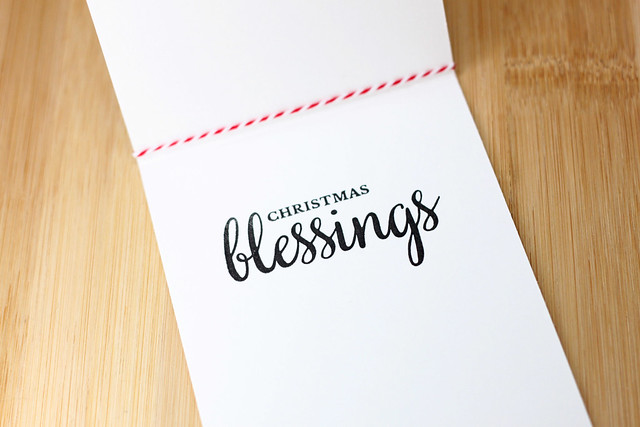
To finish off the card, I added a red twine bow and the added the sentiment to the inside of the card.

November My Monthly Hero Kit

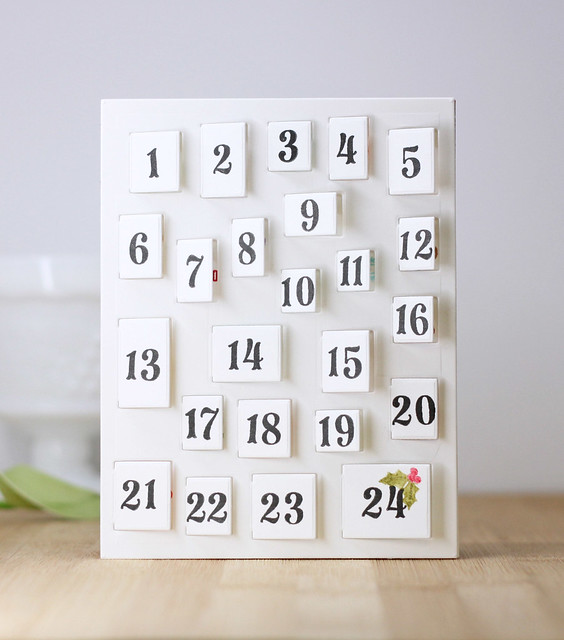
I wanted to use that adorable calendar stamp set in the kit, so I used the add-on cover plate to create this card...

November My Monthly Hero Kit

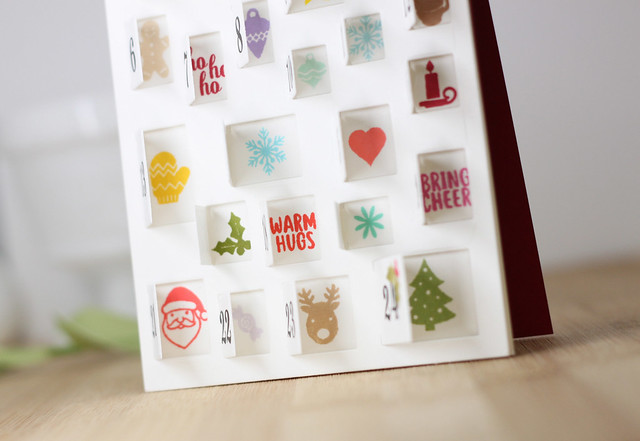
I wanted to keep the front as clean and simple as possible but have just a tiny Christmas detail on one panel, so I added the holly on the last calendar window.  The numbers were super easy to line up and stamp on each door.

November My Monthly Hero Kit

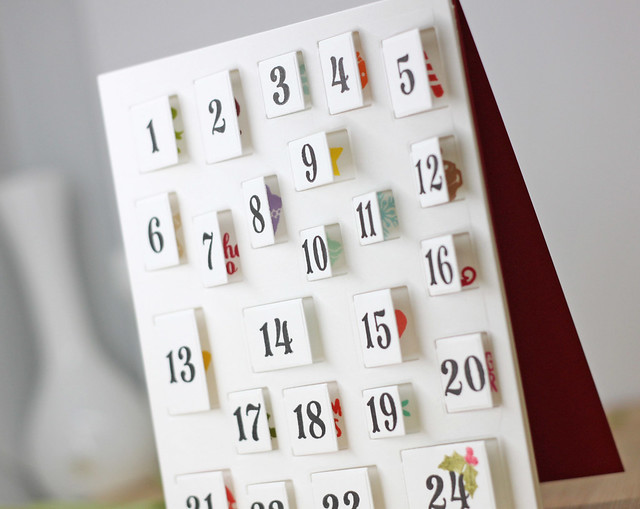
I added the card front to a red card base for a pop of color....

November My Monthly Hero Kit

Next, I used as many of the little Christmas images as I could fit behind each window.  I just love the color it adds to the card and the fun behind each little door.  

One tip I have to stamp the images easily, is to emboss the cover plate on a second piece of card stock and then you can just stamp in the squares. 


 I lined up the front die cut panel and added foam tape in between to pop it up. 


This gives the perfect advent calendar on a card!

November My Monthly Hero Kit

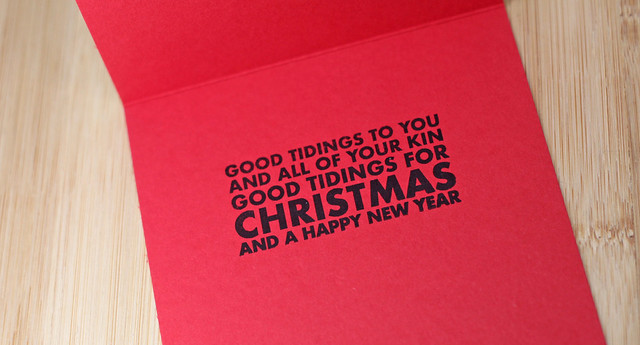
And or course, it needed a sentiment inside...

IMG_7651November My Monthly Hero Kit

Here is a quick shot of the adorable add-ons available this month...


And don't forget you can always hit the Get Them All Button by clicking HERE.

By subscribing to the kit, you can ensure that one will land in your mailbox each month.  Click HERE to subscribe. 

_____________________________________

GIVEAWAY

Hero Arts is giving away one kit as a prize to one blog reader - selected from the comments across all of the blogs in the hop. The giveaway closes Sunday, November 11th at 11:59pm, and the winner will be announced the following week on the Hero Arts blog.

_____________________________________

BLOG HOP

Laurie Willison (you are here!)

I hope you have enjoyed my stop on the hop.  Thanks for stopping in.  Hope you have a great day!


_____________________________________

FIND ME OVER ON:

Instagram: Laurie Willison (@laurie_willison)


Facebook: Soapbox Creations

All products in today's post are linked below and throughout the post.  These are my personal affiliate links which you can shop from at no cost to you!  :)  Thank you for supporting Soapbox Creations!  
11/04/18

Thanks and Giving {Spellbinders}...


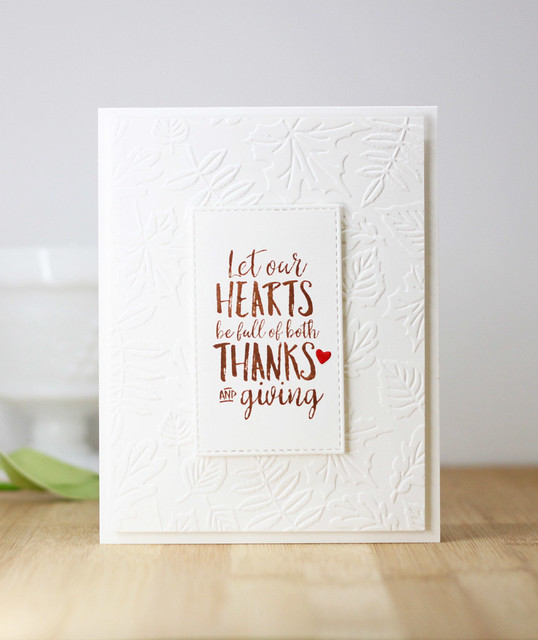
Hey there friends!  Stopping in with a quick, clean and simple card using some new products from Spellbinders and Fun Stampers Journey.  You guys the new stuff is so cute and the dies....they are green!!  

To create this card, I used a gorgeous embossing folder and one stamp....

Spellbinders FSJ

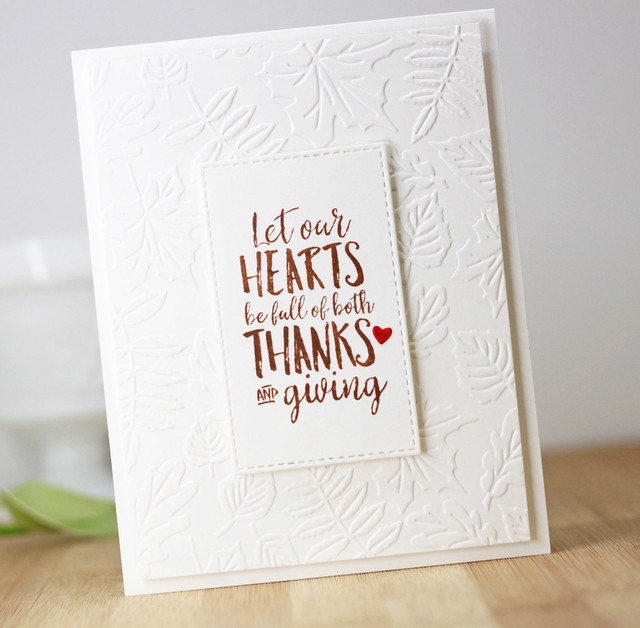
The Changing Seasons embossing folder is just gorgeous!  I love how it looks in white.  I layered that while panel up on the card base with fun foam and then added the stamped sentiement panel with more fun foam.  I added in a tiny heart die cut colored with a red copic for a little pop of color.  Super simple!

Spellbinders FSJ

Spellbinders and Fun Stampers Journey have so many great products to see.  Click HERE to check it out!  

Thanks so much for stopping in today.  Hope you have a great day!


_____________________________________

FIND ME OVER ON:

Instagram: Laurie Willison (@laurie_willison)


Facebook: Soapbox Creations

All products in today's post are linked below and throughout the post.  These are my personal affiliate links which you can shop from at no cost to you!  :)  Thank you for supporting Soapbox Creations!  

11/01/18

Altenew Build-A-Flower: Daffodil Release Blog Hop

Hey friends!  We are all hoping today to showcase a beautiful new stamp set, Build-a-flower: Daffodil from Altenew.  This stamp set includes 2, easy to stamp, blooms, a couple of leaves and several amazing sentiments.  

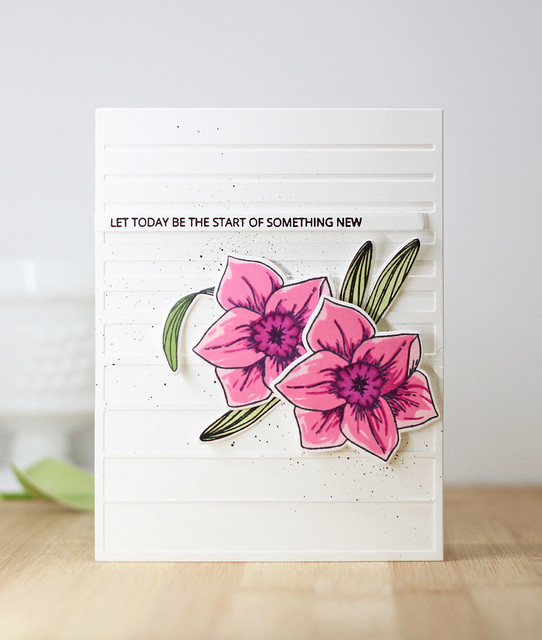
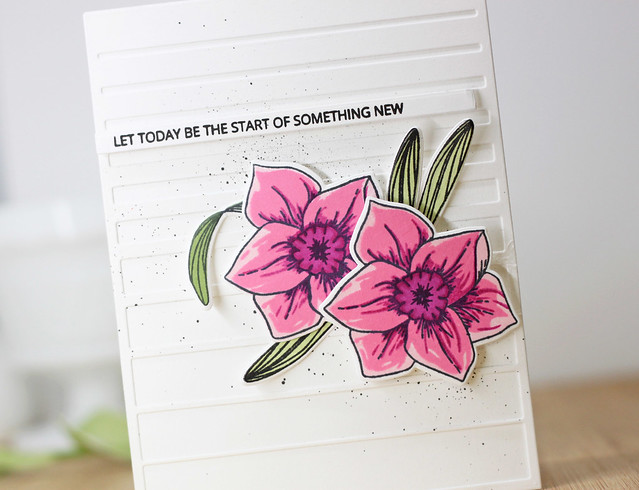
Check out my clean and simple card using the new daffodil set...

Altenew Daffodil

To create this card, I grabbed the Gradient Lines Cover Plate and cut it out of white yardstick and then added it to a white card base.  I love how those cover plates give a faux embossed look to the background when using the same color.  I did a little spritzing of black ink in the background and then stamped and die cut the daffodil and the leaves to add to the front of the card.  Last, I stamped the sentiment on a strip of paper and added it to the card front. 

Altenew Daffodil

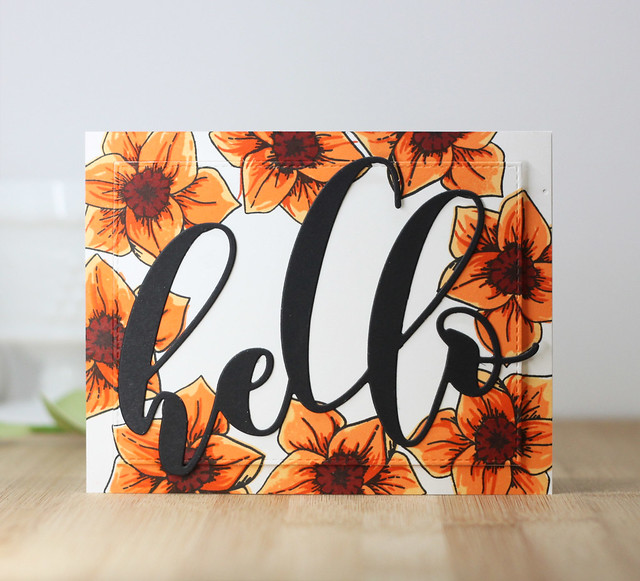
For this next card, I grabbed some colors I don't usually use and created this card...

Altenew Daffodil

I love all colors equally but I never grab for orange, so I wasn't sure about this card at first but it grew on me.  I stamped the daffodils around the card front and then die cut a rectangle out of the middle.  I raised the middle by attaching I to the card front with fun foam and then added the frame directly to the card.  I love the uneven dimension this raised panel brings.  Last, I used my favoritist die ever, that big huge hello die...and cut it out of black cardstock and then added it to the card front.

Altenew Daffodil

Check out the new Daffodil Bundle with the stamp set, the dies and the gorgeous ink cubes....


_____________________________________

GIVEAWAY

To celebrate this release, Altenew is giving away a $30 gift certificate to six lucky winners! Please leave a comment on the Altenew Card Blog and/or Altenew Scrapbook Blog for a chance to win. Three winners will be announced on the Card Blog, and other three winners will be announced on the Scrapbook Blog on 11/7/2018.

_____________________________________

BLOG HOP

Laurie Willison (you are here!)

So glad you stopped in today. Enjoy the hop and have a great day!


_____________________________________

FIND ME OVER ON:

Instagram: Laurie Willison (@laurie_willison)


Facebook: Soapbox Creations

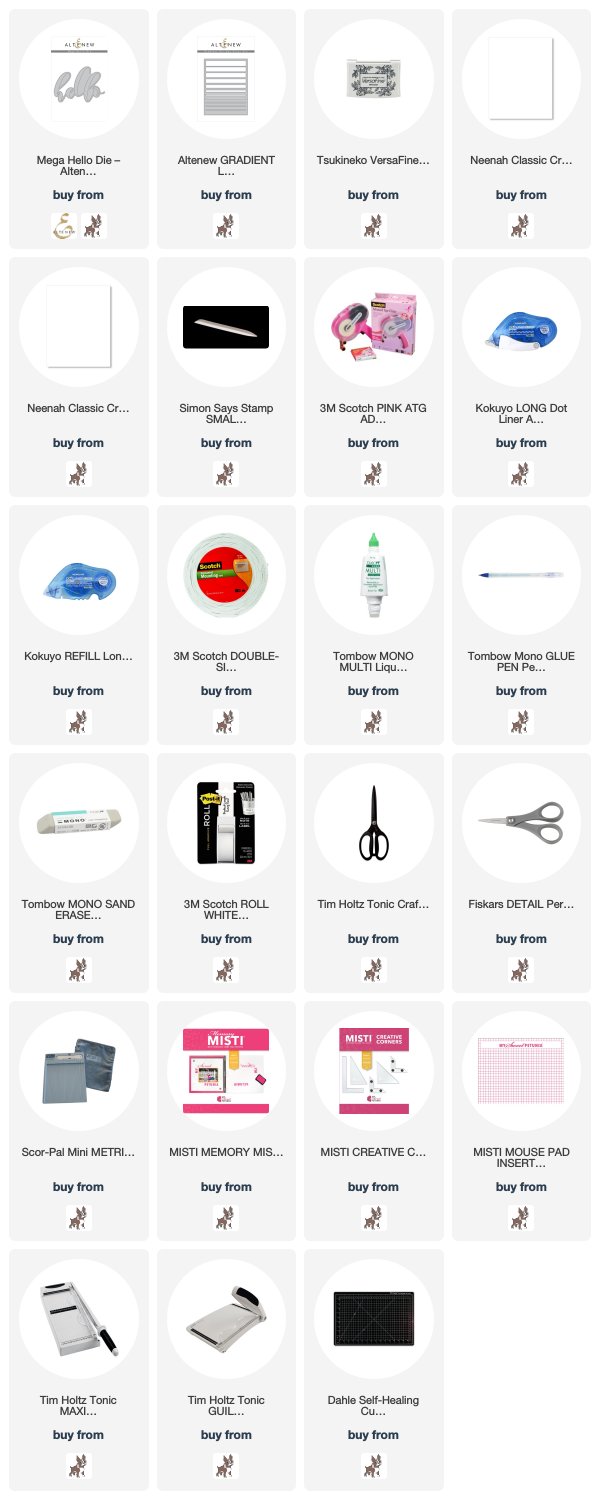
All products in today's post are linked below and throughout the post.  These are my personal affiliate links which you can shop from at no cost to you!  :)  Thank you for supporting Soapbox Creations!  

 
BLOG TEMPLATE BY DESIGNER BLOGS