Showing posts with label Neat and Tangled. Show all posts

11/23/18

Black Friday Sales!

Hi Crafty Friends!  Did you know that there are so many amazing crafty sales today?  Lots and lots of stamping goodness on sale or marked down.  A great day to shop!

Check out these awesome Black Friday Deals from our favorite shops!

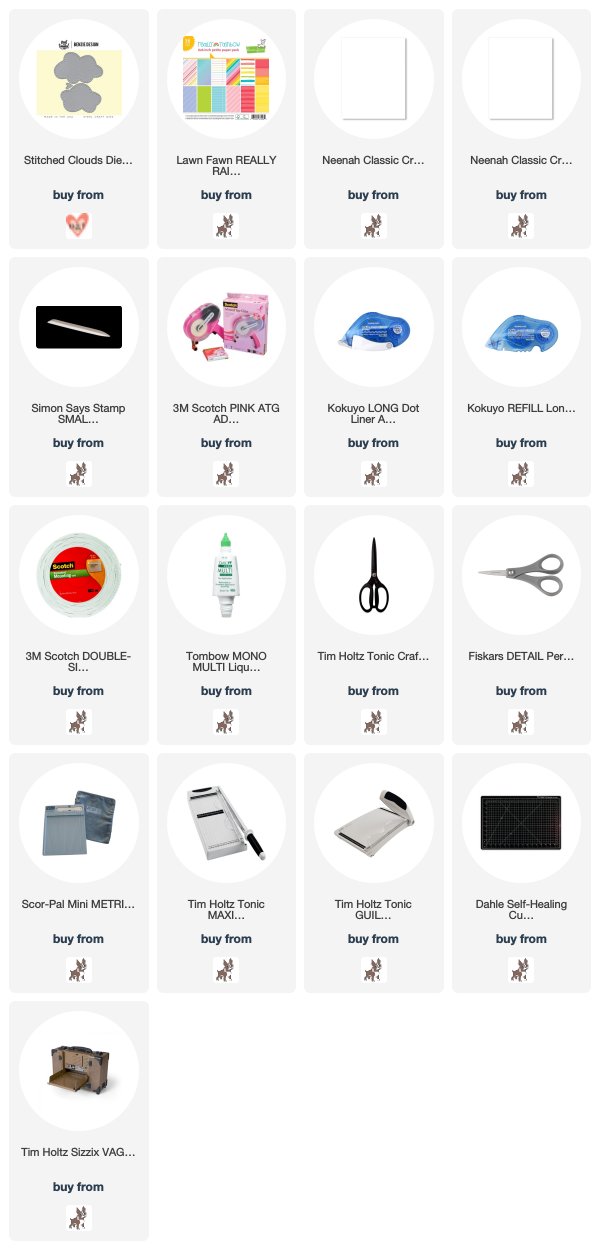
Click on my affiliate link above each photo to shop! Thank you for all your support this year!  

~~~~~~~~~~~~~~~~~~~~~~~~~~~~~~~~~~~~~


Thank you so much for stopping today!  Each purchase goes to support my blog and I can't tell you enough how much I appreciate your support. 

Hope you have a great weekend!


10/20/18

hello {Neat and Tangled}...

So in the crafty world, I love 3 things.  Well, I love a lot more than that....but the top 3...

1. White space...clean and simple cards.
2. Rainbow...becuase who doesn't!  Gods promise!!
3. Clouds.  White fluffy ones or in this case lets combine them....rainbow clouds!

So when Neat and Tangled came out with these stitched clouds, I knew I had to have them!  I love stiching with felt.  These dies make it so easy and so much fun but I knew I had to do some stitching with paper.  (all my supplies are linked at the end of this post)
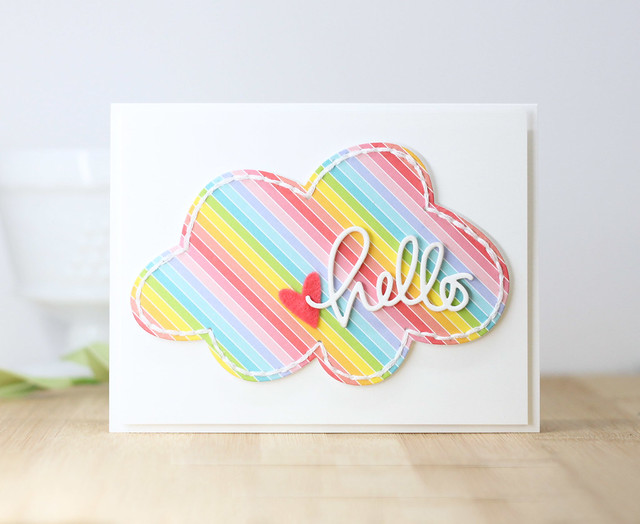
Neat and Tangled

To create this card, I folded a white card base and then added a white panel to the front with fun foam.  Next, I die cut 2 clouds.  One in this gorgeous rainbow paper from Lawn Fawn and another in 110 lb white card stock.  I adhered them together with Tombow Mono Liquid Glue to give the stitching a nice sturdy base.  It was much easier to stick with the heavy backing.  I used white twine and stitched the cloud.  Next, I used some gorgeous Felt to cut out the little heart that comes with the cloud die.  I knew it needed some more white so I found this little hello from Simon Says and die cut it about 5 times.  I used my spray adhesive and stacked them up so they added a good bit of dimension from the cloud.  I went in and trimmed off the tale of the H so it would lay flat with the flat heart.  I just couldn't help it and I had to have some more dimension so I added the cloud to the card front with foam tape.  This card was just so fun to make and now it lives with a very sweet friend of mine!  :)
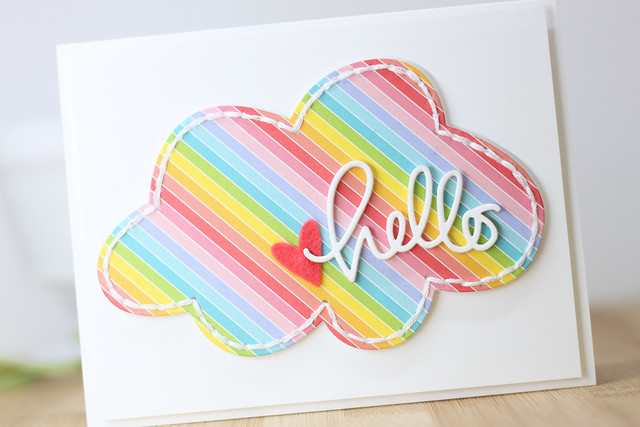
Neat and Tangled

Thats all for me today!  I hope you have enjoyed my cloud card.  Thanks so much for stopping in!


_____________________________________

FIND ME OVER ON:

Instagram: Laurie Willison (@laurie_willison)


Facebook: Soapbox Creations

All products in today's post are linked below and throughout the post.  These are my personal affiliate links which you can shop from at no cost to you!  :)  Thank you for supporting Soapbox Creations!  

8/08/17

Neat and Tangled Birthday Blog Hop....

Happy 5th Birthday to Neat and Tangled and my sweet friend, Danielle!  I am so excited to be joining in for this birthday hop.  If you are following along on the hop, you should have stopped in here after the amazing, Laura Bassen.  

Danielle has several fun new stamps and dies this month that are now available in her shop.  Click HERE to head on over there and check things out!

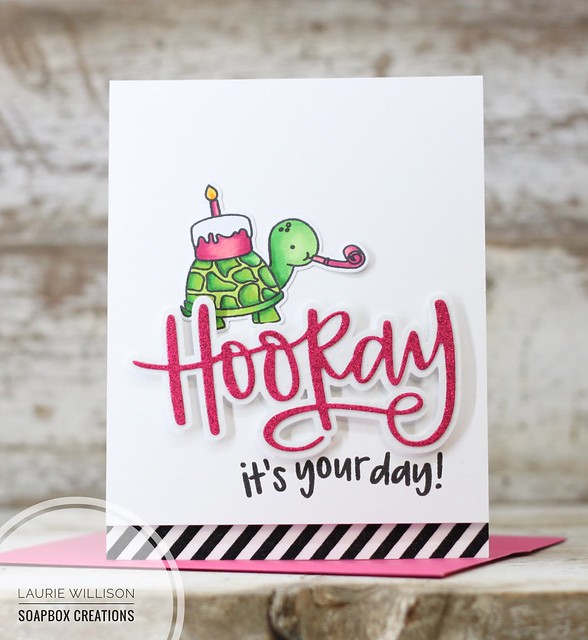
The new stamp set called Wild Ones along with the Hooray dies were calling to me.  I thought they would be so cute together so I created this CAS card...

Untitled

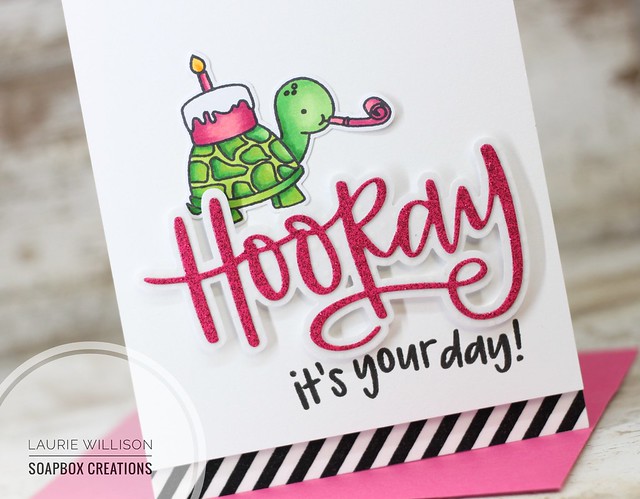
To start off, I die cut the hooray in a pink glitter paper and the out line in white cardstock.  I added some striped washi to the bottom of the card base and then popped the card front up on foam tape.  I added in the "it's your day!" sentiment in Versafine black onyx ink.  I popped the hooray up on more foam tape and then colored up that adorable turtle and tucked him down in behind the hooray.  

Untitled

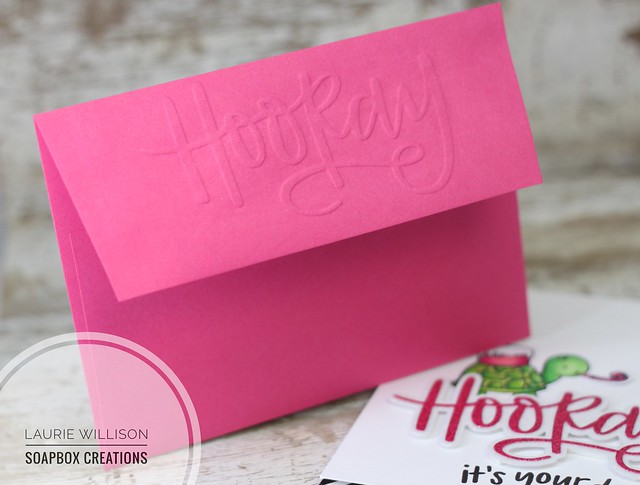
Because I had to have a matching envie, I embossed the envelope with the hooray as well.  I created a video showing how easy this technique is.  You can head on over to my YouTube channel by clicking HERE and check it out.  :)

Untitled

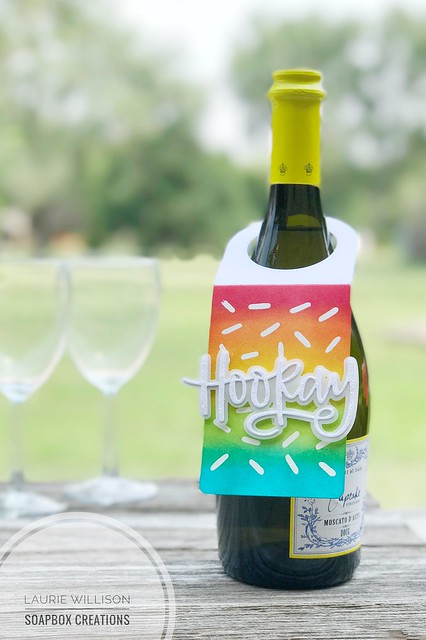
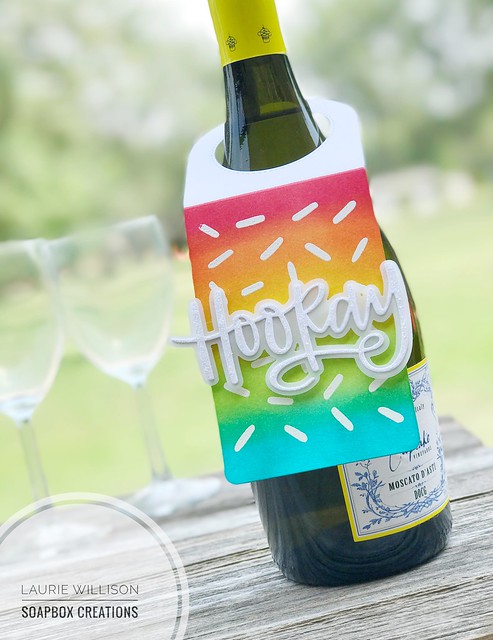
Another new stamp from Neat and Tangled this month is called All the Sprinkles.  It is an adorable stamp to use for easy backgrounds or in this case....a wine tag!

Untitled

I die cut the wine tag and then heat embossed All the Sprinkles with white embossing powder.  I masked off the top of the wine tag and then did a rainbow of ink blending down the tag.

Next, I die cut the hooray die in white cardstock and the outline in vellum.  I loved how the vellum looked but realized it needed to be popped up on the tag, so I die cut another of the hooray dies in fun foam.  This way, the fun foam doesn't show because its hidden in behind the vellum and under the white cardstock hooray.  I also realized after the fact, that it needed some sparkle.  So I covered it in stickles.  Stickles make everything better!  :)

Untitled

I hope you have enjoyed my projects for today.  Your next stop on the hop is over to Kathy Racoosin. I can't wait to see what she has created for this hop!  You can also head over to the Neat and Tangled blog to see a full schedule for their 5th Birthday Hop!  There will be daily stops all the way to August 11th.  Don't forget to leave comments along the way.  There are prizes too!  One $100 gift certificate and 2 $50 gift certificates.  Names will be drawn from all the comments along the hop.

So glad you stopped in today!  Have a great day!

SaveSave

2/24/17

Sending Love....Neat and Tangled

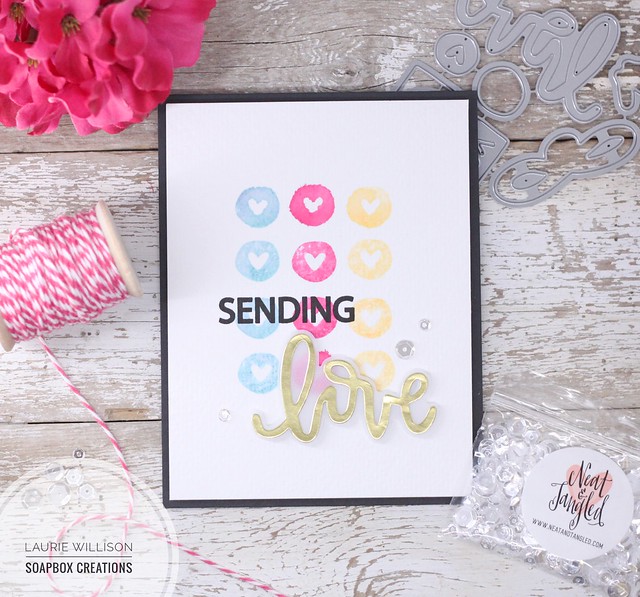
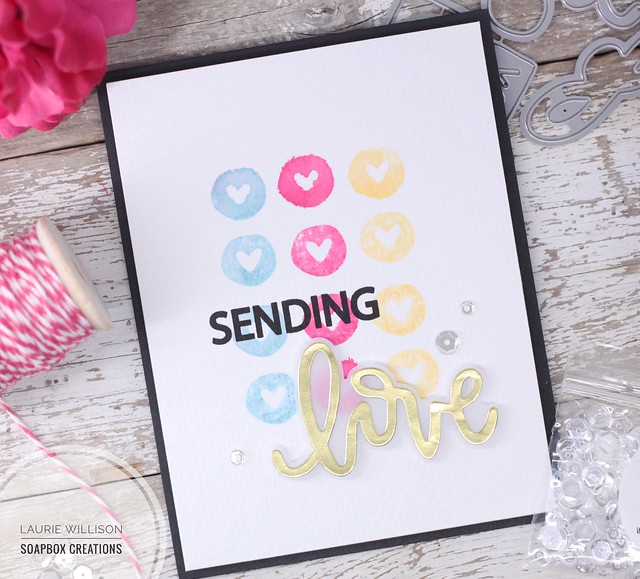
Hey there!  It'm stopping in with another Neat and Tangled guest post for February.  I have a quick and easy card using the set Love Notes along with the Love Notes Dies.

Untitled

For the background, I inked up the little heart image and before stamping it, I misted it with a little water so each heart would have a little watercolored look. After that front panel was dry, I stamped the "sending" in black ink.

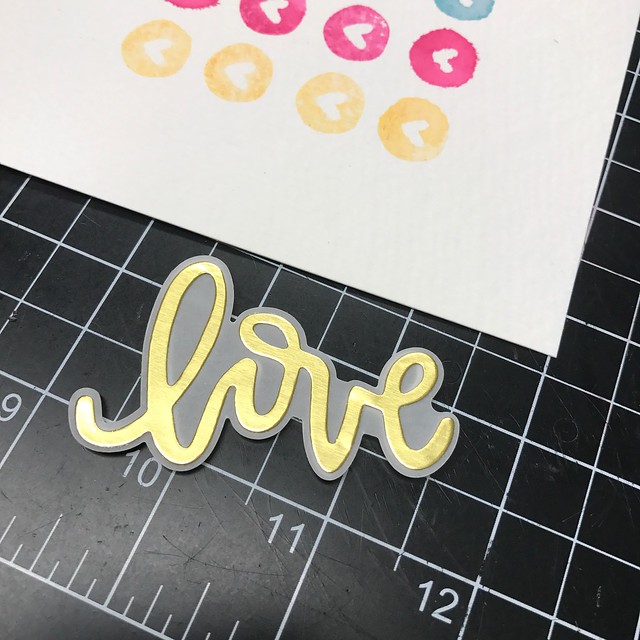
I die cut the love die in gold card stock and the back shadow in vellum....

Untitled

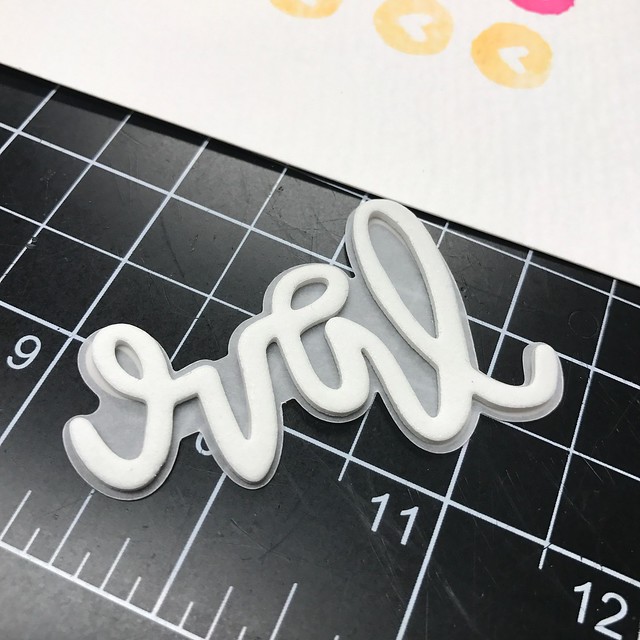
And then I did one more of the love die in fun foam.  This allowed me to adhere the love die on to the card front with some dimension....

Untitled

I added in a few sequins to finish of the card....

Untitled

This is my last card as the Neat and Tangled guest for February.  I want to give say a big thanks to Miriam for having me!  Hope you have enjoyed my cards and thanks so much for stopping by!

2/17/17

Awesome...Neat and Tangled

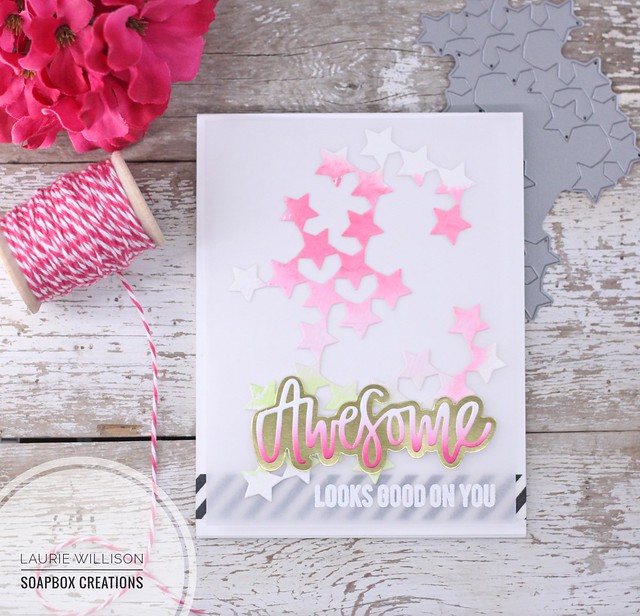
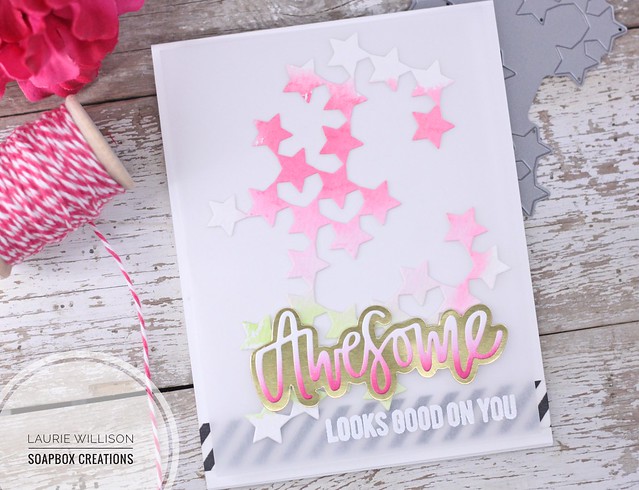
Hey there! I'm stopping in today with another card using the most awesome set from Neat and Tangled!  It's called just that....Awesome!  

Untitled

To create this card, I added some black striped washi to the card base. Next, I took a piece of vellum and added in the watercolored Seeing Stars die.  I also heat embossed the "looks good on you" in white embossing power.  I die cut the back layer of the awesome die in gold card stock and then added in an ink blended awesome on top.  (This makes me want to start singing Everything is Awesome from the Lego Movie....)  Last, I took the awesome sentiment and added it to the vellum with some foam tape for dimension.  To adhere the vellum to the card front, I took a piece of card stock with a "window cut out of it and used it as a mask for the back of the vellum and then sprayed spray adhesive just inside that window.  Using the adhesive this way lets the middle of the vellum sick down to the card front and lets the edges lift up for a layered look.  

Untitled

So that is it for today!  I hope you enjoyed my card and I hope your day is awesome!  Are you singing the lego movie song now? :)  See you soon!  

2/03/17

Neat and Tangled: Big Hugs...

Hey there!  I am super excited to be joining the girls at Neat and Tangled as a guest for February.  I have been a huge fan of this company since the beginning and I love when they ask me to come visit.

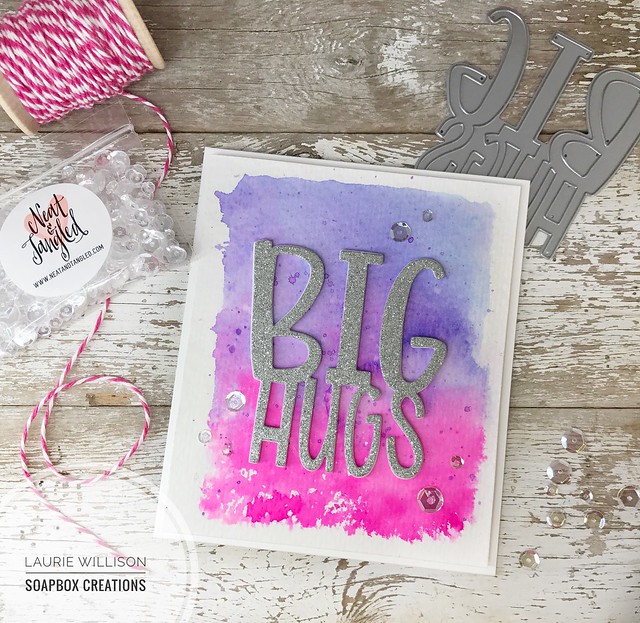
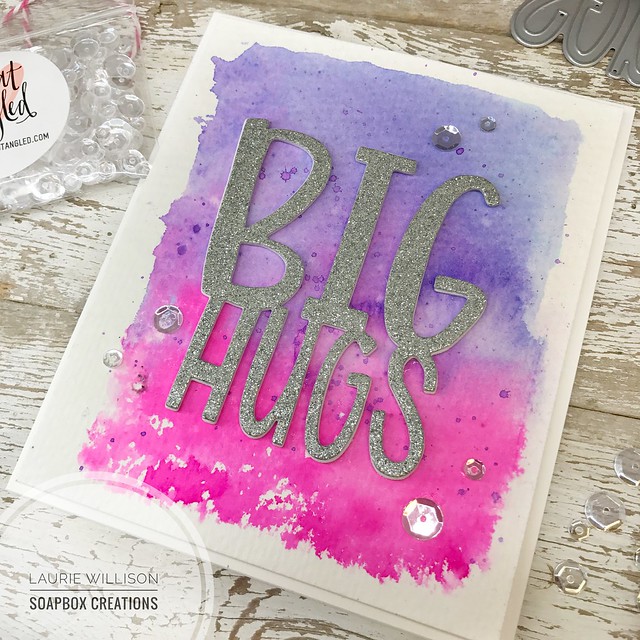
I have a card here today, using the Big Hugs die.  I am a hugger so this die makes me happy!  Definitely the best way to send a hug in the mail.

Untitled

To create this card, I added some Tombow Marker scribbles to a large acrylic block.  Then I added in some water and pressed it down on to the watercolor paper.  After it was dry, I added in some darker purple splatters, with a paint brush.  I used a large piece of fun foam to pop the watercolored card front, to the card base.  Next, I cut the die out of fun foam and glitter paper and adhered them together for a dimensional sentiment.  After attaching the sentiment to the front of the card, I added in some Neat and Tangled Sequins to finish it off.  

Untitled

I will be stopping back in soon with some more cards.  I hope you will stop back by this month!  Thanks so much for checking in today.  Have a great day!

8/12/16

Neat and Tangled Birthday Blog Hop...

I am so excited to be joining in for the week long birthday celebration over at Neat and Tangled. I am so lucky to count Danielle as one of my crafty friends (who I have even met in person) and am thrilled that she asked me to join in.

If you are following long on the hop, you should be coming in from Natalie Elphinstone's blog.  Head over to the Neat and Tangled blog to see a complete list.

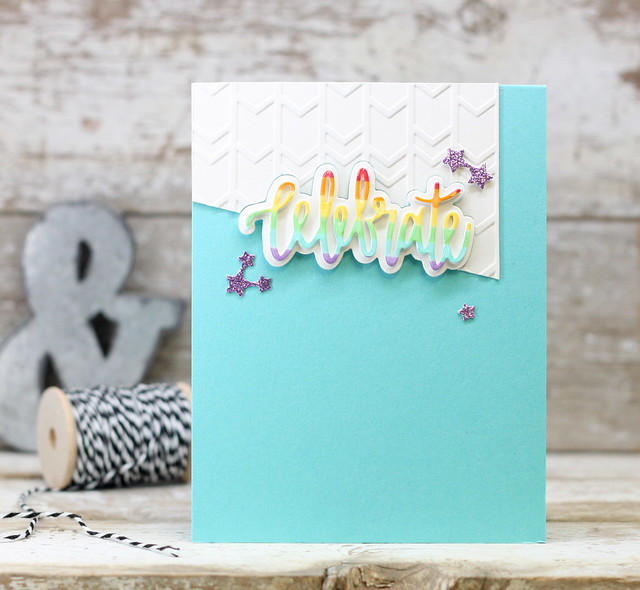
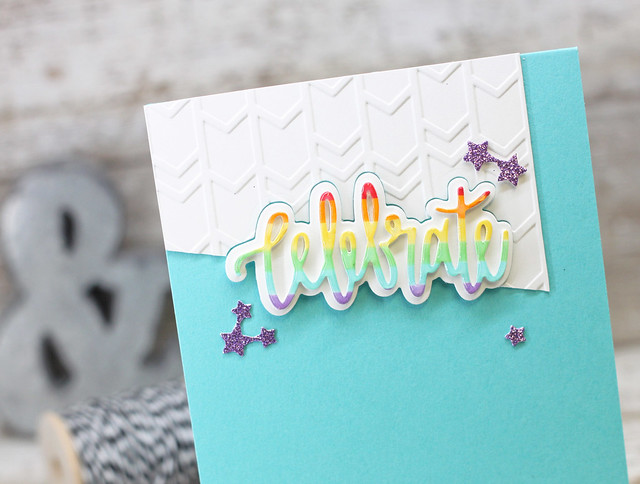
 I have a card today, using 2 new Neat and Tangles products, Celebrate Dies and Lucky Stars dies.

IMG_3471

First, I embossed and die cut the white panel and added it to the card.  I colored a little rainbow pattern with some copies and cut out the main celebrate die.

IMG_3473

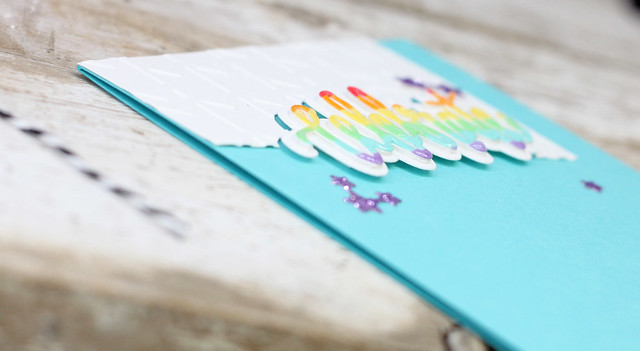
I popped it up on foam tape for some dimension.  I added some glittery stars and glossy accents to the main sentiment to finish off the card. 

IMG_3474

The next stop on the hop is the amazing,  Teri Anderson!

Don't forget to leave a comment for your chance to win one of these....


Head on over to the Neat and Tangled blog to see all the details.  Thanks so much for hanging out with me today!  Have a great day!

Laurie


3/07/16

Hello {Neat and Tangled}...

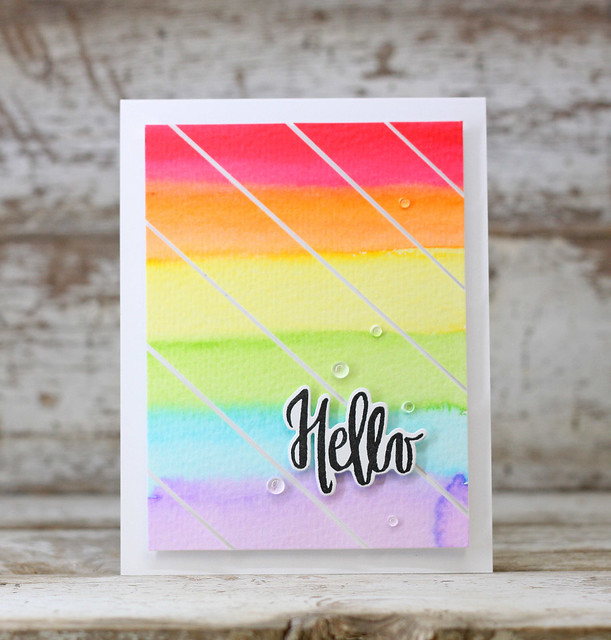
I recently saw this "Hello" on IG and did a small freak out.  I love Danielle at Neat and Tangled and her lettering and by saying that I sound like a broken record.  Because I have said it a bazillion times.  So I went and bought it.  And the die, of course!  And then made this....

IMG_2806

At a recent crafty weekend, I was completely inspired to try this whole watercoloring business.  It's been hard for me but my sweet friend, Jen Shults, was there and she told me paint it up and then stop messing with it.  I mess.  A lot.  I hate for there to be anything out of its CAS place....know what I mean?  So because of her....and with her help....(she's an art teacher IRL!), I bought my first set of big girl brushes.  :)  I feel like I know what I am doing now....even tough I do not.  And then my friend Audrey Tokach, she helped me with Zigs and told me all about watercolor papers.  I came away from my crafty weekend determined.

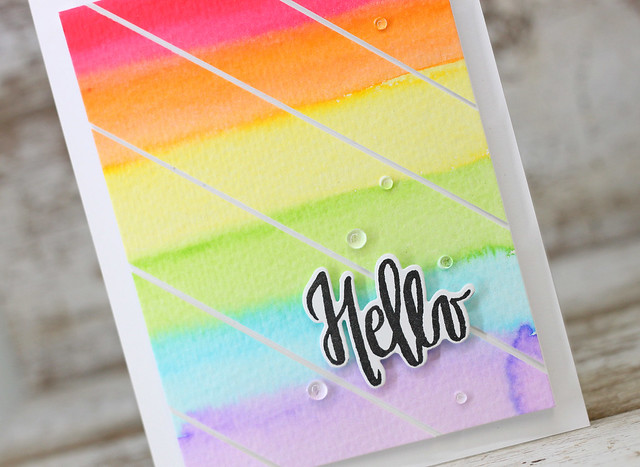
So anyway, after painting this rainbow background, I stamped that lovely hello from Neat and Tangled....love!  And then I added some rain stones to finish it off.  

IMG_2808

If you are like me and are scared of watercoloring, take Jen's advice.  Quit messing with it.  Let it dry.  See what happens!  :)

Hope you are having a great Monday!  Thanks for stopping in!


Supply List: 


BLOG TEMPLATE BY DESIGNER BLOGS