Stopping in with a card and a gift bag today. First off my card...
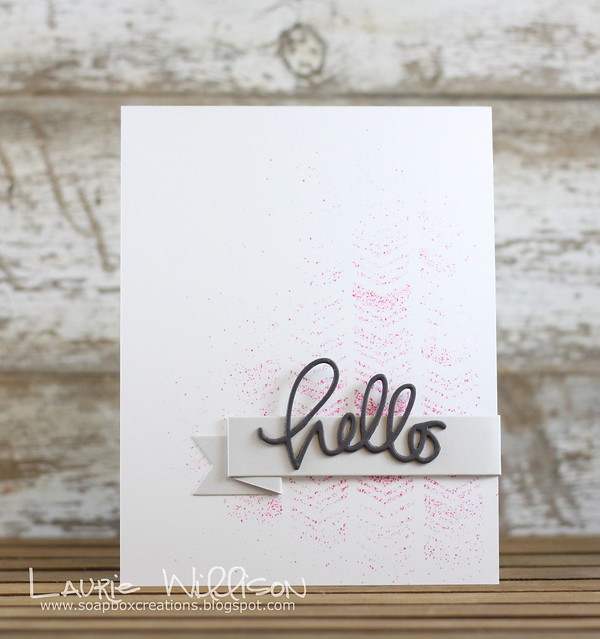
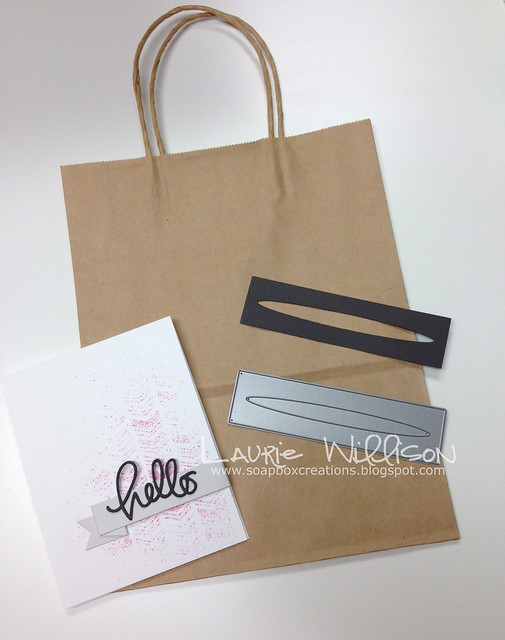
So I am still trying out this whole misting thing. I used some Memento Markers, a Studio Calico stencil and a Tim Holtz Spritzer. (All linked below)
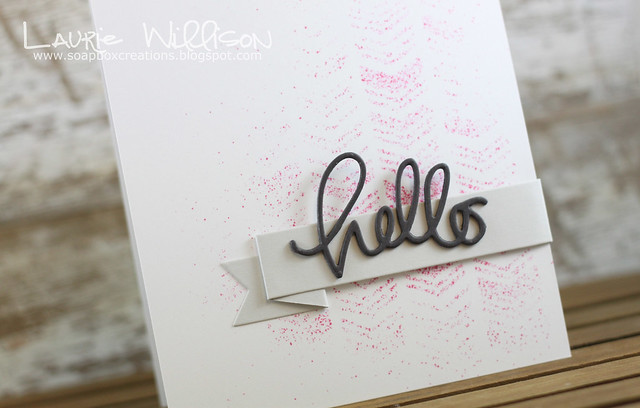
I popped up this Small Hello die from Simon Says on to a Simon Says banner. I cut the end off and tucked it around the inside of the bag. I used Glossy Accents to attach everything together so it was nice and tight.
Here are the goodies I was playing with today...
So I am still trying out this whole misting thing. I used some Memento Markers, a Studio Calico stencil and a Tim Holtz Spritzer. (All linked below)
I popped up this Small Hello die from Simon Says on to a Simon Says banner. I cut the end off and tucked it around the inside of the bag. I used Glossy Accents to attach everything together so it was nice and tight.
Here are the goodies I was playing with today...
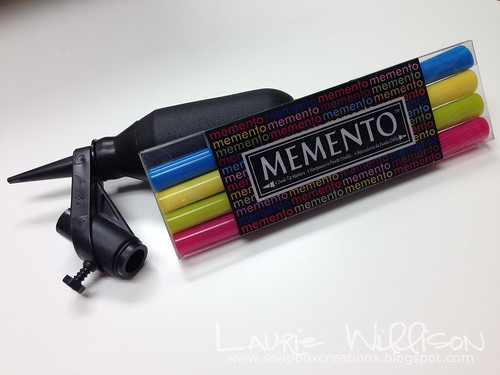
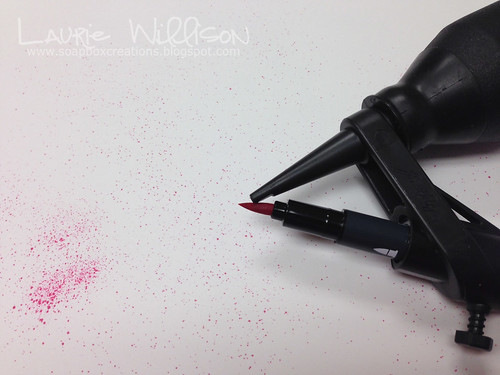
I love how this thing works. You can come farther off the paper for more spray or even closer for a darker burst of ink.
So I wanted to make this card into a bag for a friend, so I thought I would share some pics and a quick video on just how easy it was to make....and quick! Keep scrolling...
Here is a full picture of my gift bag. Sorry for the bad picture. Its so rainy here!
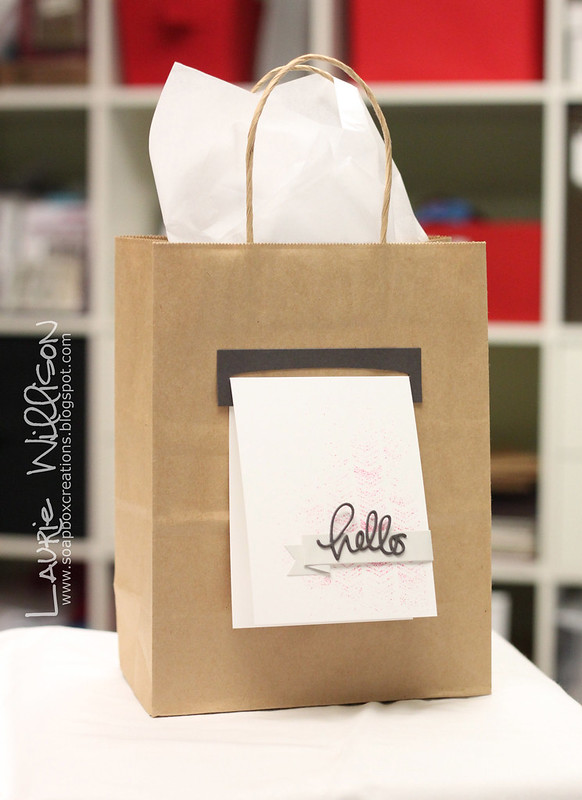
Easy peasy!
All of my card hanger dies are currently in stock. I have the Rectangle, Scalloped and Decorative dies for $12.00 a piece. You can click on the side bar to order one today! You can click on the video HERE, to see more about them.
Here is a quick video just to show you how easy this Card Hanger die is!
Thanks so much for stopping in today! Have a great day!
Thanks so much for stopping in today! Have a great day!

Supply List:
Card Hanger Die available in the right side bar...just click the Paypal link-------->


LOVE this! And I'd say, you got the whole 'misting thing' down! lol You're rockin' it! ;)
ReplyDeleteOk, Laurie! I will say it again!
ReplyDeleteIf you do not have one of these dies, GET one!!!
They are AWESOME!!!
Laurie is a GENIUS!!!
I LOVE mine. I use it all of the time!
Thank you Laurie for designing it!
Susan
Love the misty effect through the stencil :)
ReplyDeleteYour misting is so pretty Laurie, this is wonderful!
ReplyDeleteWell I think you have the "hang" of the misting. I bought a used SU spritzer last year because I wanted to try it and while I think it's okay, I wasn't as thrilled with my results! Your card looks fabulous, Girl:)
ReplyDeleteLove the misting with the stencil!
ReplyDeleteI just ordered all three card hangers! Love your creativity - can hardly wait to use them! Thanks for inspiring me!
ReplyDelete