6/22/20
Spellbinders June Club Bog Hop...
Good morning! We are hopping along today, showcasing the June Clubs at Spellbinders. I have a couple projects today using the Large Die of the Month and the Glimmer Hot Foil Kit of the Month. Keep scrolling to check out this month's prize and also see the full list of stops on today's hop!
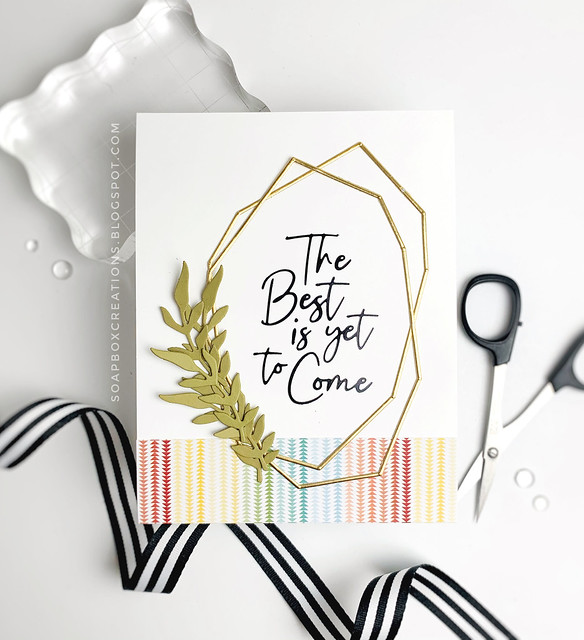
This first card combines both the Large Die of the Month and the Glimmer Hot Foil Kit of the Month. If you are new to Spellbinders, they offer several kits each month. You can subscribe to any of the kits and they will arrive on your doorstep each month! I always say its like Christmas for crafters every time its delivered! You can learn more about the Club Kits by clicking HERE.
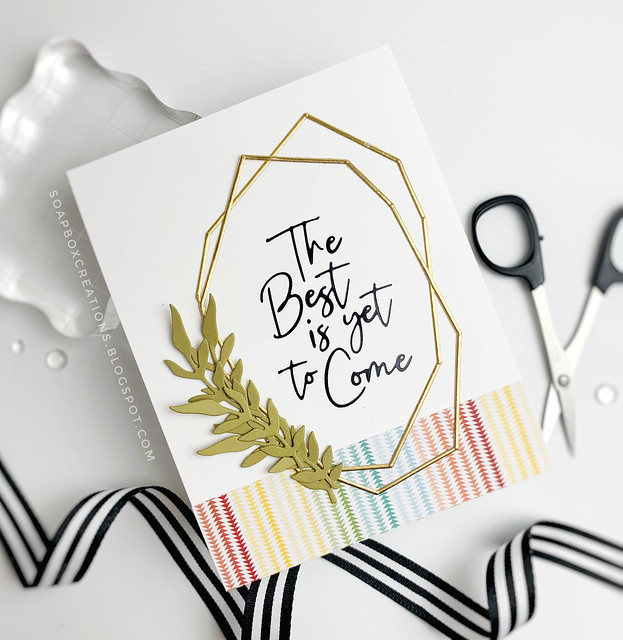
To create this card, I used one of the sentiments from the Glimmer Kit on a white card base. I used the roll of Black Foil that came with this months kit. I just LOVE that black foil!
Next, I die cut the geometric frames in gold cardstock and add them to a white card base that I layered with a scrap of rainbow patterned paper from my stash. Last, I die cut the leaves in a green cardstock and layered them on the frame.
Just a recap for those of you who are new to Hot Foiling. Spellbinders has a platform called Glimmer Hot Foil System. This platform heats up metal plates called Glimmer Plates. These glimmer plates come in ALL different types....sentiments, florals, backgrounds, graphic details etc....and add the most gorgeous foiling detail to your cards. And the foils? There are LOTS of different colors to chose from!
Here are some links to help point you in the right direction....
The Glimmer Hot Foil System works great with a Platinum 6 Die Cut machine from Spellbinders but also works with other die cut machines. You can click HERE to see a compatibility chart.
So once the platform and your glimmer plate heat up, you add in the foil and the cardstock and run in thorough your die cut machine. Once you pull off the foil negative, the magic happens! That foil that is set on your cardstock is just gorgeous!
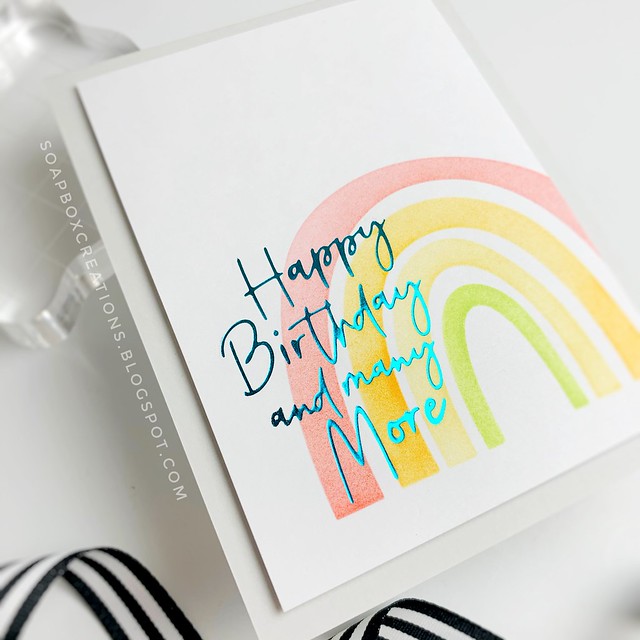
This month's Glimmer Hot Foil Kit of the Month is a sentiment set that is just gorgeous!
I used the Teal Foil to add the sentiment to a white card panel. Spellbinders has lots of different colors of foil, even some patterned foil, to use with the glimmer plates.
I stenciled in a quick rainbow and then added the panel to a white card base. Super quick!
Here is one more shot to show you the shine of that foil....
Here is a full list of the Spellbinders Club Kits....
You can subscribe to any of these kits and they will land on your doorstep each month!
Click HERE to learn all about it!
_____________________________________
GIVEAWAY
To celebrate this release, we are giving away a $50 gift certificate to 3 lucky blog readers – selected from the comments on our blog. Hop along for additional chances to win.
Giveaway closes on Sunday, June 28th, 11:59 pm EDT. The winner will be announced in the blog hop post the following Tuesday. The winner is responsible for shipping cost, duties and taxes.
_____________________________________
BLOG HOP
Thank you for coming by today! Hope you have a great week and enjoy the rest of the hop!
_____________________________________
FIND ME OVER ON:
Instagram: Laurie Willison (@laurie_willison)
YouTube: Soapbox Creations
Facebook: Soapbox Creations
All products in today's post are linked below and throughout the post. These are my personal affiliate links which you can shop from at no cost to you! :) Thank you for supporting Soapbox Creations!
Labels:
Spellbinders
6/19/20
Sending Healing Hugs {Spellbinders}...
I have been having SO much fun playing with all the Spellbinders Glimmer Plates that I am back today with another card.
Just a recap for those of you who are new to Hot Foiling. Spellbinders has a platform called Glimmer Hot Foil System. This platform heats up metal plates called Glimmer Plates. These glimmer plates come in ALL different types....sentiments, florals, backgrounds, graphic details etc....and add the most gorgeous foiling detail to your cards. And the foils? There are LOTS of different colors to chose from!
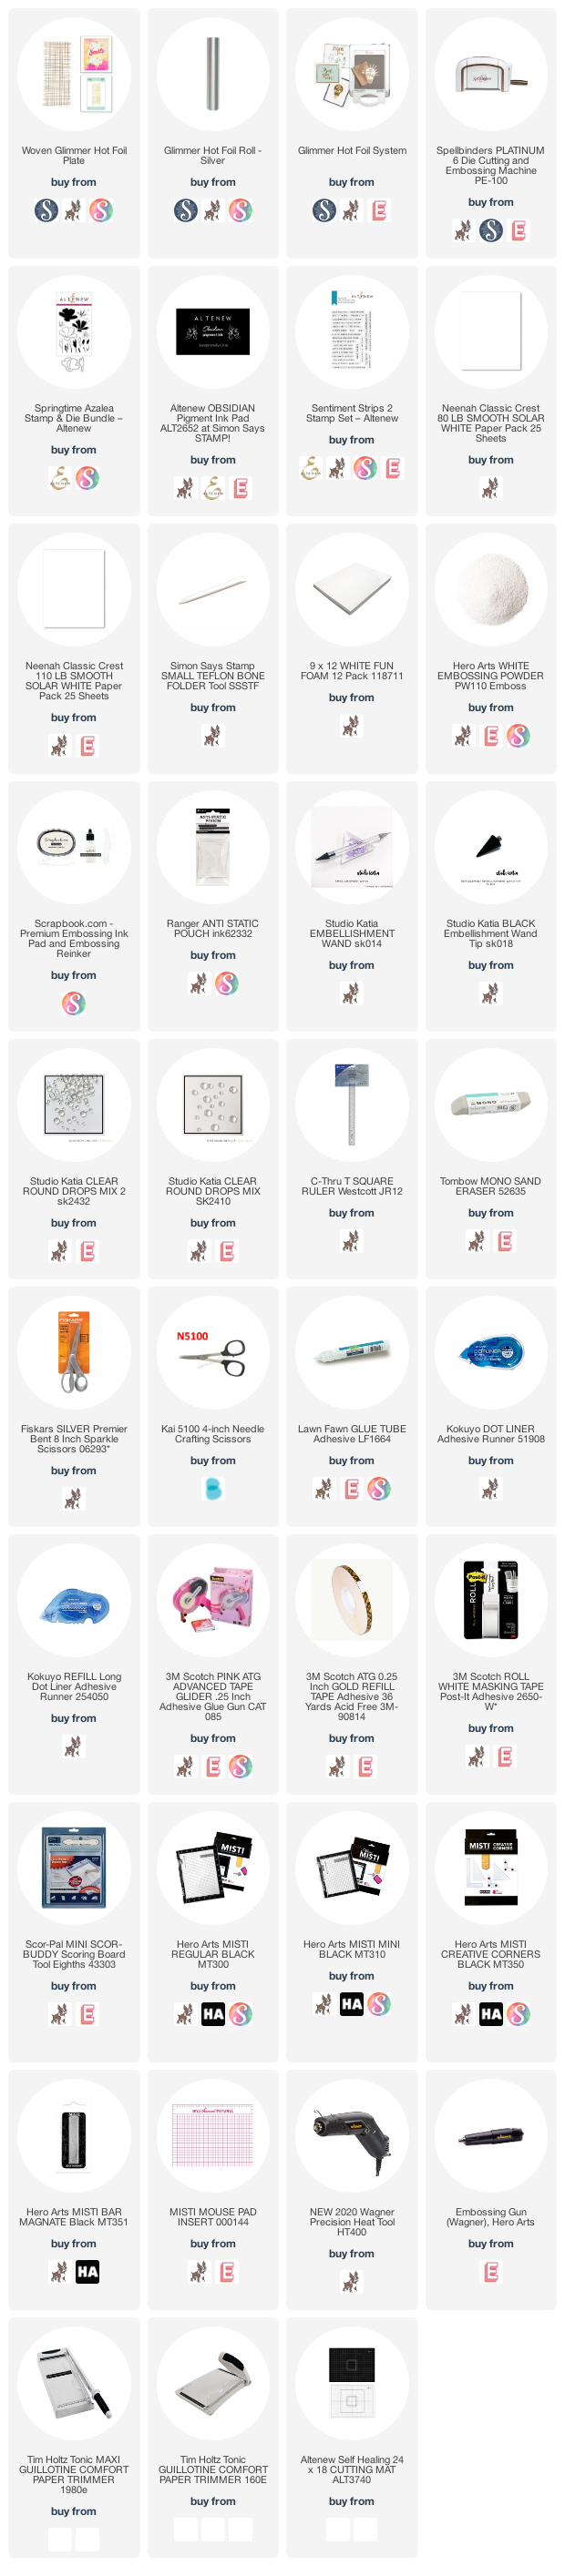
Here are some links to help point you in the right direction....
The Glimmer Hot Foil System works great with a Platinum 6 Die Cut machine from Spellbinders but also works with other die cut machines. You can click HERE to see a compatibility chart.
So once the platform and your glimmer plate heat up, you add in the foil and the cardstock and run in thorough your die cut machine. Once you pull off the foil negative, the magic happens! That foil that is set on your cardstock is just gorgeous!
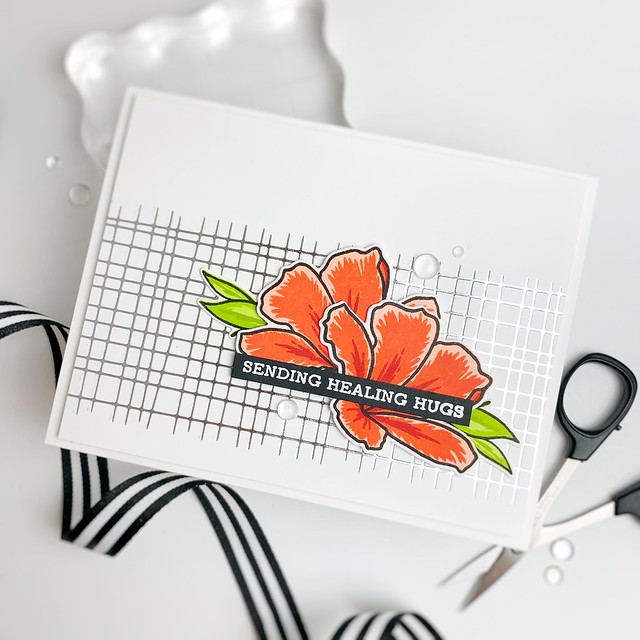
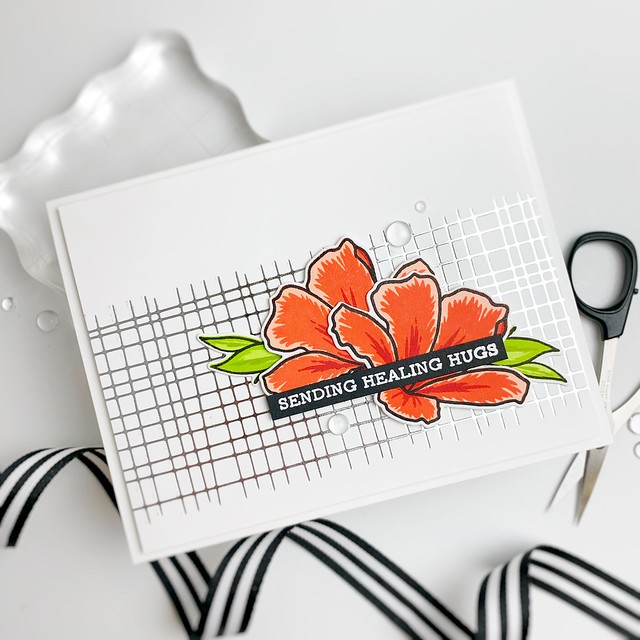
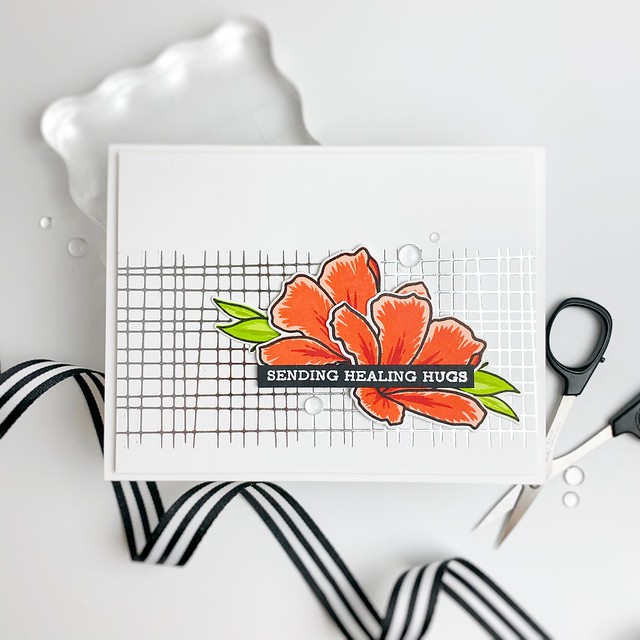
Here is today's project using the Woven Glimmer Hot Foil Plate.....
I used a roll of Silver Foil with the Woven Glimmer Background to achieve this look. I just love how easy it is to add all that shine!
I topped it off with some Azalea's from Altenew and a sentiment strip. To finish the card, I had to add in some clear drops. Those are my favorite details to add in and I have to restrain myself from adding them to every card! :)
Check out all the details of the Spellbinders Hot Foil Glimmer System by clicking HERE! I hope you have found today's post helpful in getting started with your own Glimmer System.
Hope you have a great day!
_____________________________________
FIND ME OVER ON:
Instagram: Laurie Willison (@laurie_willison)
YouTube: Soapbox Creations
Facebook: Soapbox Creations
All products in today's post are linked below and throughout the post. These are my personal affiliate links which you can shop from at no cost to you! :) Thank you for supporting Soapbox Creations!
Labels:
Spellbinders
6/18/20
Congrats on your Special Day {Spellbinders}...
Hello friends! I am here today with a Spellbinders creation using one of the plates from my collection, mixed with my friend Nichol's collection, topped off with a gorgeous sentiment from the Glimmer Kit of the Month!
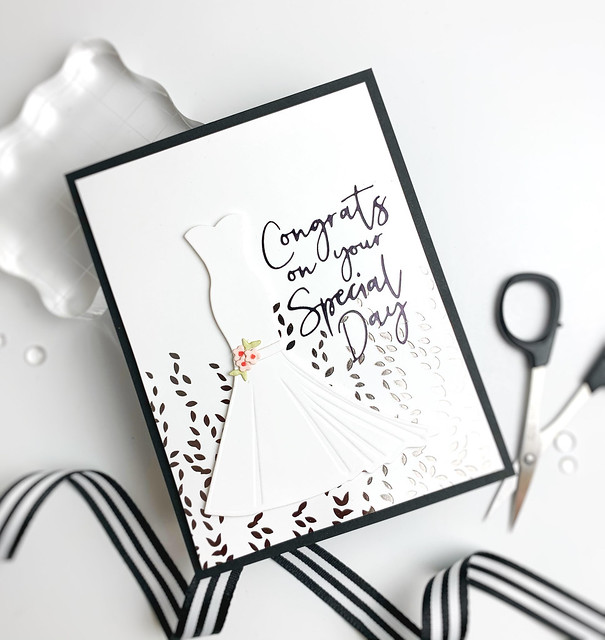
Here is today's card.....
To create this card I used the leaf waterfall glimmer plate from Framed Details on the white card base. I ran this glimmer plate through the Hot Foil System with Espresso Bean Foil. The Glimmer Hot Foil System works with the glimmer plate and heat to add a gorgeous layer of foil down on the card. Next, I did the same thing with that gorgeous sentiment and black foil. The foils layered together so nicely!
I grabbed the wedding dress dies from Nichol's collection and die cut them in white cardstock. The dress comes with an embossing plate to make those pleats in the skirt. I just love that detail. There is also a small flower and leaf die in the set that I die cut in pink flowers, using a red copic dot for the flower center. The flowers added the perfect pop of color to the card.
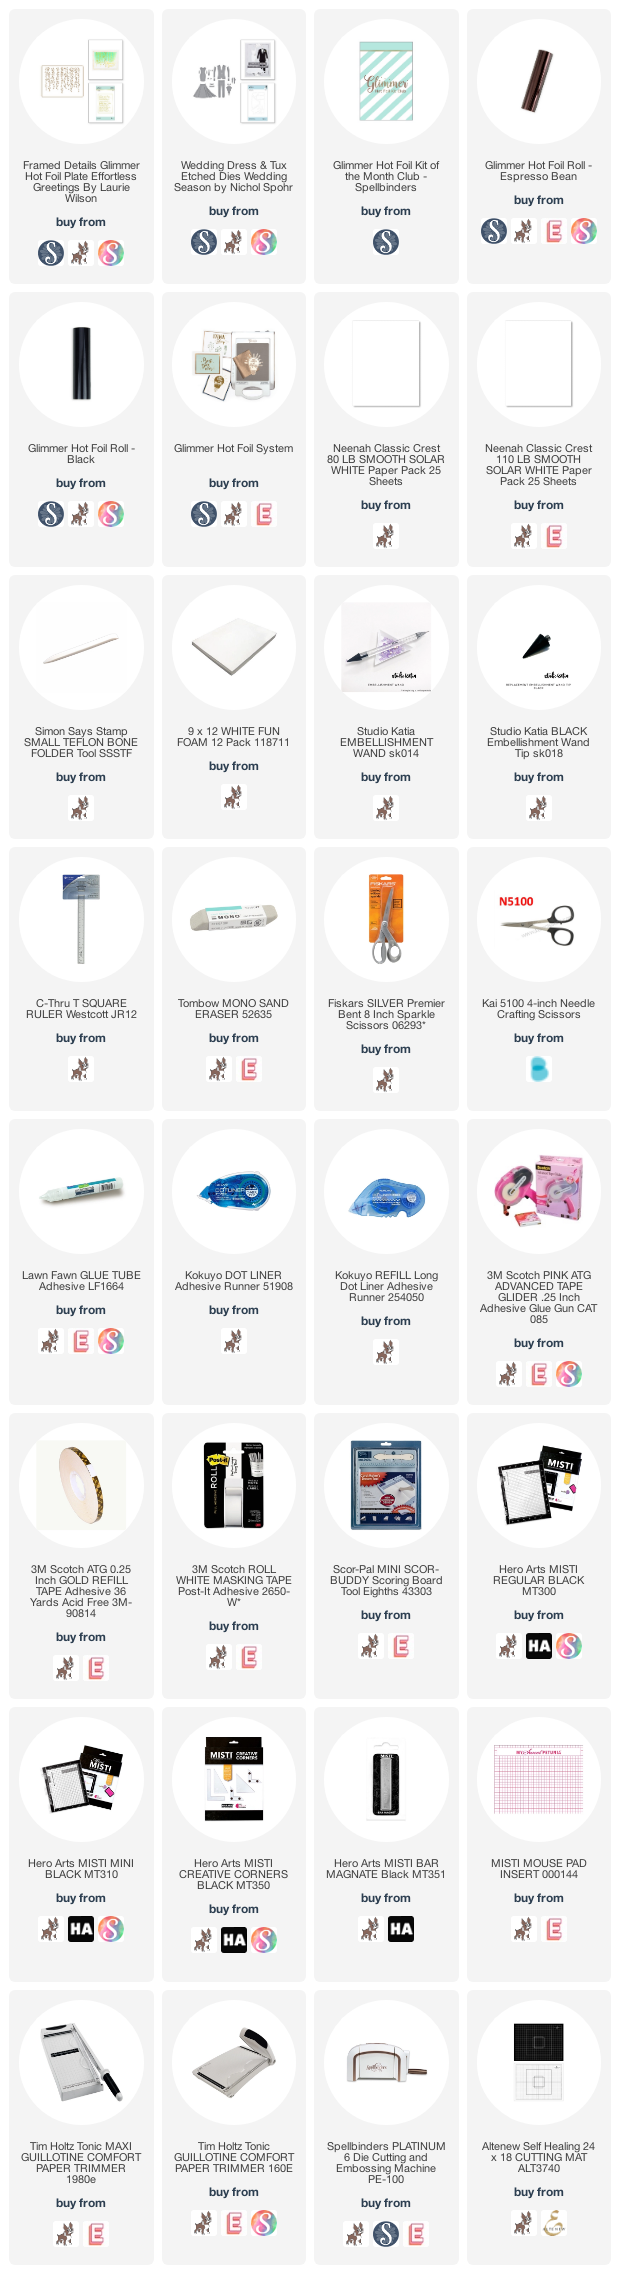
Now I have the perfect card for a bridal shower! Here are the plates and dies I used in today' card....
Hope you have a great day!
_____________________________________
FIND ME OVER ON:
Instagram: Laurie Willison (@laurie_willison)
YouTube: Soapbox Creations
Facebook: Soapbox Creations
All products in today's post are linked below and throughout the post. These are my personal affiliate links which you can shop from at no cost to you! :) Thank you for supporting Soapbox Creations!
Labels:
Spellbinders
6/17/20
Altenew June 2020 Stand-alone Dies Release Blog Hop + Giveaway
Welcome to Altenew's June Blog Hop! Today we are showcasing the Fine Flora Release which is full of amazing new standalone dies! I have a couple projects to share so keep scrolling! You will also see the amazing giveaway from Altenew....so don't forget to leave a comment for your chance to win! There is also a full list of stops below so be sure to visit each designer for more inspiration!
Here is my first project....
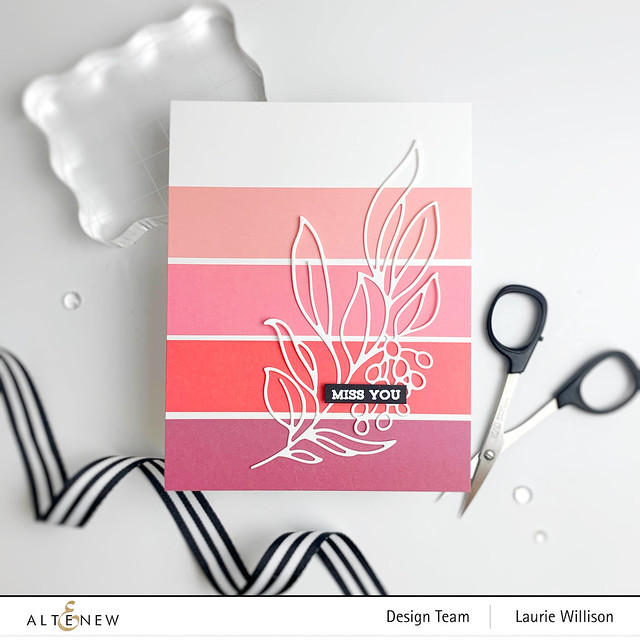
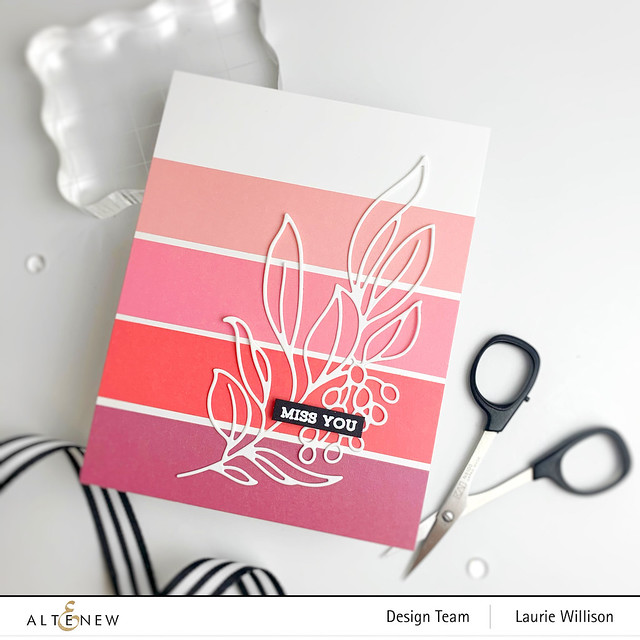
This first card was quick and simple to make! I used the wash from the Tea Party Washi set and added one strip of each on the card front.
Next, I die cut the new Hanging Garden Die in white cardstock and added it to the front of the card. I made a little heat embossed sentiment from Sentiment Strips 2 and popped that up on the front of the die cut.
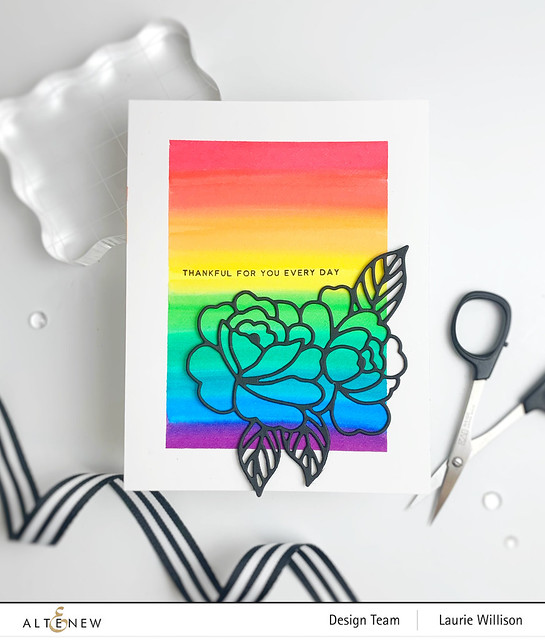
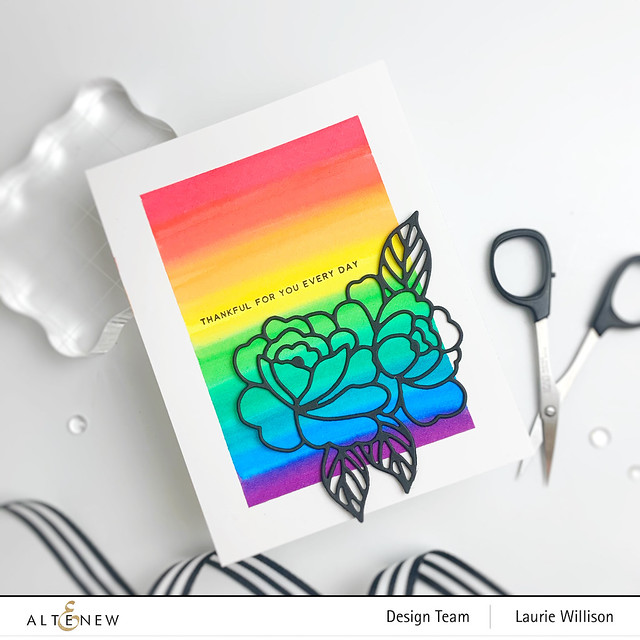
I have another easy card using a new die cut called Spring Roses Die Set....
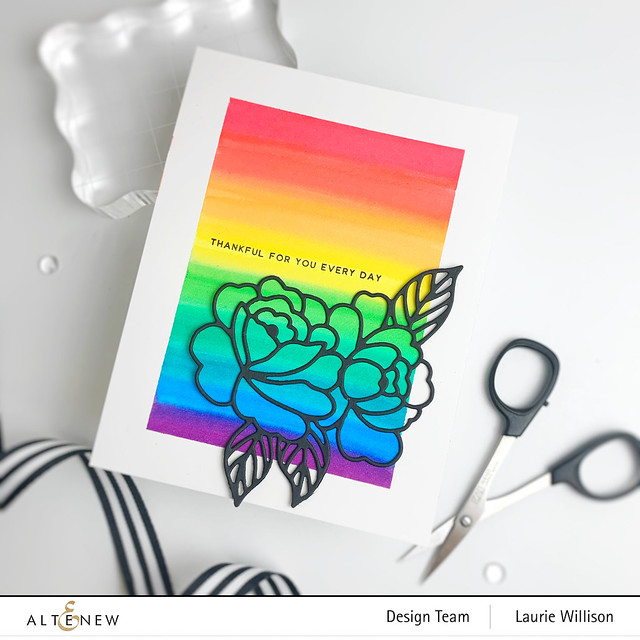
To create this card, I masked off some Altenew Watercolor paper around the edges and then added in some Karin Marker stripes in rainbow order. I took a paintbrush and some water and blended them together.
Next, I die cut the rose die in back cardstock and added that to the card. I finished the card off with a simple sentiment in Obsidian Black Ink.
Check out the full Fine Flora Release by clicking HERE. You can click HERE for the full bundle from all of today's release.
_____________________________________
GIVEAWAY
To celebrate this release, Altenew is giving away a $30 gift certificate to 6 lucky winners! Please leave a comment on the Altenew Card Blog by 6/22/2020 for a chance to win.
We’ll also draw a winner to receive a $15 gift certificate from the comments left on each designer’s blog on the blog hop list below. All winners will be announced on the Altenew blogs on 6/25/2020.
_____________________________________
BLOG HOP
Thank you for coming by today. Hope you are all doing well. Enjoy the rest of today's hop!
_____________________________________
FIND ME OVER ON:
Instagram: Laurie Willison (@laurie_willison)
YouTube: Soapbox Creations
Facebook: Soapbox Creations
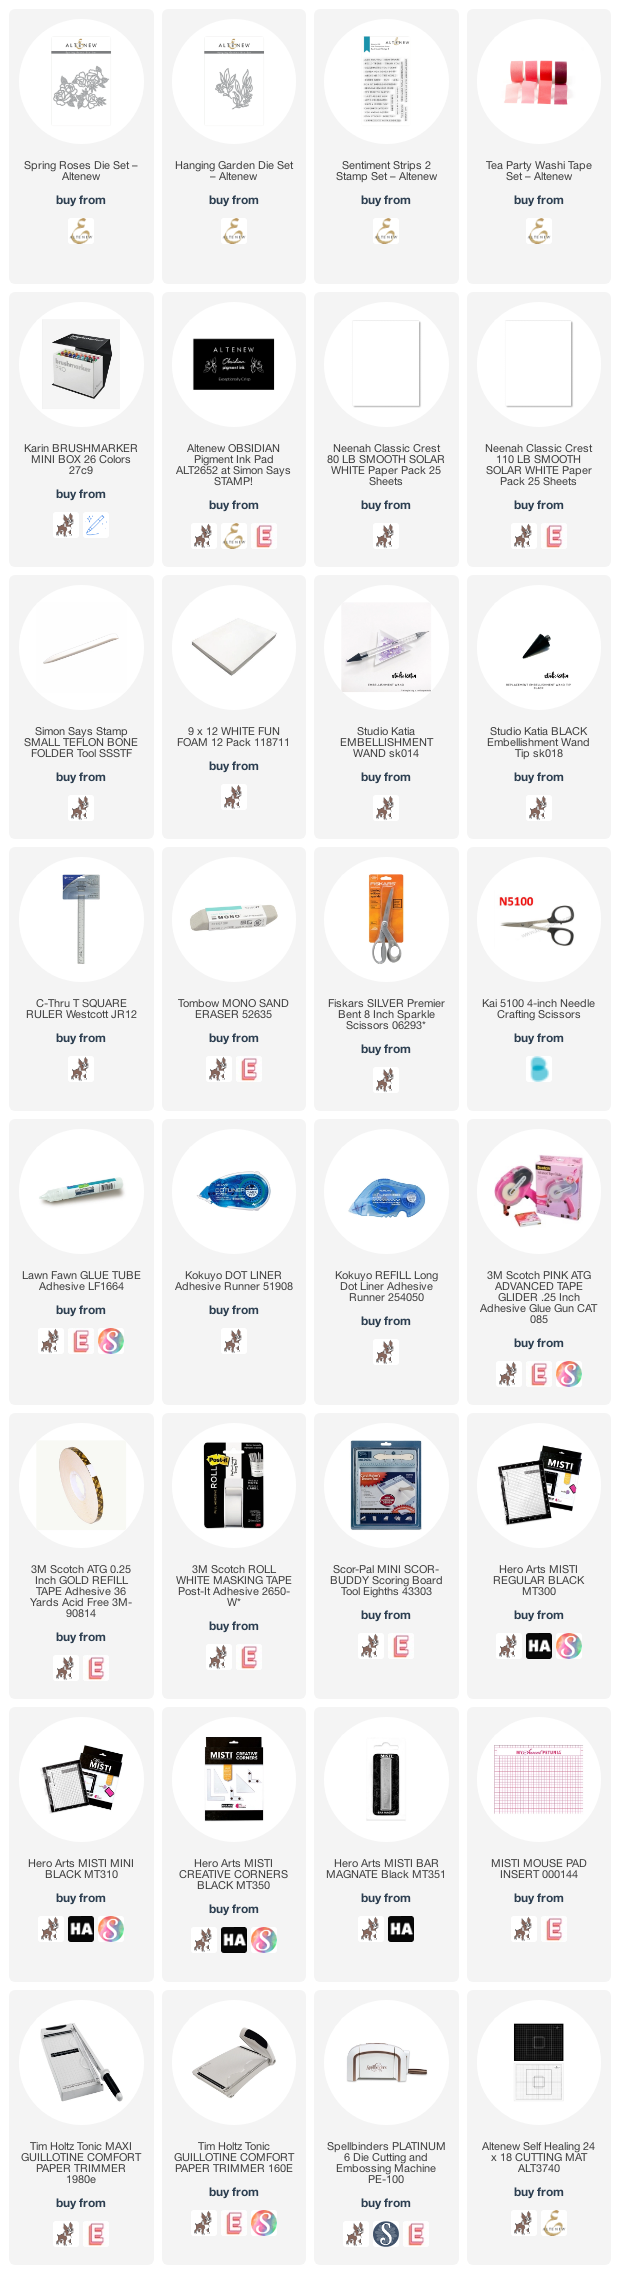
All products in today's post are linked below and throughout the post. These are my personal affiliate links which you can shop from at no cost to you! :) Thank you for supporting Soapbox Creations!
Labels:
Altenew
6/15/20
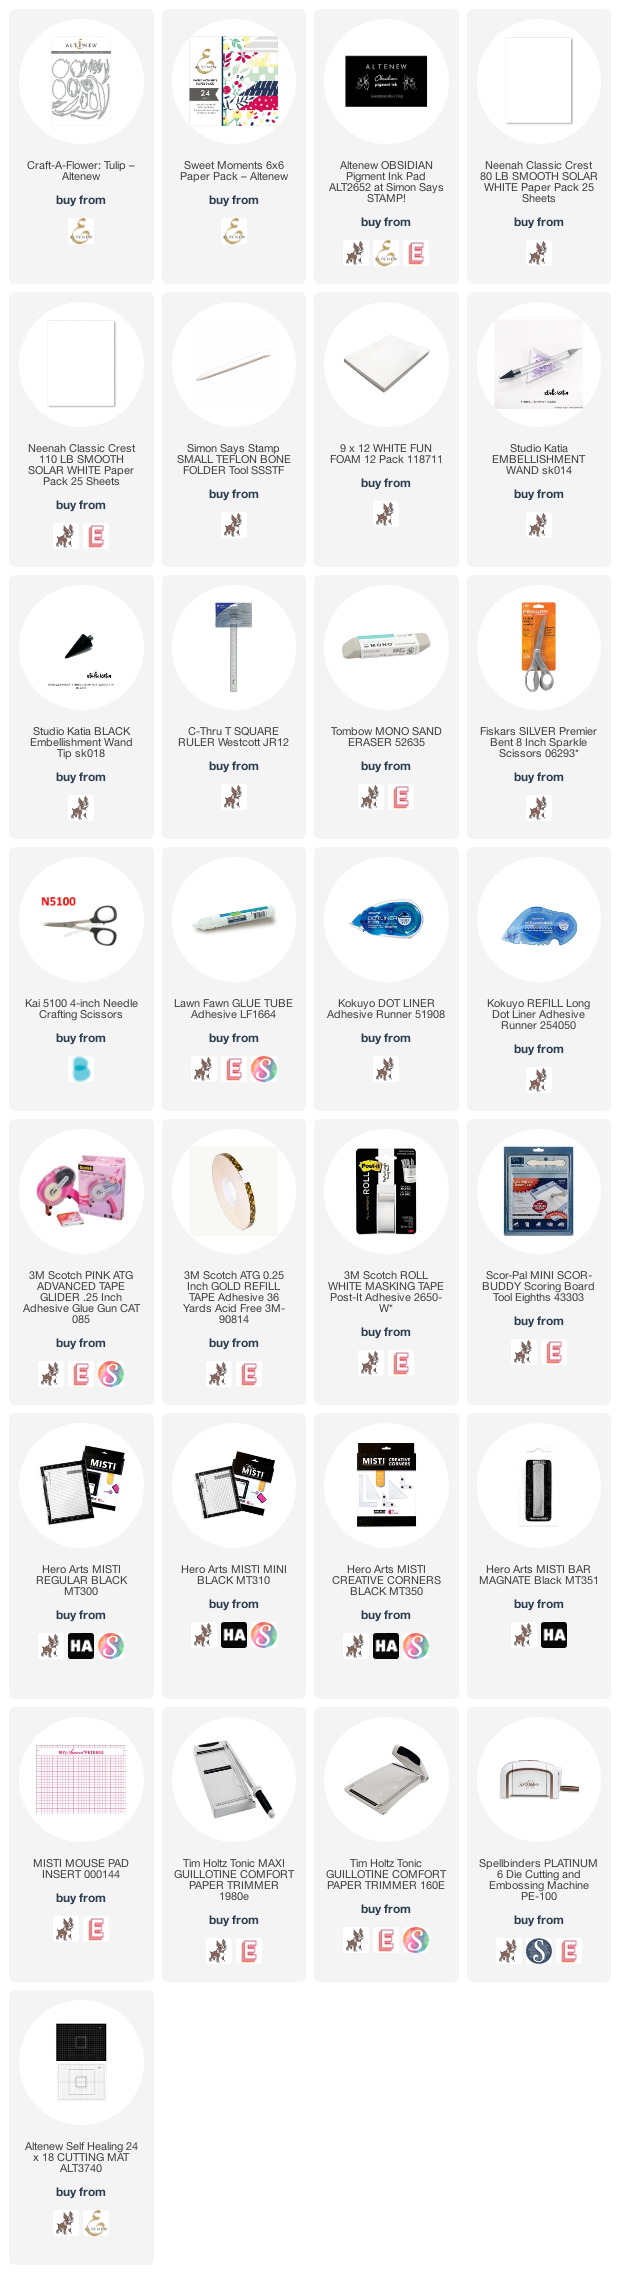
Altenew Craft-A-Flower: Tulip Release Blog Hop + Giveaway
Good morning! I am stopping in today with a new Craft-A-Flower from Altenew. You guys are going to love this one! It is a beautiful new die set to create Tulips!
Here is the full die set....
And here is the layering guide. Each Tulip has 3 layers. Super easy to put together. The largest die is the darkest cardstock, middle die is lighter cardstock and the smallest die is the highlight of the tulip. The leaves are just 2 pieces.
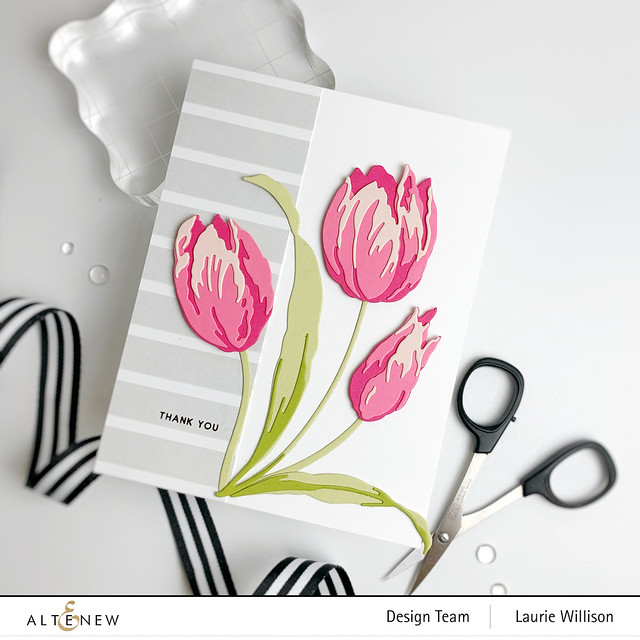
Here is a very clean and simple card using all the die cuts that come in the set.
I grabbed a piece of gray striped paper from the Sweet Moments Paper Pack and added it to the side of my white card base and then added in a simple sentiment along the bottom.
I die cut the tulips all in different shades of pinks and the leaves in greens. I used liquid adhesive to layer them together. They are so simple to line up! The alignment guide is so very handy to have if you questions but once you see the little details on each layer, you will be able to put them together in no time!
Check out the Craft-A-Flower: Tulip by clicking HERE!
_____________________________________
GIVEAWAY
To celebrate this release, Altenew is giving away a $30 gift certificate to 5 lucky winners! Please leave a comment on the Altenew Card Blog for a chance to win. We’ll also draw a winner to receive a $15 gift certificate from the comments left on each designer’s blog on the blog hop list below. All winners will be announced on the Altenew blogs on 06/23/2020.
_____________________________________
BLOG HOP
Thanks so much for coming by today! Hope you enjoy today's hop!
_____________________________________
FIND ME OVER ON:
Instagram: Laurie Willison (@laurie_willison)
YouTube: Soapbox Creations
Facebook: Soapbox Creations
All products in today's post are linked below and throughout the post. These are my personal affiliate links which you can shop from at no cost to you! :) Thank you for supporting Soapbox Creations!
Labels:
Altenew
Subscribe to:
Posts (Atom)