If you are needing some Halloween Inspiration, you are in the right place. Papertrey Ink has lots to share today with Day 2 of DT Group Posts.
First off, new additions to the Tiny Town House. This one is called Tiny Town: Spookyville.
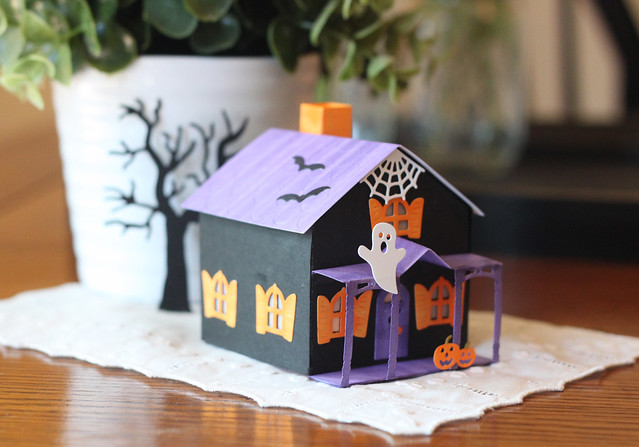
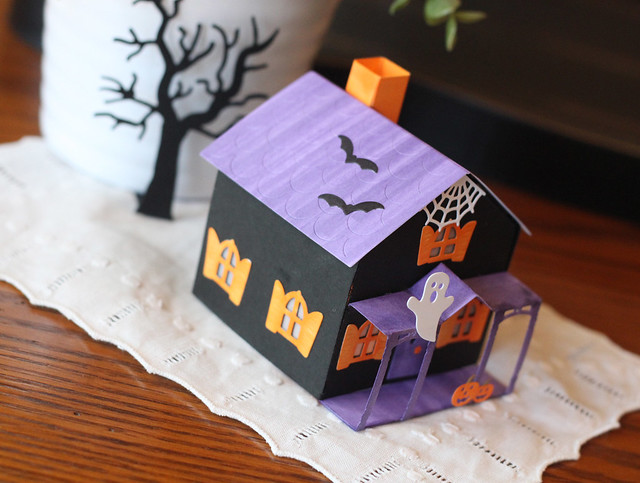
I turned this little house into a tea light holder. The bottom is cut out so the house can sit over a tea light. I cut the house out of black card stock and then cut all the accessories out of white cardstock. I used Purple and Orange Copic markers to colors all the parts. The Copics gave the roof a more weathered look, the shutters are more uneven it just adds to the "creepy". :) I lined all the windows with vellum so the house really glows.
First off, new additions to the Tiny Town House. This one is called Tiny Town: Spookyville.

I turned this little house into a tea light holder. The bottom is cut out so the house can sit over a tea light. I cut the house out of black card stock and then cut all the accessories out of white cardstock. I used Purple and Orange Copic markers to colors all the parts. The Copics gave the roof a more weathered look, the shutters are more uneven it just adds to the "creepy". :) I lined all the windows with vellum so the house really glows.
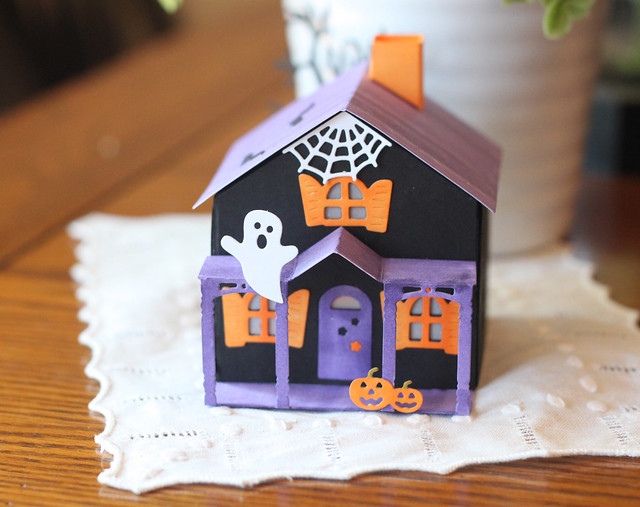
I tried multiple times to get a good shot of the glow from the tea light but the pictures didn't turn out. This little house will make the perfect addition to my dining room tray for Halloween.
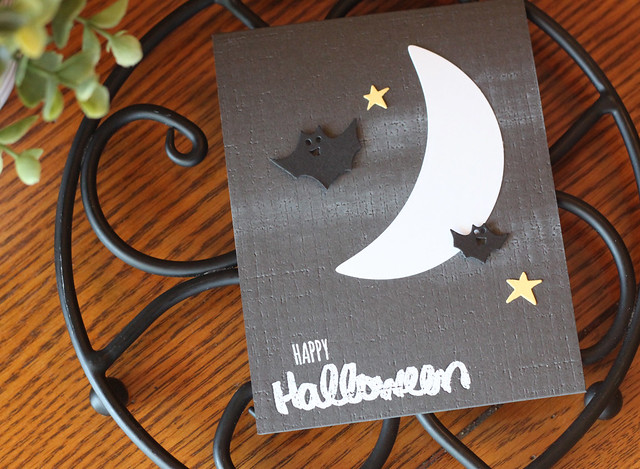
This next card uses the dies from the Shaped Sayings: Halloween.
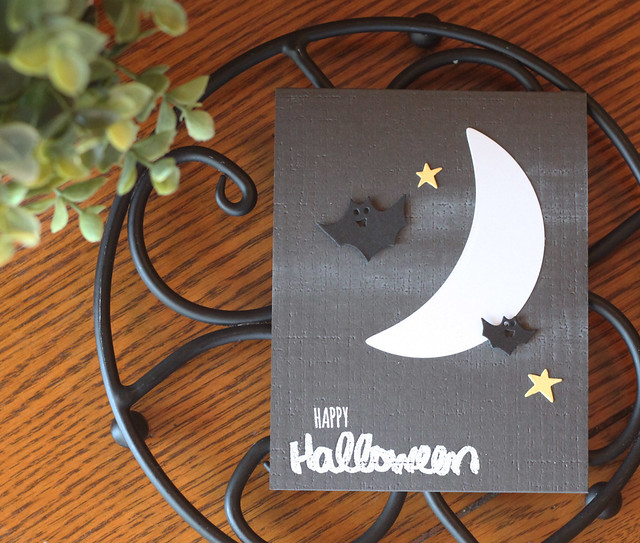
I added the dies to a Smokey Shadow card base that I embossed with the Lined Impression plate. I also added in some Fresh snow ink for the fog behind the moon. I heat embossed the sentiment from Pumpkin Expressions to finish off the card.
This last project uses the Autumn Pumpkins and Pumpkin Expressions.
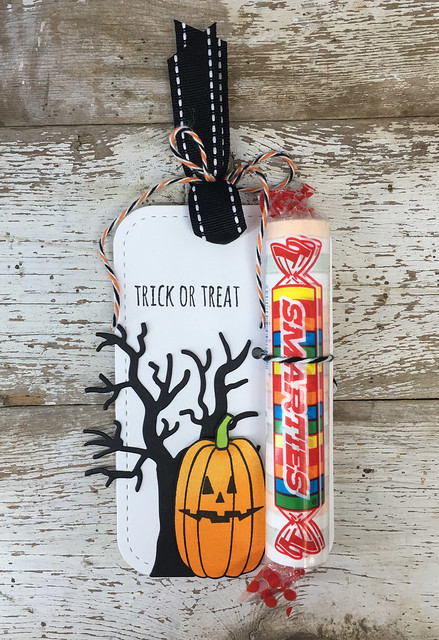
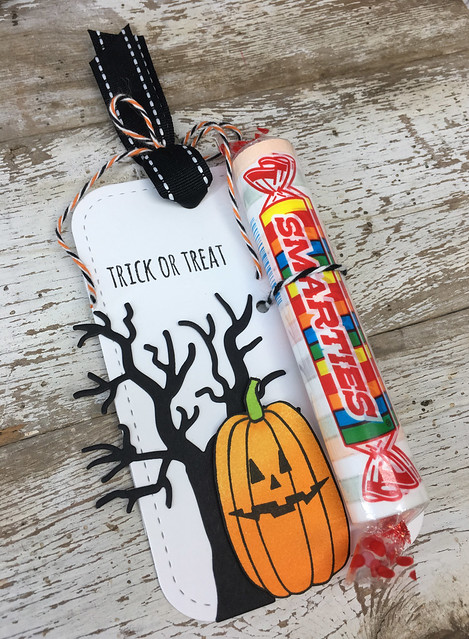
I used the Tasting Tag Die to create this little treat holder. I added in the tree die from the Tiny Town: Spooky Yard Dies in the background and then the pumpkin from Autumn Pumpkin. The new set called Pumpkin Expression can turn these adorable pumpkins into jack-o-lanterns. This set also includes some cute halloween sayings. I added in some ribbon and twine and then tied this super sized Smarties pack onto the tag. Quick and easy for a fun Halloween Treat.
Head over to Nichole's blog to see the list of stops to make today. Lots of Halloween Inspiration to see! Thanks so much for stopping in!
Laurie


I love your clean and simple Halloween card. And such a fun tag for handing out a little treat!
ReplyDeleteNoreen
Crafty Journal
Oh, I love how you played with the new goodies, Laurie! Great idea to use a Tea Light inside your spooky house...I'll bet it looks amazing at night :) I also love the effect of Copic coloring on the elements...so fun! The texture you added to the card base really makes everything pop on your card, and your tag is fabulous! I can't wait to start shopping!
ReplyDeleteSeriously love your cute spooky house and your tag and card too.
ReplyDeleteAll of your projects are just adorable! I love the mist behind the moon on your second project...really just adds that extra special "something".
ReplyDeleteLinda
Super duper cute Halloween projects Laurie!! Love the tag with the Smarties. I'll have to remember this for my DIL 1st grade students!!
ReplyDeleteVery cute, Smartie...I mean, Laurie! How do you keep your impression plate and embossing mat from shifting your card base when rolling through the Big Shot...or do you use a different die-cutting machine?
ReplyDelete