Welcome to Day 2 of the MFT and Chibitronics Collaboration. The Design Team got together to create some amazing light up creations and today we are back for one more day! If you haven't had a chance to play with the Chibitronics light system, you should totally grab a starter kit and try them out. They are SO easy to work with and there are lots of great tutorials out there too.
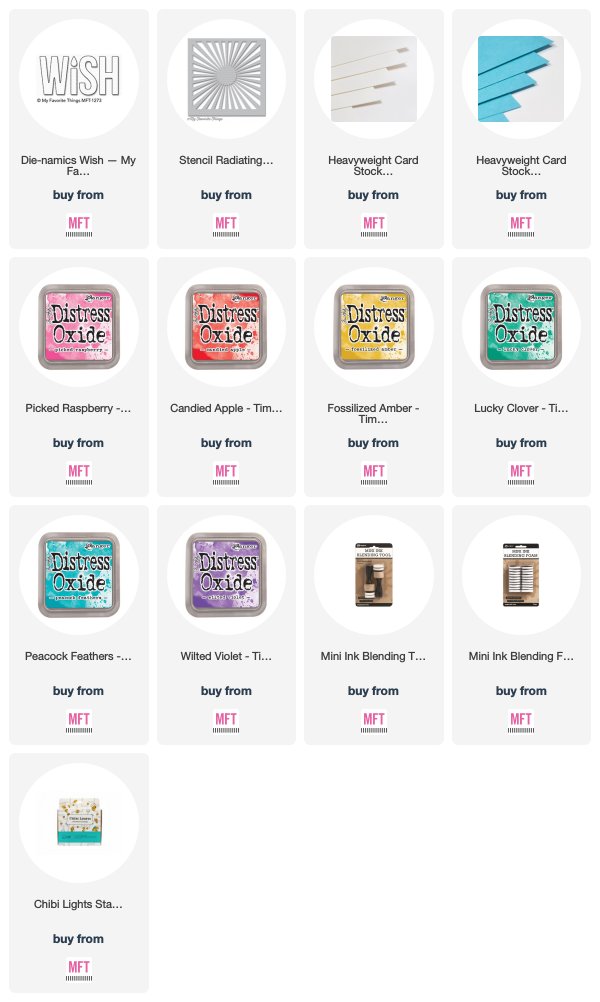
(all supplies linked below)
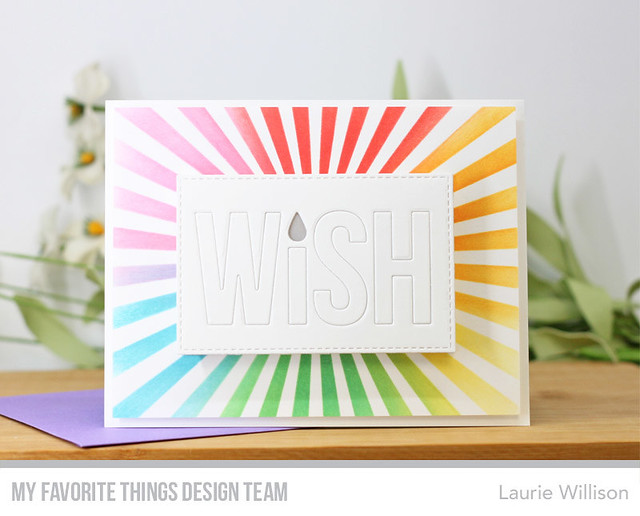
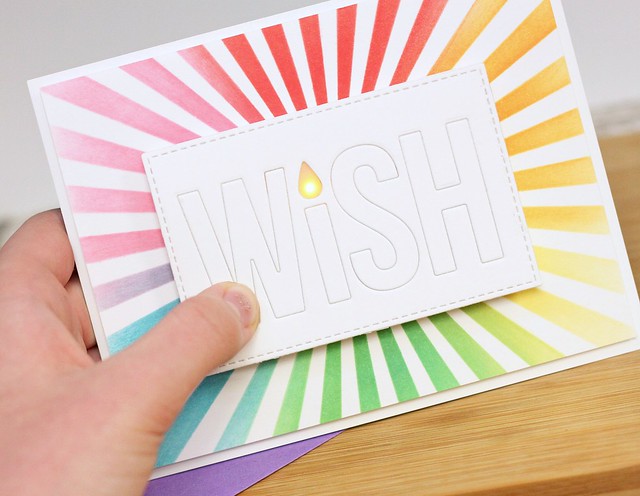
I grabbed the a die from the latest MFT Release called Wish. I knew that candle in the center would make the cutest light up feature....
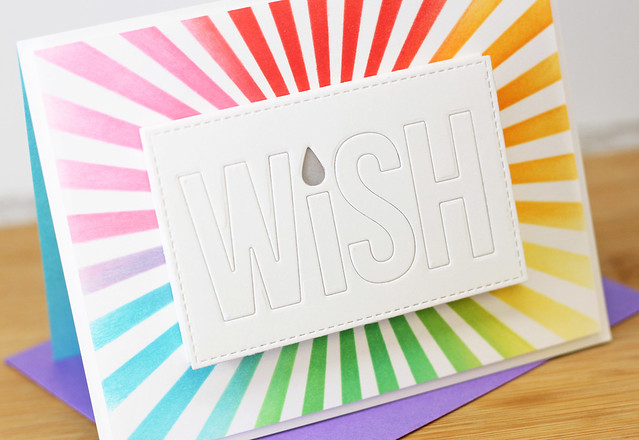
I used the Radiating Rays Stencil and Oxide inks in rainbow order to create the background. Next, I created a little box using the Stitched Rectangle STAX. I created the circuit on the first rectangle and then built a little box by adding foam tape around the edges. I cut another stitched rectangle and then die cut the Wish in that same rectangle. I added cardstock to the back so the die cut letters would stay in place. I added a piece of vellum behind the "flame" so the light would have a little glow.
I attached the card front to a Blu Raspberry card base for some extra color. Check out how fun the little flame is on the card front....
The MFT Blog has a list of places to stop today. Don't forgot if you haven't seen yesterdays posts, you can go check those out too on the MFT Blog.
Thanks for coming by today! Hope you have a great day!


Wonderful card !!
ReplyDeletePerfect!
ReplyDeleteWhat a bright and beautiful card!
ReplyDeleteLovely card!!
ReplyDeleteLove the rainbow of rays and the lit candle!
ReplyDeleteSuper cute card - love the clean, crisp look and the light up candle.
ReplyDeleteOh my gosh, you did an AMAZING job with your Chibi Lights, Laurie! Such a clever design and I love how you inked the rays...Fabulous card!!!
ReplyDeleteThis is the perfect birthday card !
ReplyDelete[margessw(at)icloud(dot)com]