Pages

2/27/17

MFT Creative Construction with Blueprints...

Its time for another monthly round of Creative Construction with Blueprints over at MFT.  Here is this months challenge....

Flaps, windows, and pull-out tabs are all inviting ways to encourage your recipients to interact with your creations. Our exclusive collection of Blueprints Die-namics include a variety of interactive design features and this month, our team is ready to inspire you to use them in your own creations.
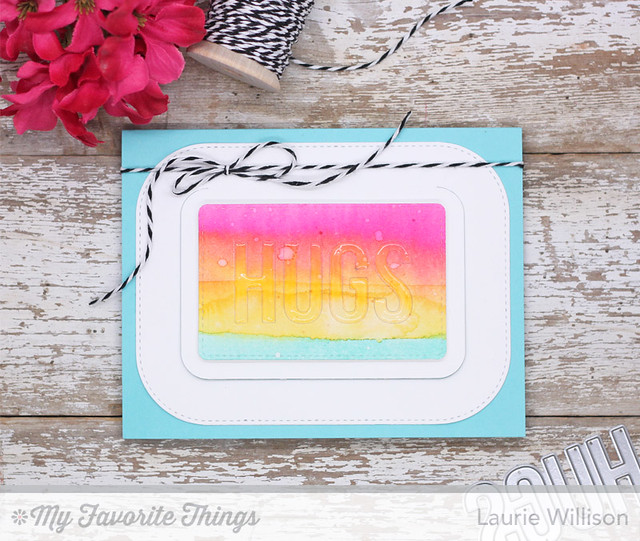

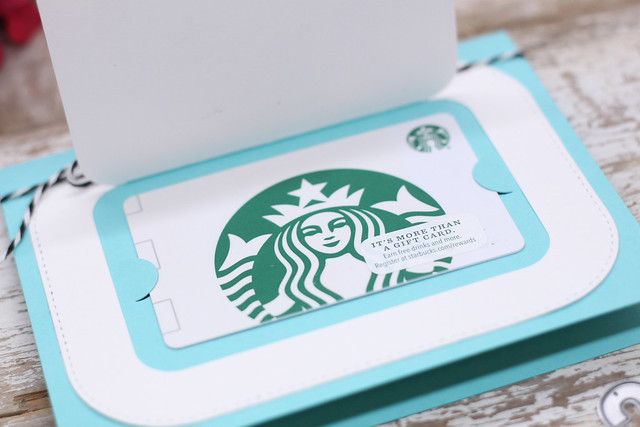
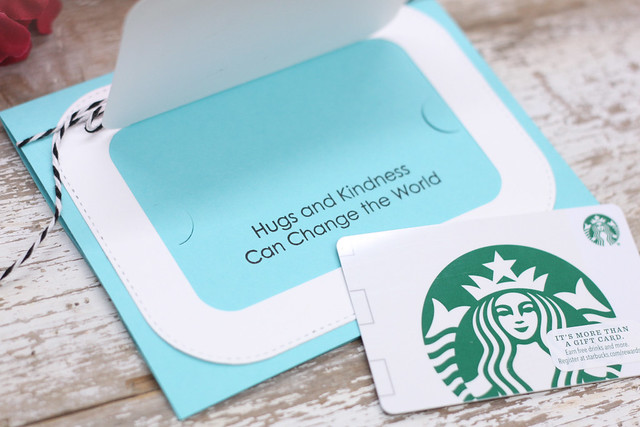
I decided to go for a fun little gift card holder with a hidden special message.

MFT Creative Construction with Blueprints - February 2017

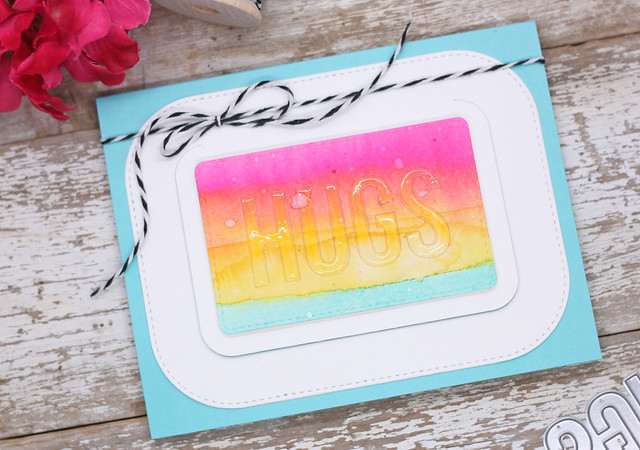
Using Blueprints 30, I first used the small stitched rectangle to cut out a watercolor rainbow I made on watercolor paper.  Next, I die cut the word HUGS right in the middle.  Instead of popping out the die cut word, I added some Post it Tape to the back so it would stay attached.  I used Glossy Accents to cover each letter for some dimension and shine.  
MFT Creative Construction with Blueprints - February 2017

I placed the sentiment panel on the gift card flap die and then attached it to a Summer Splash card base.  
MFT Creative Construction with Blueprints - February 2017

I die cut the gift card holder tabs on the card base and then stamped a sentiment that will show only when the gift card is removed from the card.  

MFT Creative Construction with Blueprints - February 2017

If you would like to receive this card in the mail, leave me a comment and I will draw a name!

Head on over to the MFT Blog to see what the rest of the team created for today's challenge.  Thanks so much for stopping in today!


~~~~~~~~~~~~~~~~~~~~~~~~~~~~~~~~~~

Supply List:


2/24/17

Sending Love....Neat and Tangled

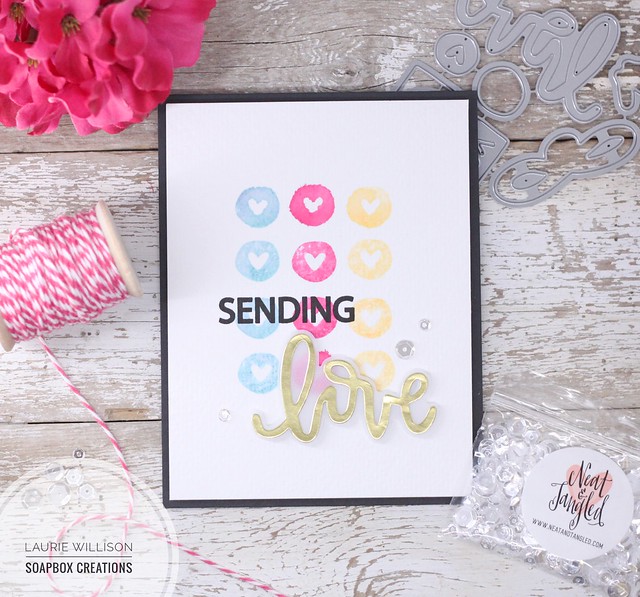
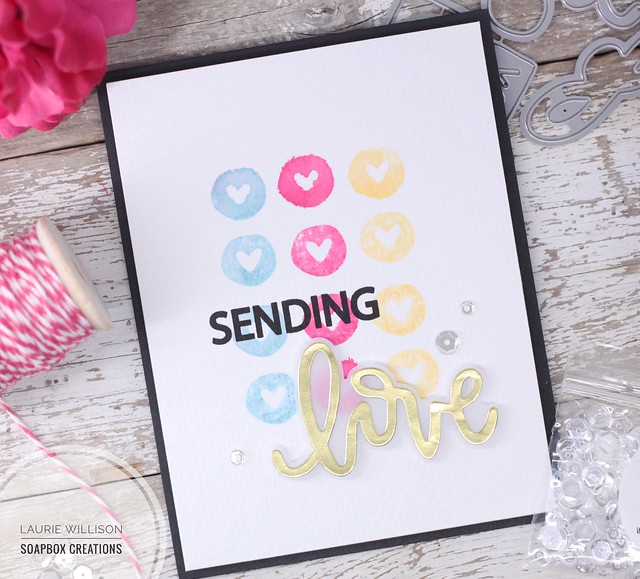
Hey there!  It'm stopping in with another Neat and Tangled guest post for February.  I have a quick and easy card using the set Love Notes along with the Love Notes Dies.

Untitled

For the background, I inked up the little heart image and before stamping it, I misted it with a little water so each heart would have a little watercolored look. After that front panel was dry, I stamped the "sending" in black ink.

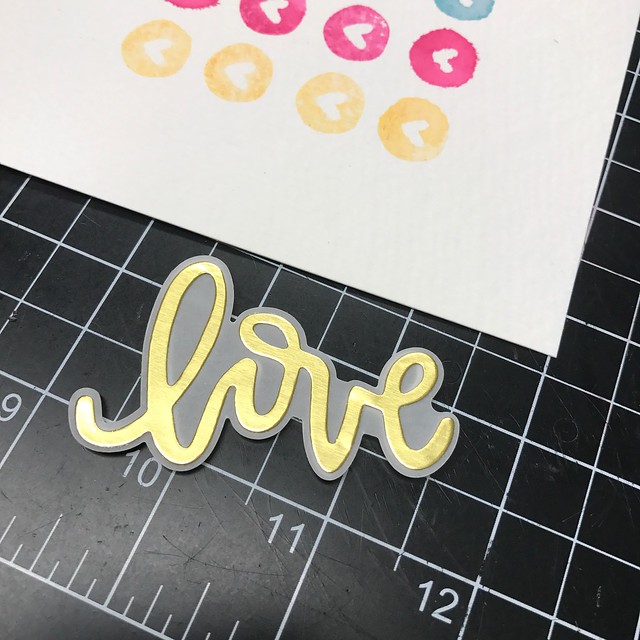
I die cut the love die in gold card stock and the back shadow in vellum....

Untitled

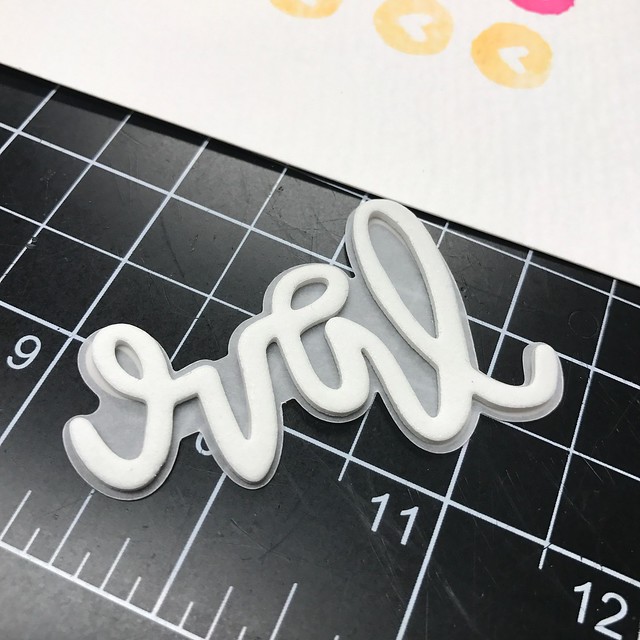
And then I did one more of the love die in fun foam.  This allowed me to adhere the love die on to the card front with some dimension....

Untitled

I added in a few sequins to finish of the card....

Untitled

This is my last card as the Neat and Tangled guest for February.  I want to give say a big thanks to Miriam for having me!  Hope you have enjoyed my cards and thanks so much for stopping by!

2/21/17

MFT Card Kit Release Day....

It's release day for the newest MFT Card Kit.  This months kit is called Beautiful Butterflies and it truly is just  that!

Here is my last card for this months kit release...

MFT Feb Card Kit

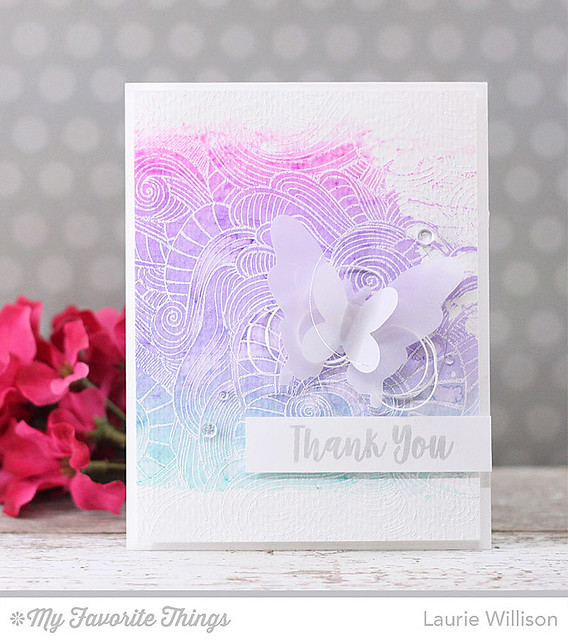
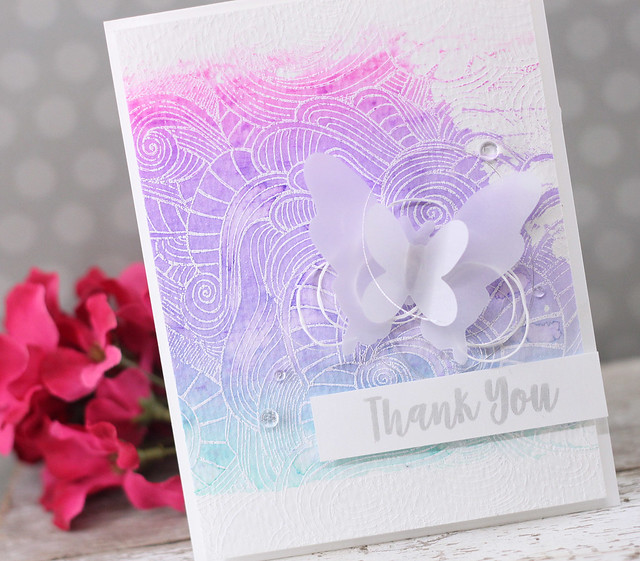
I used BG Wavy Coloring Book background, embossed on watercolor paper.  Then I used my Peerless watercolors to add some lines of color.  I embossed the entire background, but only chose to color part of it.  I love that you can still see the white clean embossing around the edges.

Next, I die cut 2 butterflies in vellum.  I added some silver thread and white scrappers floss to the card front, and then attached the vellum butterflies right on top.  I added in some rain drops around the card front and finished it off with a sentiment.

MFT Feb Card Kit

If you head on over to the MFT blog, you can see all the details for the February kit and even grab one up for yourself!

Thanks so much for hanging out with me this week!  I'll see you back soon for the Creative Construction with Blueprints!  


~~~~~~~~~~~~~~~~~~~~~~~~~~~~~~~~~~

Supply List:


2/20/17

MFT Card Kit Countdown Day 2...

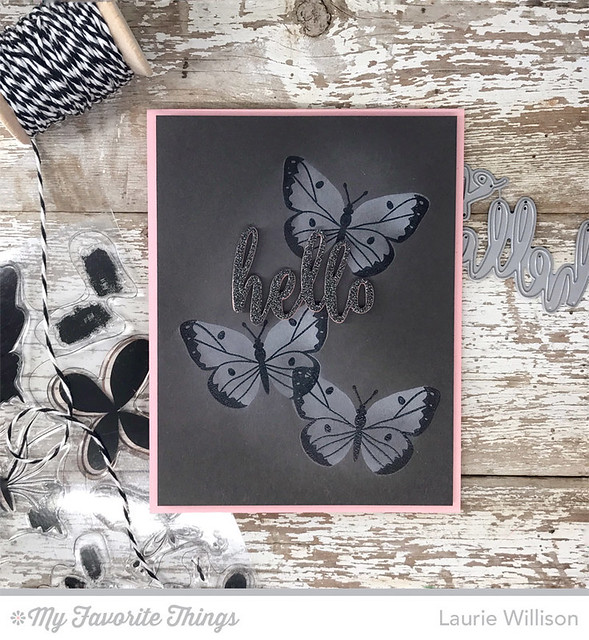
Today is Day 2 of the MFT February Card Kit Countdown.  I have been seeing so many gorgeous cards from the design team and have been so inspired!  I have another card to share today using the Beautiful Butterflies kit....

Print

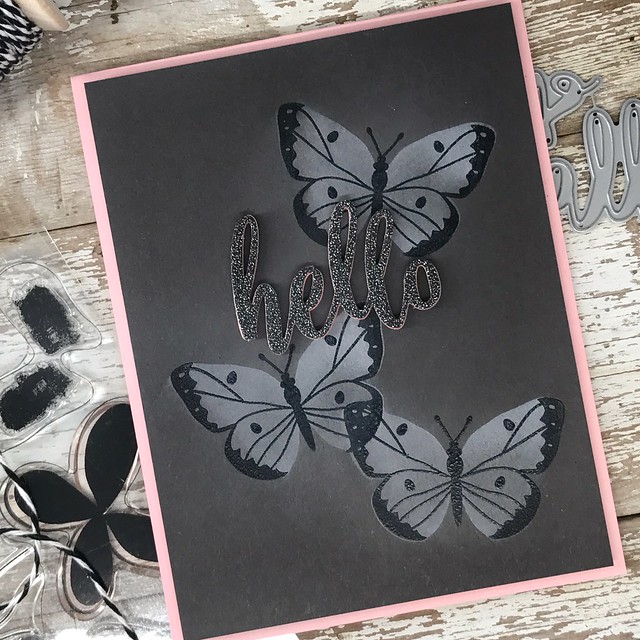
This was a fun card to make.  I wanted the butterflies to pop from the dark card stock and after trying several techniques, this is how I was able to achieve this look:

I stamped the black lined image on the gray cardstock and then heat embossed it with black embossing powder.  Next, using my Misti, I lined up the solid image with the detailed stamped image  and then stamped the solid image in white ink.  After all the butterflies were complete, I took a clean blender and in small circles, rubbed around to clean off the embossed area of all the white ink.  Doing this gave a soft look around the butterflies. 

Untitled

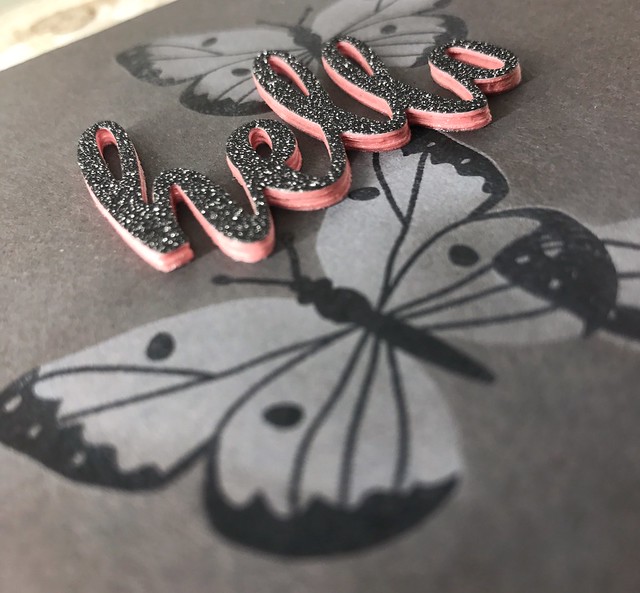
Next, I stacked up 5 "hello" die cuts in the pink card stock and then topped it off with a black glittered die cut.  I added the whole card front to a pink card base with some fun foam.

Untitled

Tips:

1. Use spray adhesive to stack up your intricate dies.  So much less mess than liquid adhesive.

2.  Use your Misti to line up the 2 step images.  

3. Use a clean blender to wipe off the white ink from the embossed areas.  On the dark card stock, this adds some softness to the area around the butterflies.  

Stop over to the MFT Blog to see more cards for Day 2 of the Card Kit Countdown.  The kit will be available at 8pm CST, Tuesday the 21st.

Thanks so much for stopping by today!

2/19/17

MFT February Card Kit....

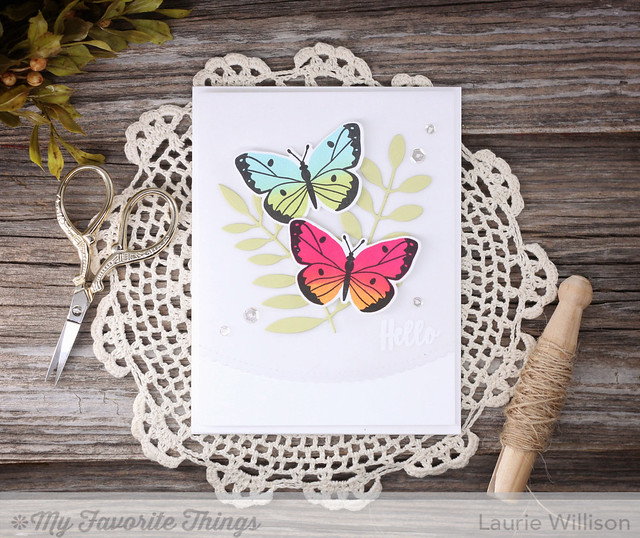
February is half over can you believe it?  It's almost spring....right?  At least, I keep telling myself that!  This month's MFT Card Kit is just in time for a fun springy feel!  February's kit is called Beautiful Butterflies.

MFT February 2017 Card Kit

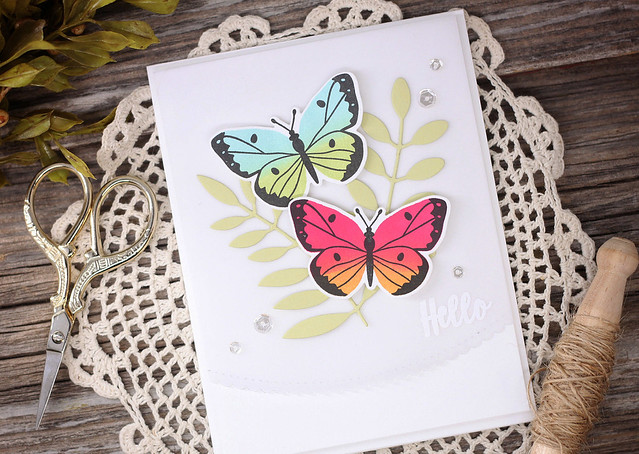
First, I used the Stitched Scalloped Edge dies to create a vellum panel.  I heat embossed a "Hello" sentiment, that is included in the kit, on the vellum.  I cut out 2 dies from the Bold Greenery die-namics (not included) and attached them to the vellum panel.  Next, I stamped out 2 butterflies, using my Misti, and added 2 colors to each of the wings.  I popped up each of the butterflies on the greenery and added some sequins to finish it off.  

MFT February 2017 Card Kit

Tips:

1. To attach vellum to a card front without the adhesive showing through, do one of 2 things.  Spray a single shot of spray adhesive to the middle of the back of the vellum and layer on the card stock.  Or, use a Tombow glue runner and add the tape to the back of the vellum where the die cuts or the sentiment, are so the adhesive is hidden.  

2. Use a make up sponge to apply the ink to the solid image to have a more blended look.

3.  Use foam tape to adhere the main images to your card for some added dimension.  

Hope you have enjoyed today's card.  We have one more sneak peek tomorrow before release day on Tuesday, so stop back by!

There will be lots more to see today, over at the MFT Blog so head on over there to check it out!

Thanks for stopping by today!


~~~~~~~~~~~~~~~~~~~~~~~~~~~~~~~~~~~~~~~~

Supply List:


2/17/17

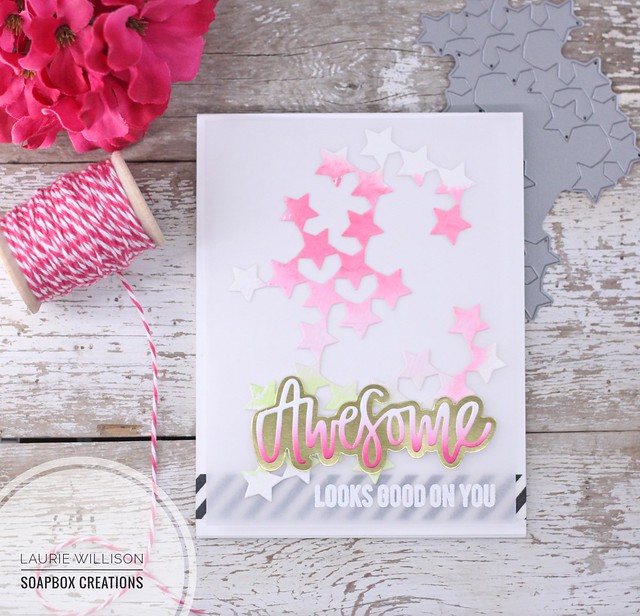
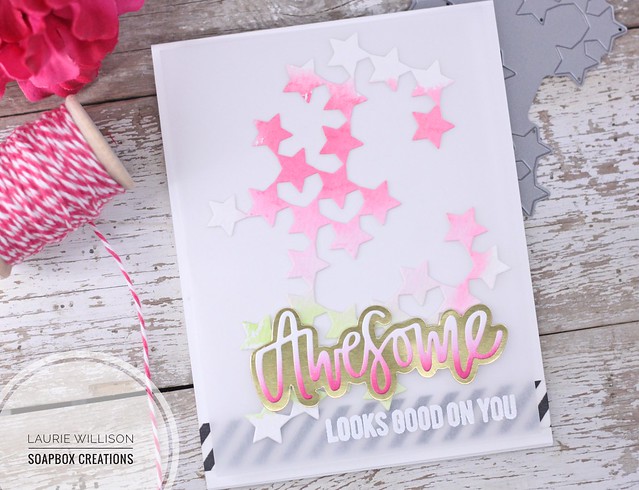
Awesome...Neat and Tangled

Hey there! I'm stopping in today with another card using the most awesome set from Neat and Tangled!  It's called just that....Awesome!  

Untitled

To create this card, I added some black striped washi to the card base. Next, I took a piece of vellum and added in the watercolored Seeing Stars die.  I also heat embossed the "looks good on you" in white embossing power.  I die cut the back layer of the awesome die in gold card stock and then added in an ink blended awesome on top.  (This makes me want to start singing Everything is Awesome from the Lego Movie....)  Last, I took the awesome sentiment and added it to the vellum with some foam tape for dimension.  To adhere the vellum to the card front, I took a piece of card stock with a "window cut out of it and used it as a mask for the back of the vellum and then sprayed spray adhesive just inside that window.  Using the adhesive this way lets the middle of the vellum sick down to the card front and lets the edges lift up for a layered look.  

Untitled

So that is it for today!  I hope you enjoyed my card and I hope your day is awesome!  Are you singing the lego movie song now? :)  See you soon!  

2/16/17

Give a gift with some flare!

And by flare I mean....dress up that gift bag with your own hand made cards!

ETA: The large card hanger dies are sold out.  There are still a few minis available.  Will check back in when they are in stock.  (2/17/17)

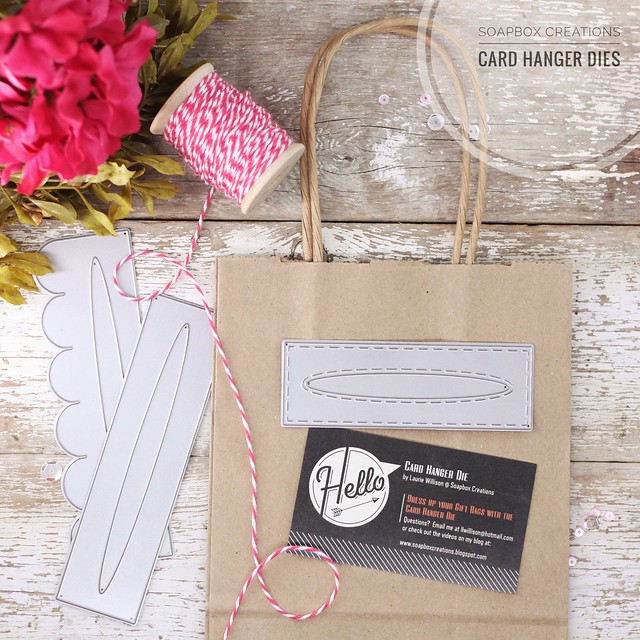
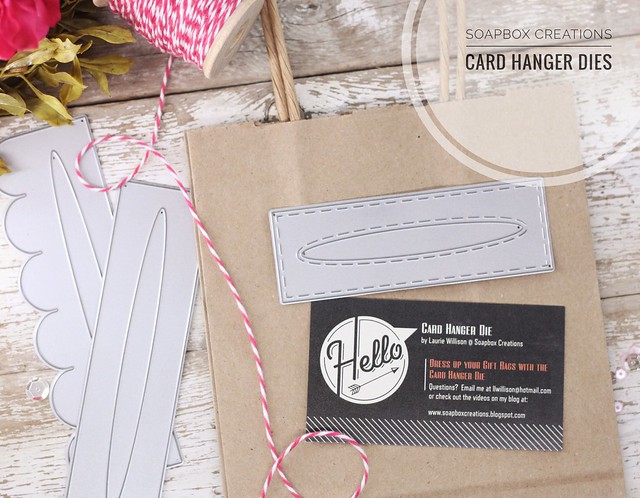
Stopping in today with a quick post about my Card Hanger Dies.  If you haven't seen these dies, click HERE for a video and HERE for the original post.  It is been 4 years since their launch and they are still going strong.

The Card Hanger die, is simply a die to create a "hanger" for your handmade cards.  The hanger attaches to the front of a gift bag.  The great thing about this is, those handmade card that we put our hearts into, become the focal point for your bag, the decoration for your bag....AND they don't get lost inside!!

Untitled

I currently have 3 dies in stock.  (The Decorative die is on order)

*Stitched Mini Card Hanger Die
-This die hold 3" cards on mini bags (pictured above)

*Scalloped Card Hanger Die
-holds A2 cards with an opening of 4 1/4" and also doubles as a scalloped border.  A 2fer!  :)

*Rectangle Card Hanger Die
- holds A2 cards with an opening of 4 1/4" with a stream lined clean look.

(I hope to have the Decorative Card Hanger die back in stock soon)

Untitled

Here is a quick video I made last year to show a little more about the dies....


I just have a few left this time around, so if you would like to purchase on of your own, the Paypal button in on the right side here on my blog.

If you have any questions, please let me know! Thanks for stopping by!


2/12/17

MFT Have a Blast!

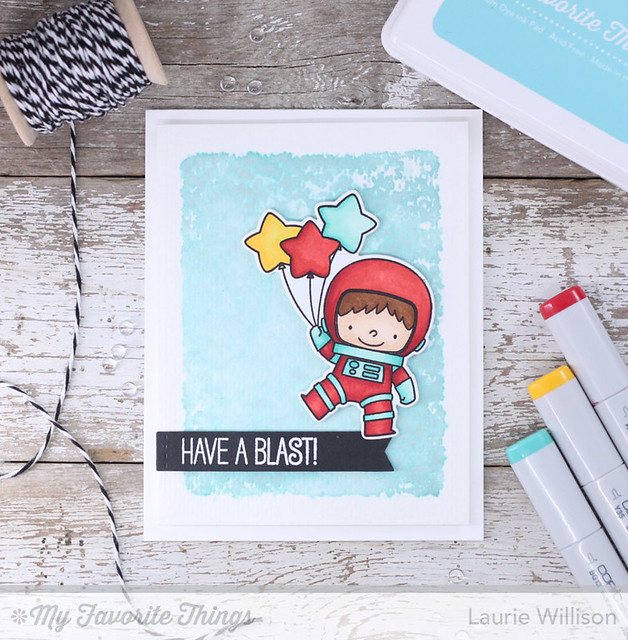
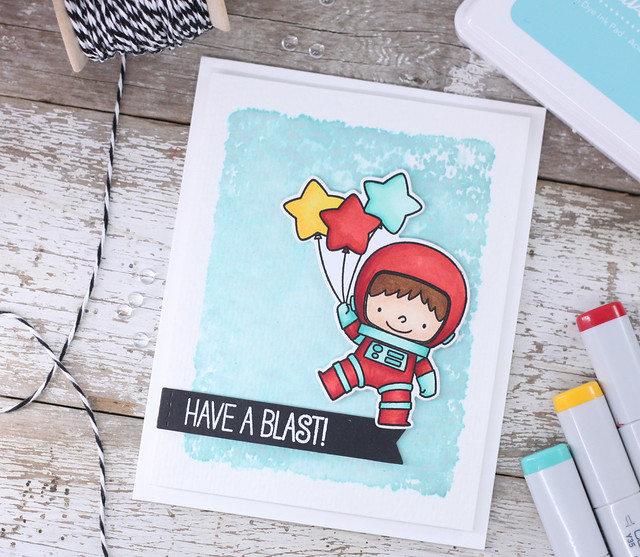
Hello crafty friends!  I am always attempting to use my Copics more.  Coloring and blending and trying and trying more.  Not always having success but I am determined.  My sweet friend Lori, was a lot of help to me this weekend and I was able to learn some more things and in turn, created this little card....

Print

So after coloring him 3 times.  Yes.  The first one was bleeding all over itself.  The 2nd one?  I splattered navy ink all over it...agh!!!  So this is the 3rd try and he was a keeper.

To create this background, I took some MFT Premium Dye ink and coated an acrylic block.  I sprayed the block down with water and applied it to the watercolor paper, wiggling it a little, till the color was down.  I popped the watercolored card front on to the card base with fun foam.  Then I added the little astronaut and a heat embossed sentiment to the front to finish it off.  

IMG_4244

This new set is so much fun!  Lots of cute images and sentiments included.  Head on over to the MFT store to see the new February Release.

Thanks so much for stopping in today!


~~~~~~~~~~~~~~~~~~~~~~~~~~~~~~~~~~~~

Supply List: