Pages

6/29/16

Pig Time!

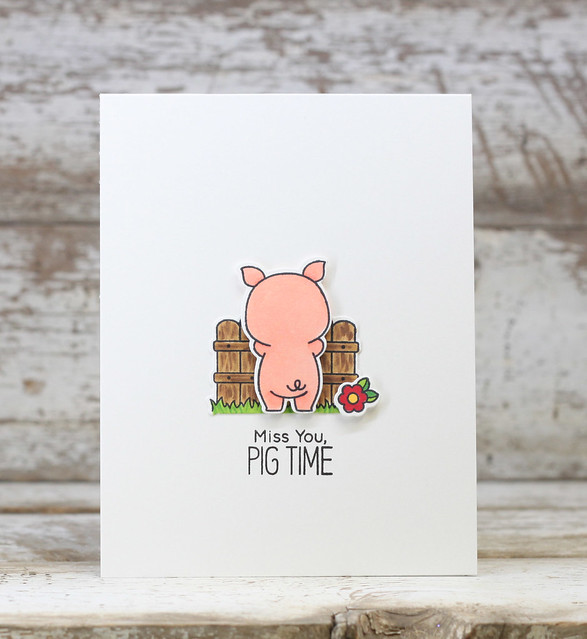
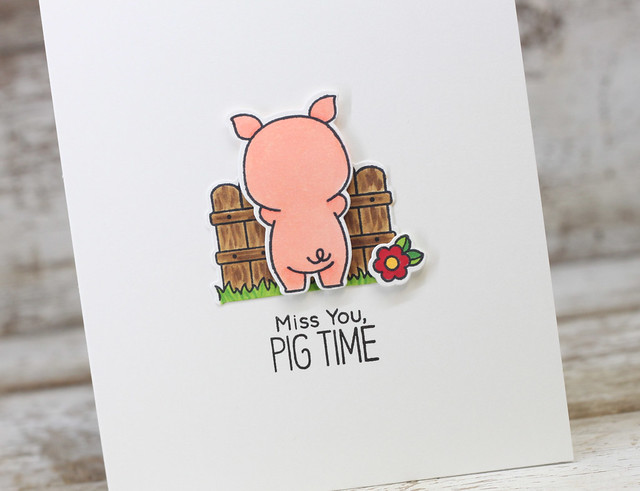
I am stopping in with a CAS card using the new set from MFT called Hog Heaven.  I have seen the DT girls using this and I just had to pull out my Copics and play too.

IMG_3293

I die cut each piece using those fabulous open dies and the colored each piece.  I attempted some shading and even some woodgrain on that little fence.  Definitely a quick and simple card with all that fun white space.  

IMG_3294

Thanks so much for stopping in today!  Hope you have a great day!


6/27/16

A stitch in time...

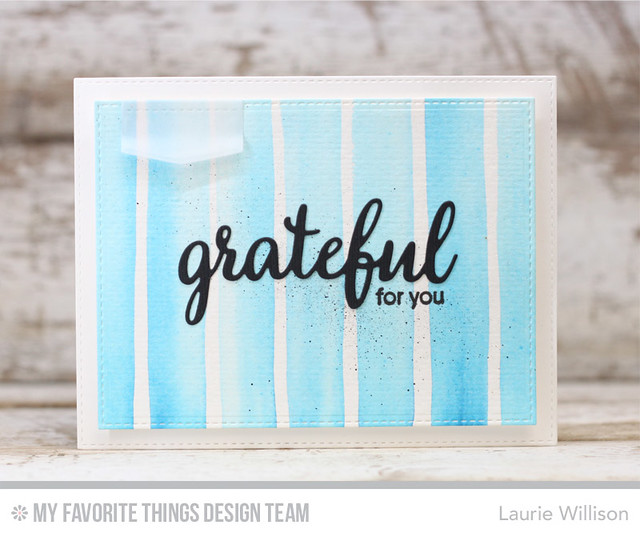
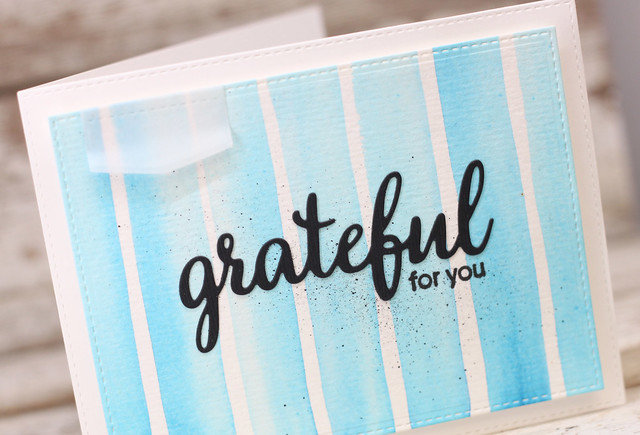
Hey there craft friends!  Today, the MFT DT has a new challenge....to create with stitched dies.  I am in love with stitched dies, just for the the very simple design element it adds.  I love a good CAS card but those stitches can just kick it up a notch.  I have used a couple of pieces from 2 different MFT Blueprints (all linked below), to create this CAS card.

Print

First, I took some Peerless watercolors and created a simple, striped background.  I added in some back mist with a Copic marker and a mister.  I stamped the "for you" and added in the black grateful die.  Last, I added a little vellum tag in the top left, just for some added detail.  And that is it!  Super simple!

IMG_3267

The MFT Blog will have links for the other stitched creations today.  Stop over there to check them out! Thanks so much for stopping in!


Supply List: 

6/21/16

MFT June Card Kit Release...

It's MFT Card Kit Release Day!  This kit is a lot of fun and the stamps/die combo....so smart! Which makes it so easy to play with.  I have one last project to share and this time it is a simple tag!

Print

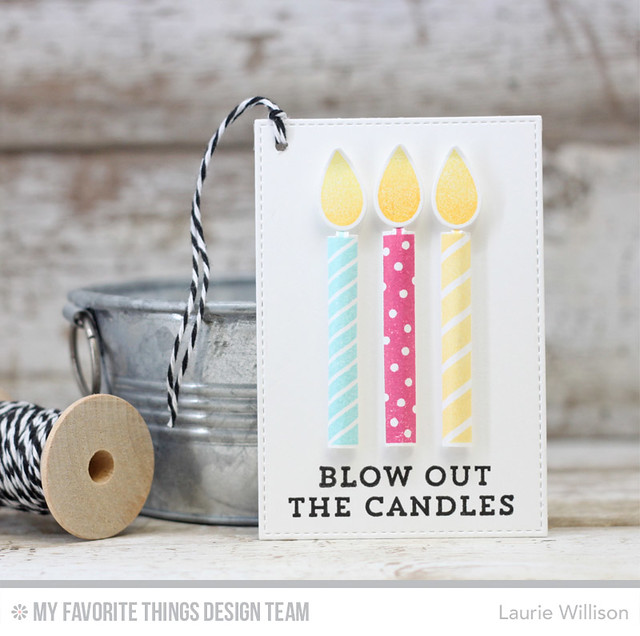
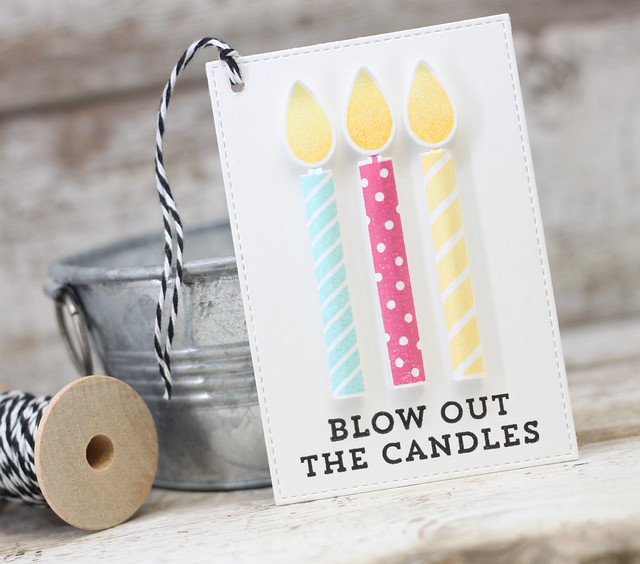
I took a stitched rectangle and stamped the sentiment on the bottom by masking it in half and stamping it in 2 rows.  Next, I took 3 of the long candles, masked them off, and stamped them onto a large piece of paper.  I cut out around the candles and scored along each side so they would fold easy, but also so I could roll them.  I wanted them to have a 3D look and stand off the tag.  Next, I added in each sponged flame.  I did a light yellow sponging on the top and then added in some darker yellow along the bottom of the flame.  

IMG_3256

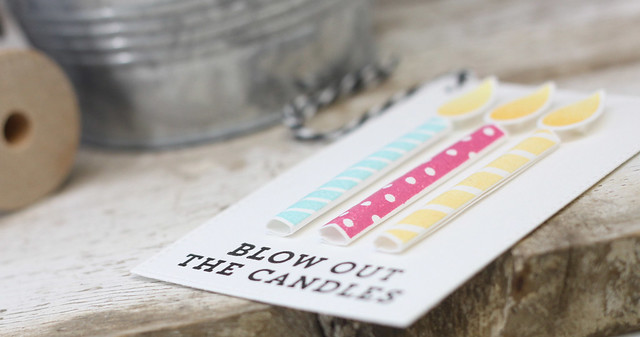
You can see in this photo below that the candles are hollow.  I love how it turned out.  I punched a hole in the top left and added in some twine to create the tag.  Super easy!

IMG_3260

Thanks for joining me these last few days.  I hope you have found a little inspiration here!  Now its time to shop! Head on over to MFT to see the details!   Have a great day!

6/20/16

MFT June Card Kit Day 2...

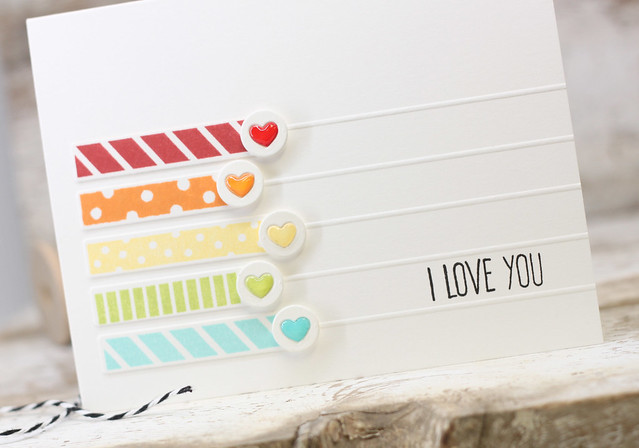
Today we are back to showcase more of the June MFT Card Kit.  Today is the day we call "out of the box" where we can add in a few extra details that do not come in the kit.  I added in a sentiment and a little die cut to create this card.  I also wanted to use the candles for a different design element, instead of just a candle.  So here is my card...

MFT June 2016 Card Kit

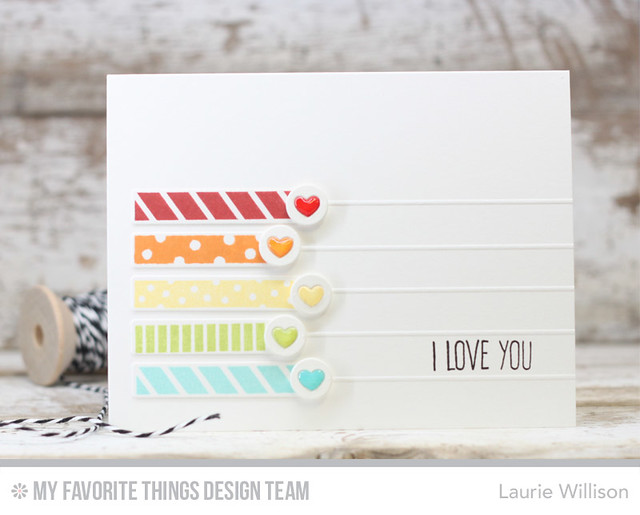
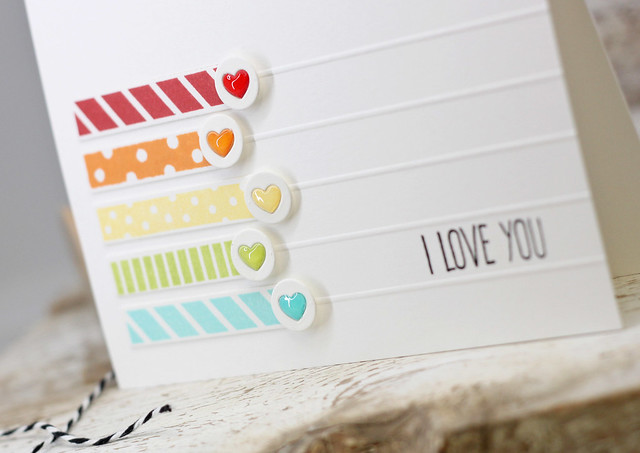
I couldn't help it.  I had to do another set of rainbow candles.  I really tried to use other colors....but I failed.  So rainbow it is!  I took them right out of the negative with some Press n Seal and then before I attached them to the card front, I added score lines.  

MFT June 2016 Card Kit

Next, I stamped the sentiment from Whimsical Greetings.  I used the little circle/heart die from Blueprints 29.  I inked up a larger stamp and the stamped it on the little heart, so I could get full matching coverage.  I added foam tape to the back of each heart for some dimension.  

MFT June 2016 Card Kit

And last, I added Glossy Accents to each heart.

So this is it for today's June MFT Card Kit "Out of the Box".  I hope you enjoyed today's card, even thought I brought back some more rainbow for day 2.  :)  Stop over at the MFT Blog for more card kits ideas! Thanks for stopping in!

6/19/16

MFT June Card Kit...

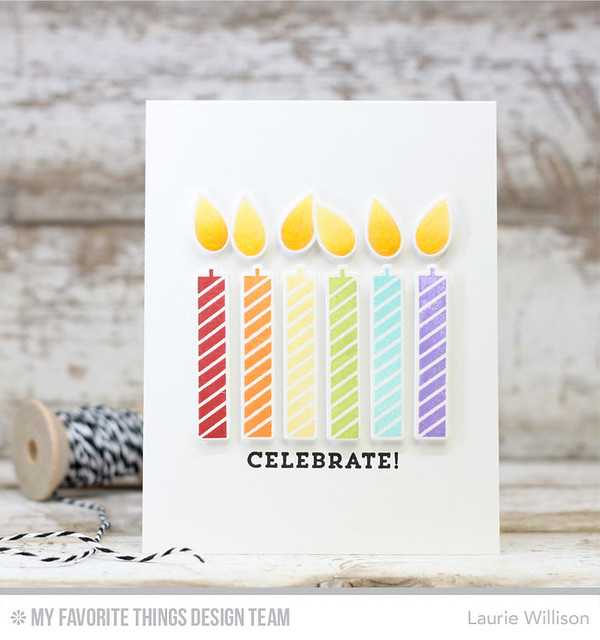
This month's MFT kit is SO super cute!  It's called Make a Wish.  These candles?  So fun!

MFT June 2016 Card Kit

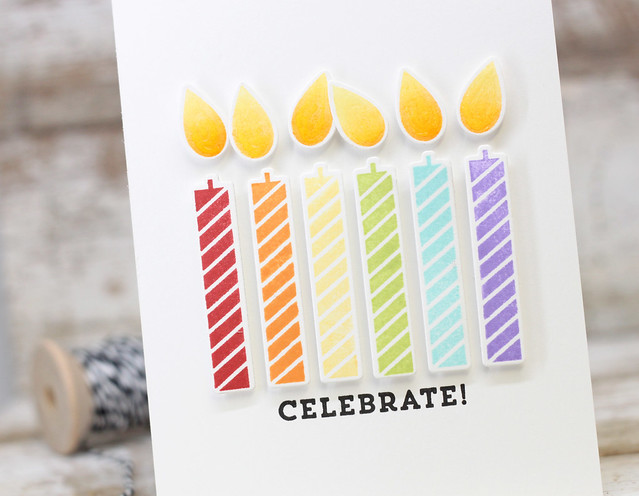
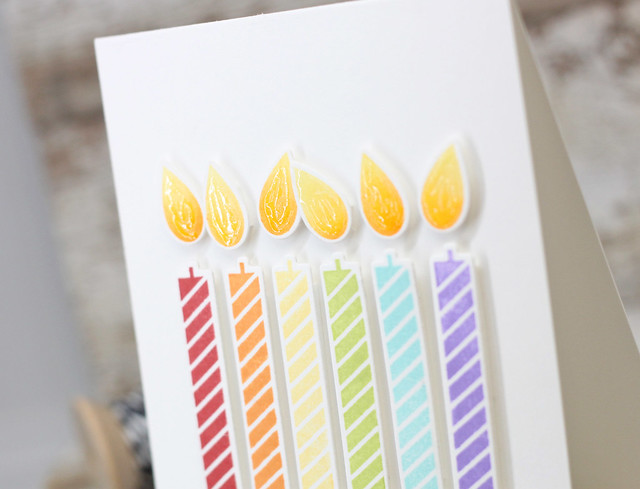
You will see shortly that these candles and their flames are in the most genius arrangement where the stamps and dies work perfectly together.  I was able to cut out lots of candles in just about 5 or so passes through with my Big Shot.  Of course, I picked a rainbow order and then added in some sponged flames.  I stamped the sentiment blow in black to finish the card.  

MFT June 2016 Card Kit

I realized it needed just a little something else, so I took the tip of the Glossy Accents and scribbled around on the flames.  I didn't want to cover the whole flame...just wanted to give it a little shine.  The picture below shows the scribbles....

MFT June 2016 Card Kit

I have another peak for tomorrow but for now, head on over to the MFT Blog to see more sneaks of the June Kit!  Thanks for coming by today!

6/17/16

The mountains called....

So recently, I went on a trip with my best girl friends.  I realized that other than my family, there are only 2 things I need.  My best girl friends....and the mountains.  I was born and raised in Colorado and wish everyday to move back, but the one thing that saves me is a good trip to the mountains.  And that is what we did.  We packed up and headed west and had a wonderful time. The weather was amazing.  It was so peaceful and, of course, the mountains are the best place to reset.

 (If you had asked me 2 weeks before this trip, I may have said all the same things about the ocean....because we also went on a cruise and laying on the beach in the Bahamas was amazing too.)

But now I am back from my travels and needed to send some thank you cards to my friends, when I just stumbled upon these Lawn Fawn Mountain dies and HAD TO HAVE THEM.  Right?
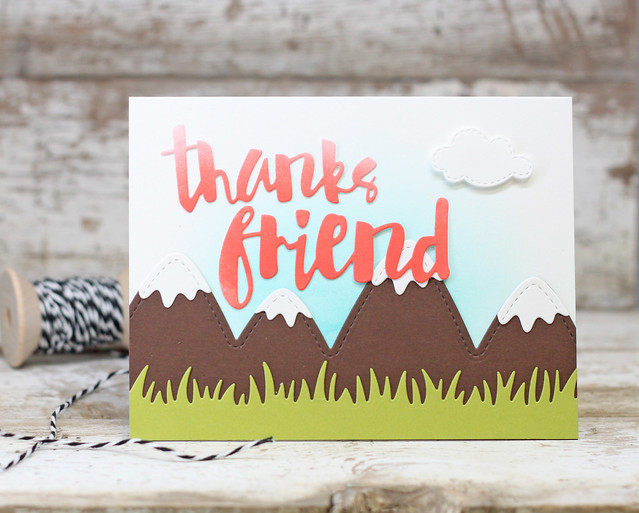
IMG_3241

I used the Clarity Stencil Brushes to create that soft sky using the distress ink, Peacock Feathers.  Blending some Abandoned Coral, gave me a fun ombre, sort of cloudy look, to the sentiment dies.  And of course, those adorable stitched mountains and the grass, all from Lawn Fawn....Kelly A, I could hug you...are just the most adorable dies ever.  
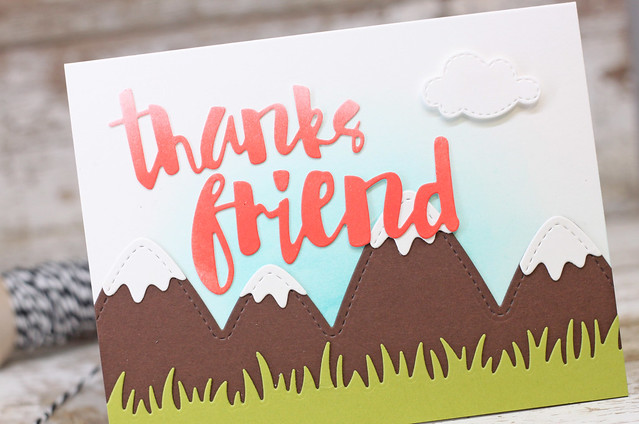
IMG_3242

These cards were super easy to mass produce.  I just cut the all the dies, blended all the sky and finished them all of with a static cloud from Lil Inkers.  
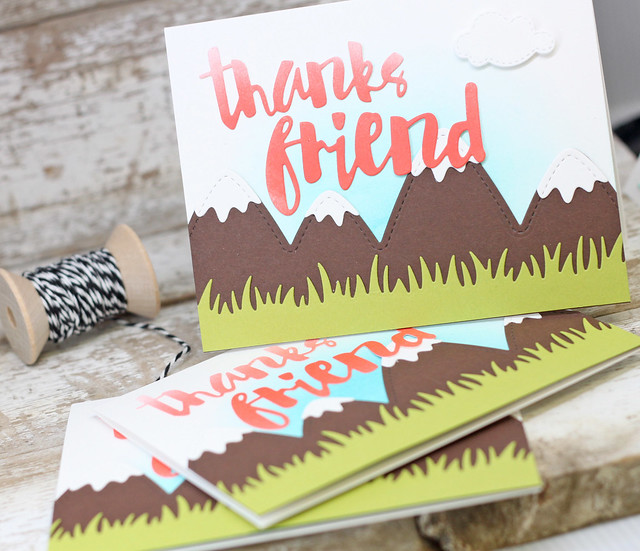
IMG_3243

I haven't spent much time in this craft room lately because of the traveling, but now we are home for awhile.  And its like "feels like" 109 out side right now....so I am guessing this craft room is going to get a good cleaning and I might finally have some time to make some more cards.

So that is it for today.  Thanks so much for checking back in with me.  I appreciate all the comments and visits! Have a great weekend!


Supply List: