
I have had my planner, the Moments Inked 2015 Memory Planner, for about a month now and am loving it! Many people have sent questions about several of the details from my original post. So I thought I would touch on those again. But I would like to take a little time to talk about planning in general.
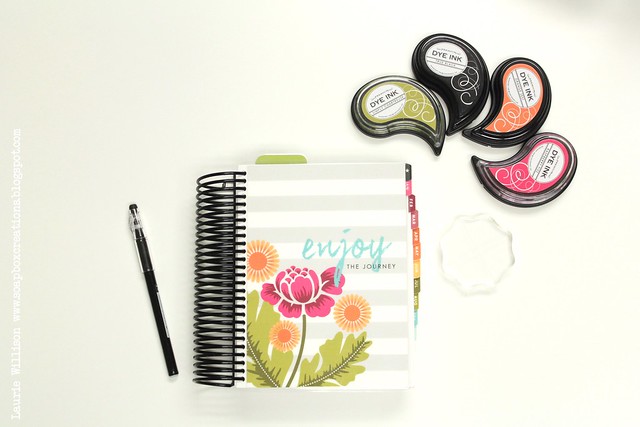
One of my most favorite parts of this new planner system is the daily pages and the chance to keep memories as we go through the weeks. I love to be able to jot down notes and thoughts and funny things my kids say. I have never been great at scrapbooking so this gives me the chance to jot things down and we go, and that is a such a plus for me. It just makes keeping those memories so much easier and its so nice to have them all in one place.
One thing I have heard people say when it comes to planners is, I don't have time for that. Or it is so much work to keep a planner. I can understand how it may feel overwhelming, but it is very easy to just keep it simple. I call in "Planning Intentionally". I love to carve out time and sit down on a Sunday afternoon and plan the week. I jot down or stamp little blog and family banners and add them in where we have things going on. Along the way I keep post it notes with lists and I stay organized one week at a time. It may seem overwhelming to start a new planner but really you just have to work one week at a time. Or even just one day.
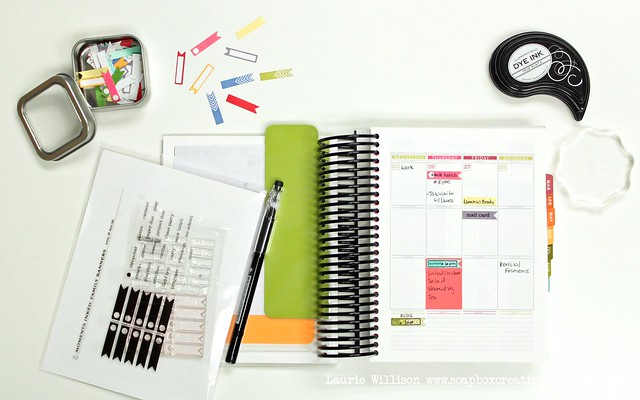
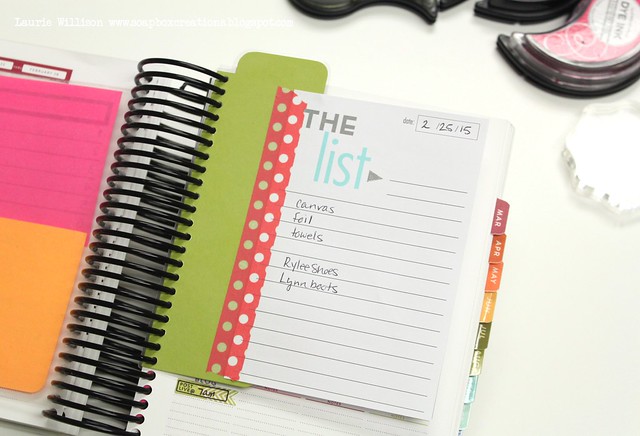
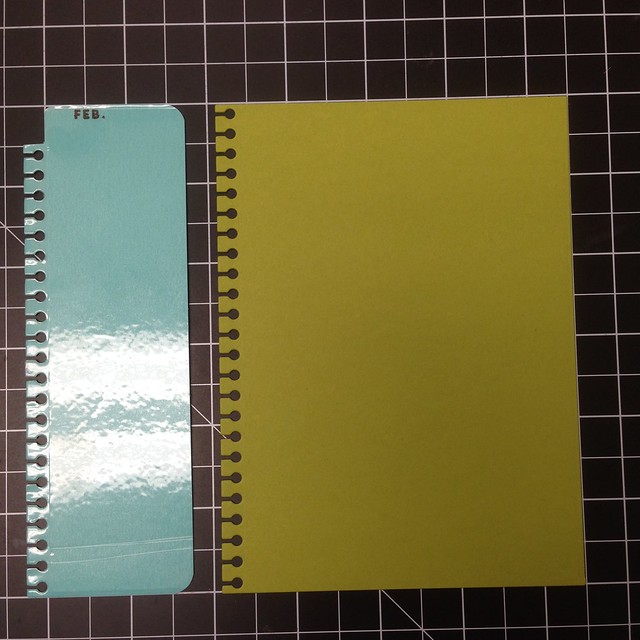
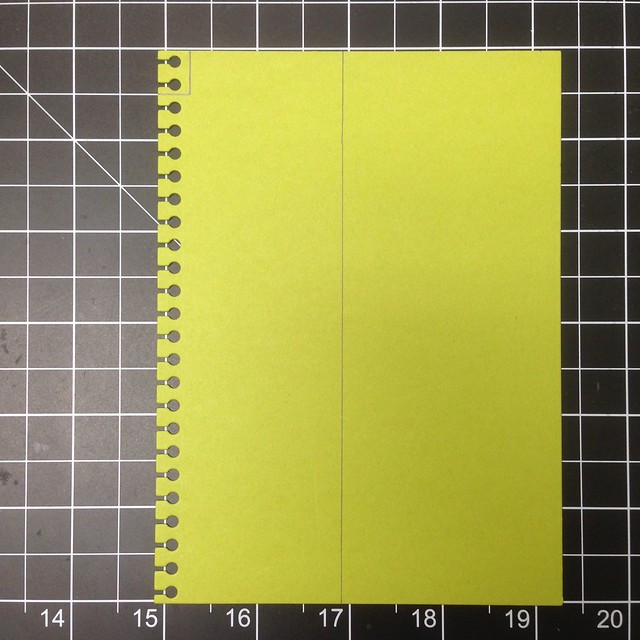
In the center of my planner, I have a divider. I had many questions on how I made this and it is really super simple. I used the largest Basic Page die to make this...
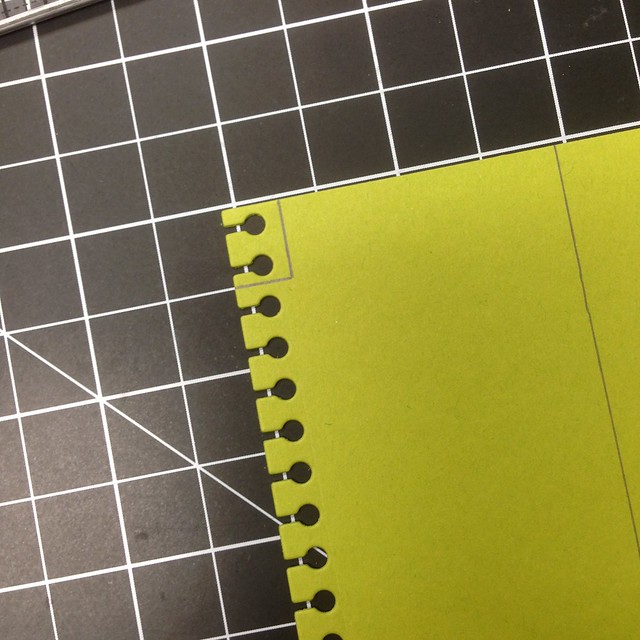
I used my Corner Chomper to round the corners. You could stamp on this and decorate it up any way you want. The first one I laminated, but you don't even need to do that. It works just great out of card stock and makes the perfect bookmark.
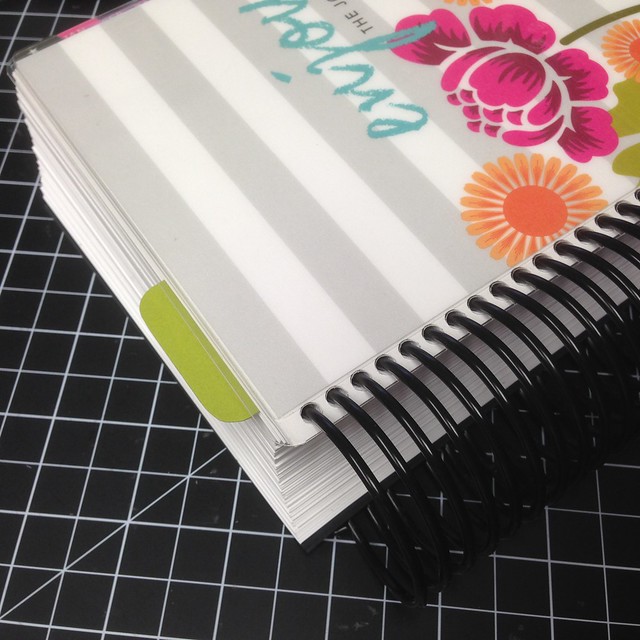
I use washi tape to add things to the divider too. It works so well to pull the list out and take it in to the store with me.
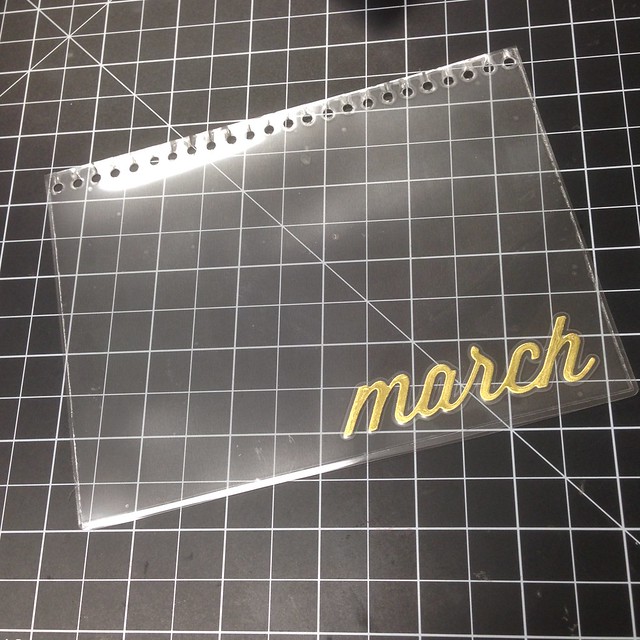
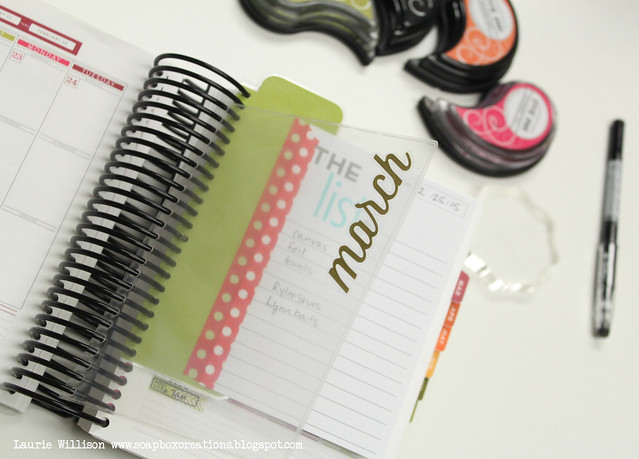
Here is fun way to use the new PTI gold adhesive sheets and the Monthly Moments dies. I took the largest Basic page die and die cut some Clear Card Stock. The March die looks so fun in gold, so I took off the backing of the adhesive sheet and attached it to the clear card stock. Next, I ran the whole thing through the laminator. I made a video you can see HERE about how to laminate after die cutting.

This is the perfect place to attach those post its and lists. By doing it this way, you don't have to cover your week layout. And the dashboard moves from week to week with you very easily. The new set called Posted is a great way to help keep those post-its organized...

One last thing I wanted to share was a fun way to use the littlest basic page.
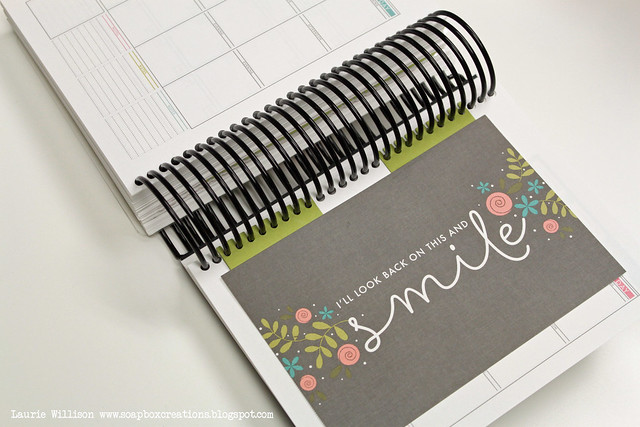
To attach anything you want to keep....large photos, brochures, even small business cards, without cutting into them, you need 2 small page dies cut out in color card stock.
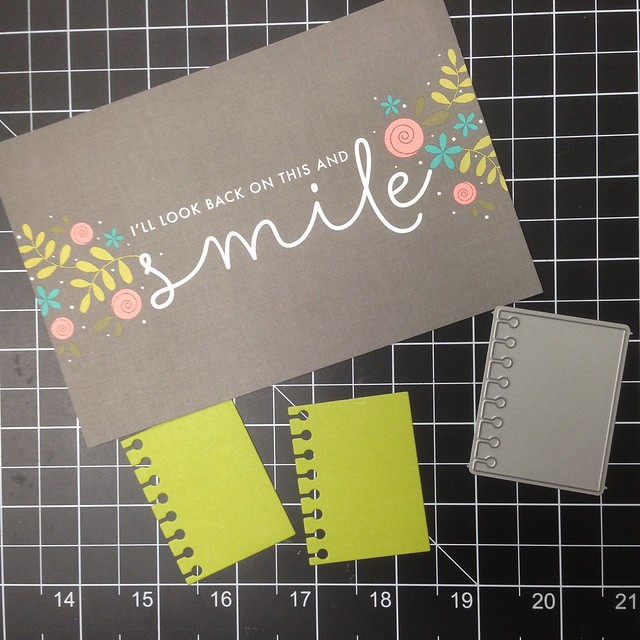
I attached these by laying them down on my work mat so I could make sure they attached evenly. You could use any adhesive but liquid glue or Scor-tape would work great.
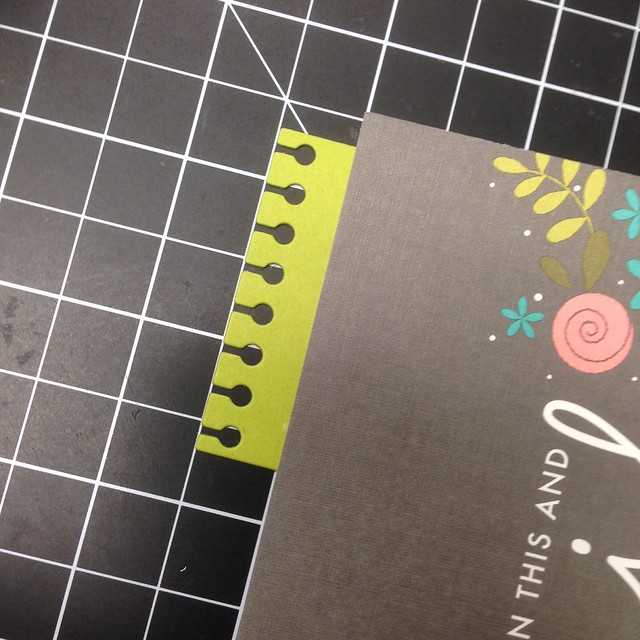
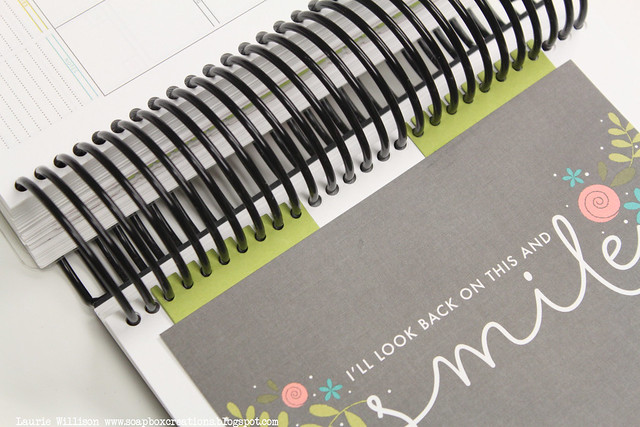
I lined them up here and with the coils to make sure and then adhered the pages to the back of this Monthly Moments card stock. There are SO many fun quotes and saying all throughout those paper packs.
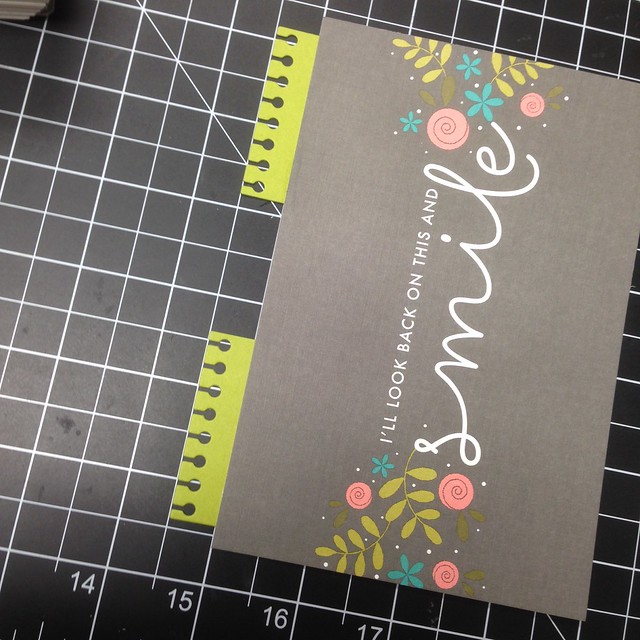
This one coordinates with September 2015 pages perfectly!
You many have already seen this video. I posted it a little while back. It goes over several of these details and fun tips using Papertrey Ink stamps and dies you may already have in your stash.
ETA: I have had some emails this morning regarding stamp storage so I am adding in the link to this past video too...to share how I store my PTI stamps and dies....
Operation Organization
I hope these ideas were helpful today. Please keep those questions coming. I love to help!
Have a great day!

Here are the links to a few of my favorite planner basics....the Skotch Laminator below comes with 20 laminating pockets. That is the one I have and I love it!
These are great pens to use too. They are erasable and come in fun colors.

Great tip on the divider!!
ReplyDeleteThank you for the tips Laurie! I have an EC planner and the pages die works with them too! I love my planner even more now! I have a similar dashboard that I made with lines on it to use as a list maker and I use wet erase markers. Reusable too!!
ReplyDeleteVery informative and useful video, Laurie. Thanks for taking the time to make it!
ReplyDeleteGreat ideas Laurie. Thanks for making this important task easier and more fun!
ReplyDeleteWill be making some dividers and dashboards today thanks to your tips!
ReplyDeleteLinda
This is awesome Laurie! Thanks for posting all the useful tips!
ReplyDeleteThanks So much! I love the sets that you have available! Can't wait to get this planner for 2016.
ReplyDeleteSuper cute stuff, Laurie! Great tips, too.
ReplyDelete